Floor tiles for the kitchen and hallway: walkthrough
sex kitchen and hallway It is often subjected to aggressive moisture, grease and dirt, however floor in these rooms should be resistant, strength and durability. These parameters correspond to floor tiles for kitchen. Previously it was used rarely, since the market building and finishing materials can not boast a variety of shades, shapes and textures. But now refuse such coverage in the kitchen and in the corridor impractical - the decorative material is characterized by its environmental friendliness and beauty. Floor tiles for the kitchen and koridora- the best choice for finishing.
Floor tile has its advantages:
- for a long time does not lose its aesthetic appearance;
- beautiful and elegant look;
- not afraid of direct sunlight;
- indifferent to adverse effects of dirt and water;
- easy to clean and wash;
- resistant to high temperatures, fireproof;
- environmentally friendly and hypoallergenic;
- is acceptable value for money.
Among the shortcomings can be called stiffness of the coating and cold. Floor tiles the corridor is not terrible, Although the invention of underfloor heating is not a problem. With dishes have to be handled with care, since the fall on a tiled floor it will not survive. heavy object, suddenly fell to the floor so, it can scratch or break off pieces.
Color selection

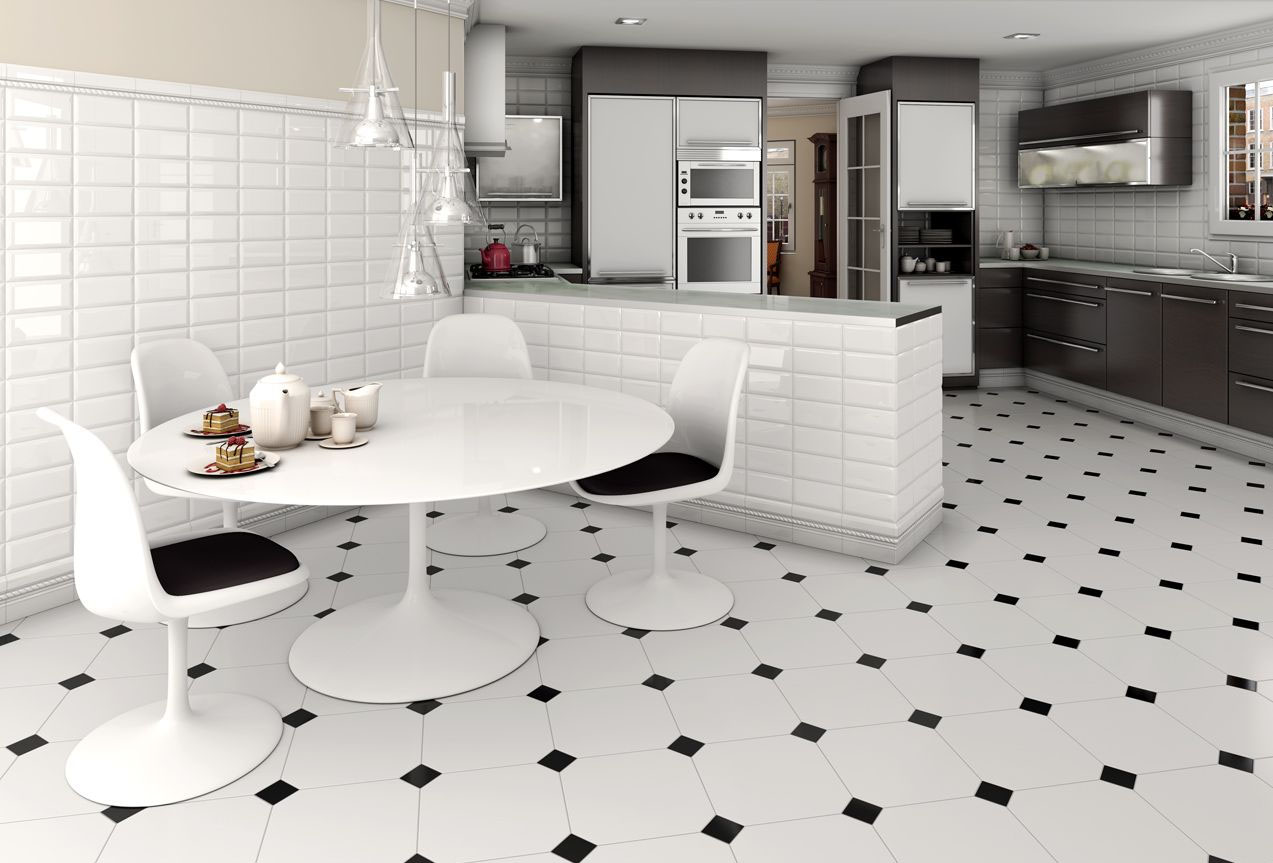
Color - an important detail when choosing the material. If the owners do not like the contrasts, it is best to select a tile on the floor for the kitchen of the same color (or similar hue) as well as other floor coverings (parquet, laminate, tree). Fans opposites will appreciate sharp combinations: black tiled floor and laminate ivory. Modern styles encourage the use of a bright color accent coating, which catches the eye and draws the attention.
On sale is a tile floor various shades of the color palette, but the designers recommend that a unity of style, how in the design of furniture, and in the decoration of walls and floors. Tiles for the kitchen can be combined with kitchen unit, or confront him, imitate granite, wood or marble, have strict intricate geometric patterns or ornaments. Floor tiles with inserts looks good in the spacious rooms. The large kitchen is appropriate to put large pieces, but the coating with a fine pattern or mosaic need to give.

In a small room it is advisable to decorate the kitchen floor light rectified tiles, which creates the effect of a continuous coating.
choosing material, should listen to such advice:
- Tiles in the hallway should have a good anti-slip performance (R10, R11).
- On the cover with a rough surface is not so easy to slip, but one wash cloth it will not work, You have to use a brush or abrasive detergents. The small irregularities easily stuffed dirt, which is especially noticeable on a light coating. Therefore, if the hostess did not have enough time for cleaning, you should choose darker material.
- On a dark material minor defects, microcracks and chips quickly catch the eye.
- Caulking selected dark and non-staining grout. Bright seams in a short time will become dirty and wash them is not so easy.
- The tiles are heavier than, more durable and stronger. But to cut it into pieces and fit into hard to reach places difficult.
- The transverse installation of rectangular pieces visually narrow room makes wider.
- Complex geometric tile pattern looks great, but it requires adjustment. This tiling - it means extra costs, forces, Time and time consuming process. But this figure masks great minor injuries.
- Design tile depends on the color of grout. Contrasting grout draws attention to the floor covering. Monochrome - gives the appearance of a seamless surface.
Prepare tools
To make laying tiles with high quality and fast, use tools:
- level (for marking and checking horizontal position of the surface);
- roulette (for the required measurements);
- Tile (special device for accurate cutting to size for easy angle);
- rubber mallet (the trimming position of the fragment);
- mixer or drill (for mixing glue);
- Bulgarian (for complex cutting);
- plain and notched trowel;
- bucket for mixing glue;
- pencil;
- container for grouting;
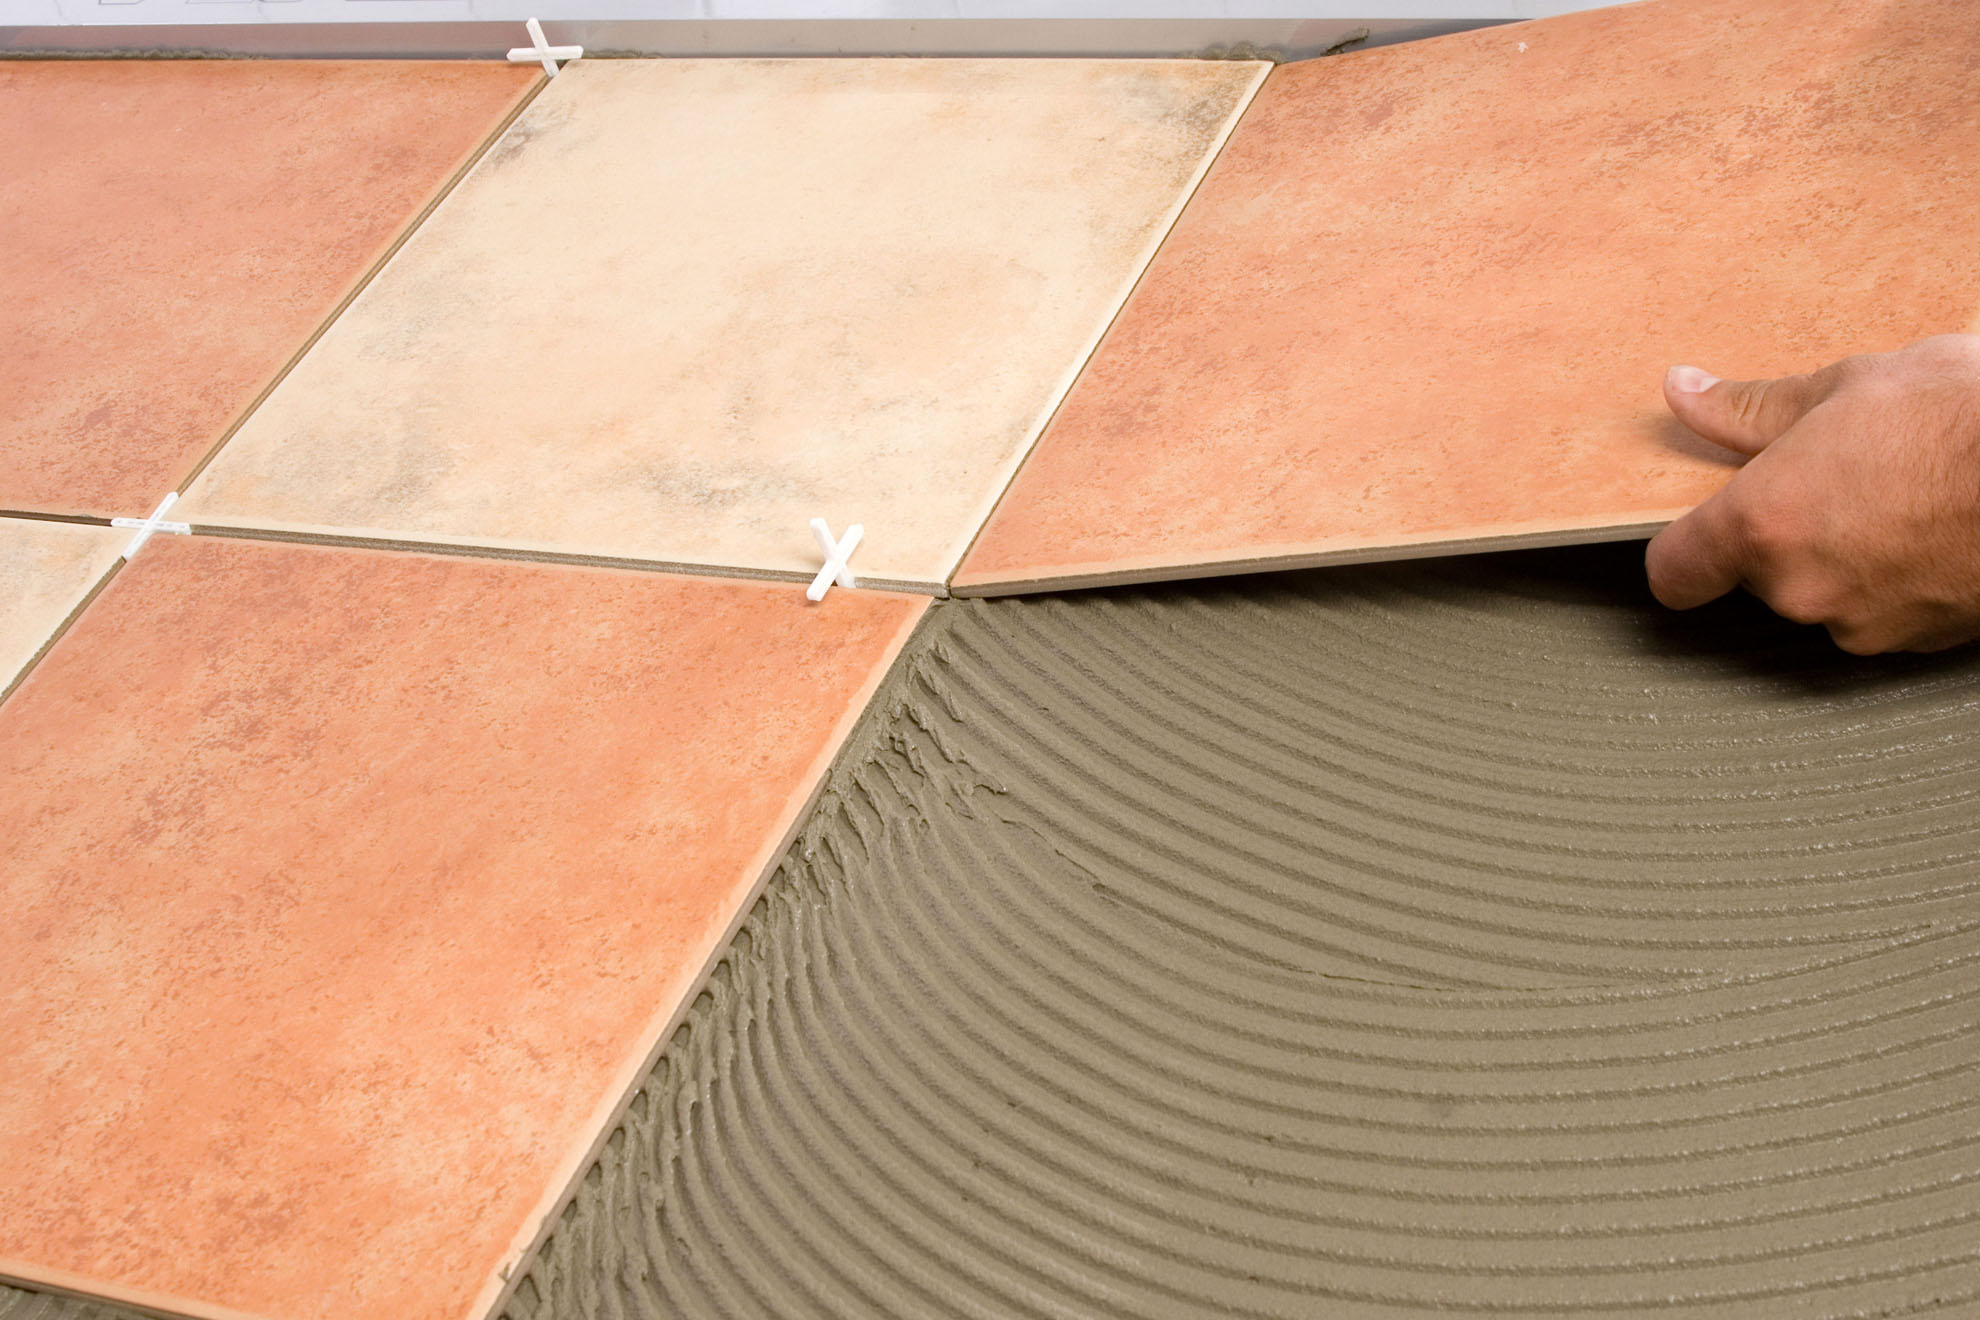
- crosses for joints;
- sponge or cloth (to wash away excess grout).
room preparation
From the room you must move all the furniture, to free up space and does not create problems during operation.
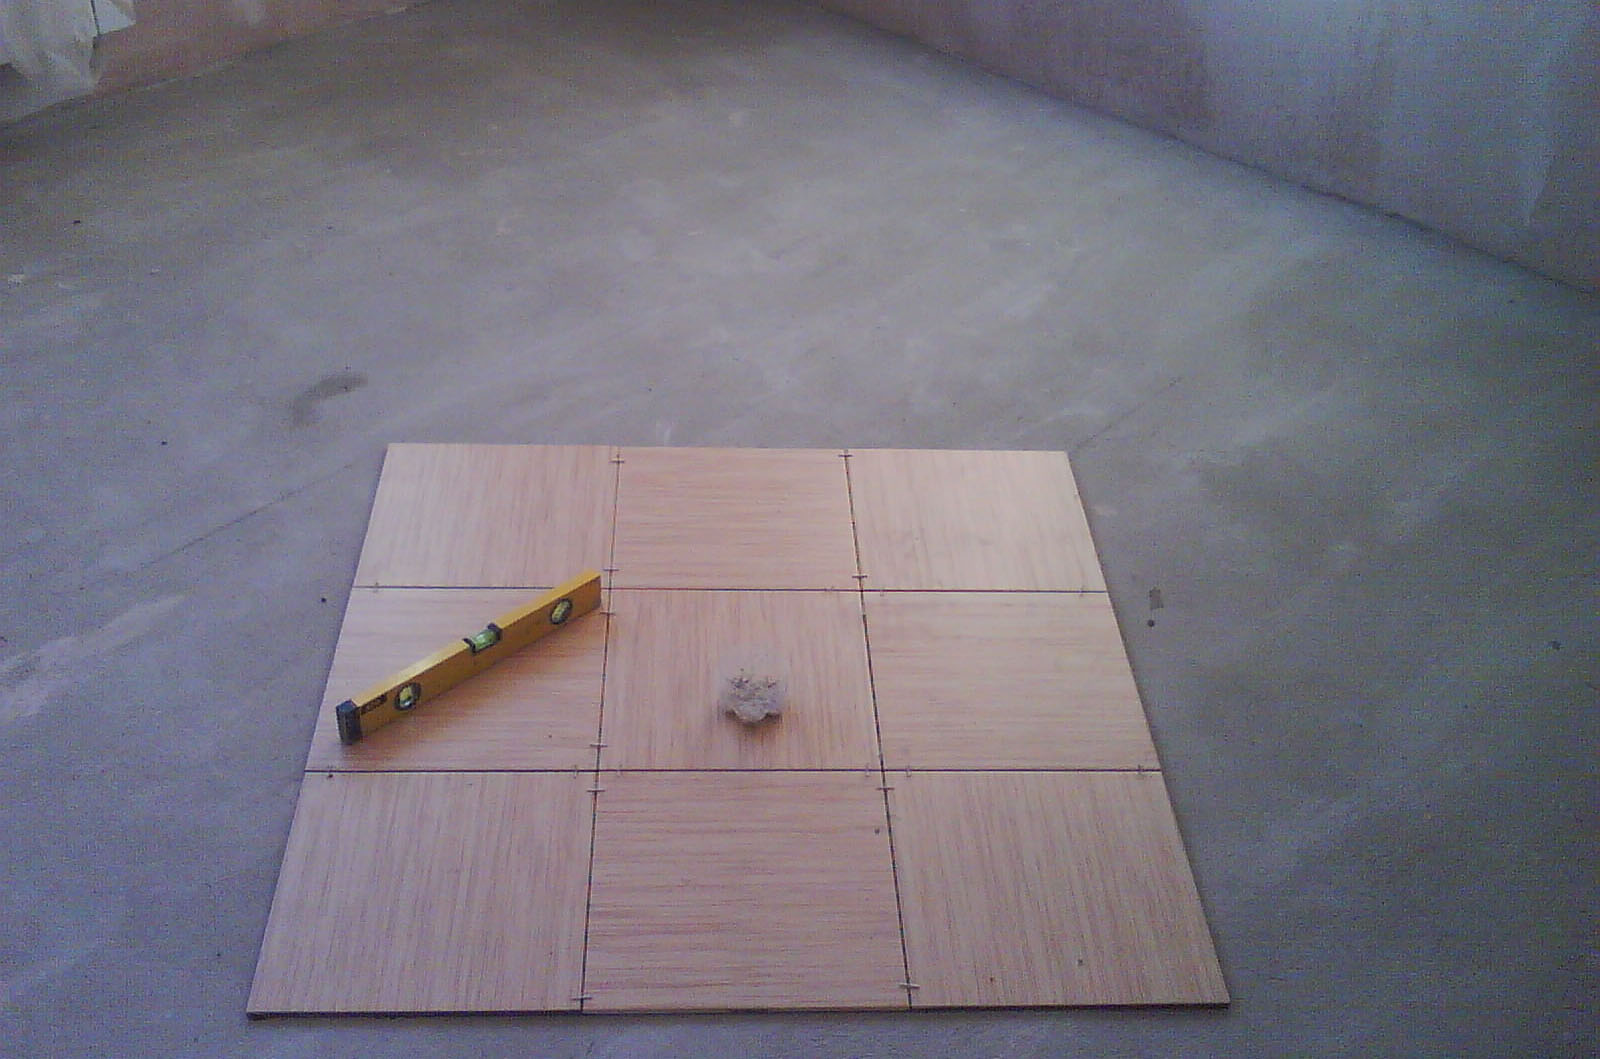
To tiling is not cracked or worn over time prematurely, foundation carefully prepared for laying. Screed must be absolutely flat, so that each piece is fully seized with the base. The absence of voids - guarantee a long service life of tiling. Therefore, it is desirable to turn the concrete screed in an ideal horizontal plane via beacons and putties. First, surface ground, to provide coating durability and castle.
Starting the procedure
There are five known methods for tile laying on the floor:
- Standard - square or rectangular pieces are placed parallel to the walls. The order tiling looks. Installation start from the second row on the floor center, so that the corners were two equal halves. If necessary, they customize the size and cut
- Diagonally - this method requires considerable time and material costs.
- Masonry - so appropriate for tile laying, executed under a brick or wood.
- "Herringbone" - a way to give the volume of the room.
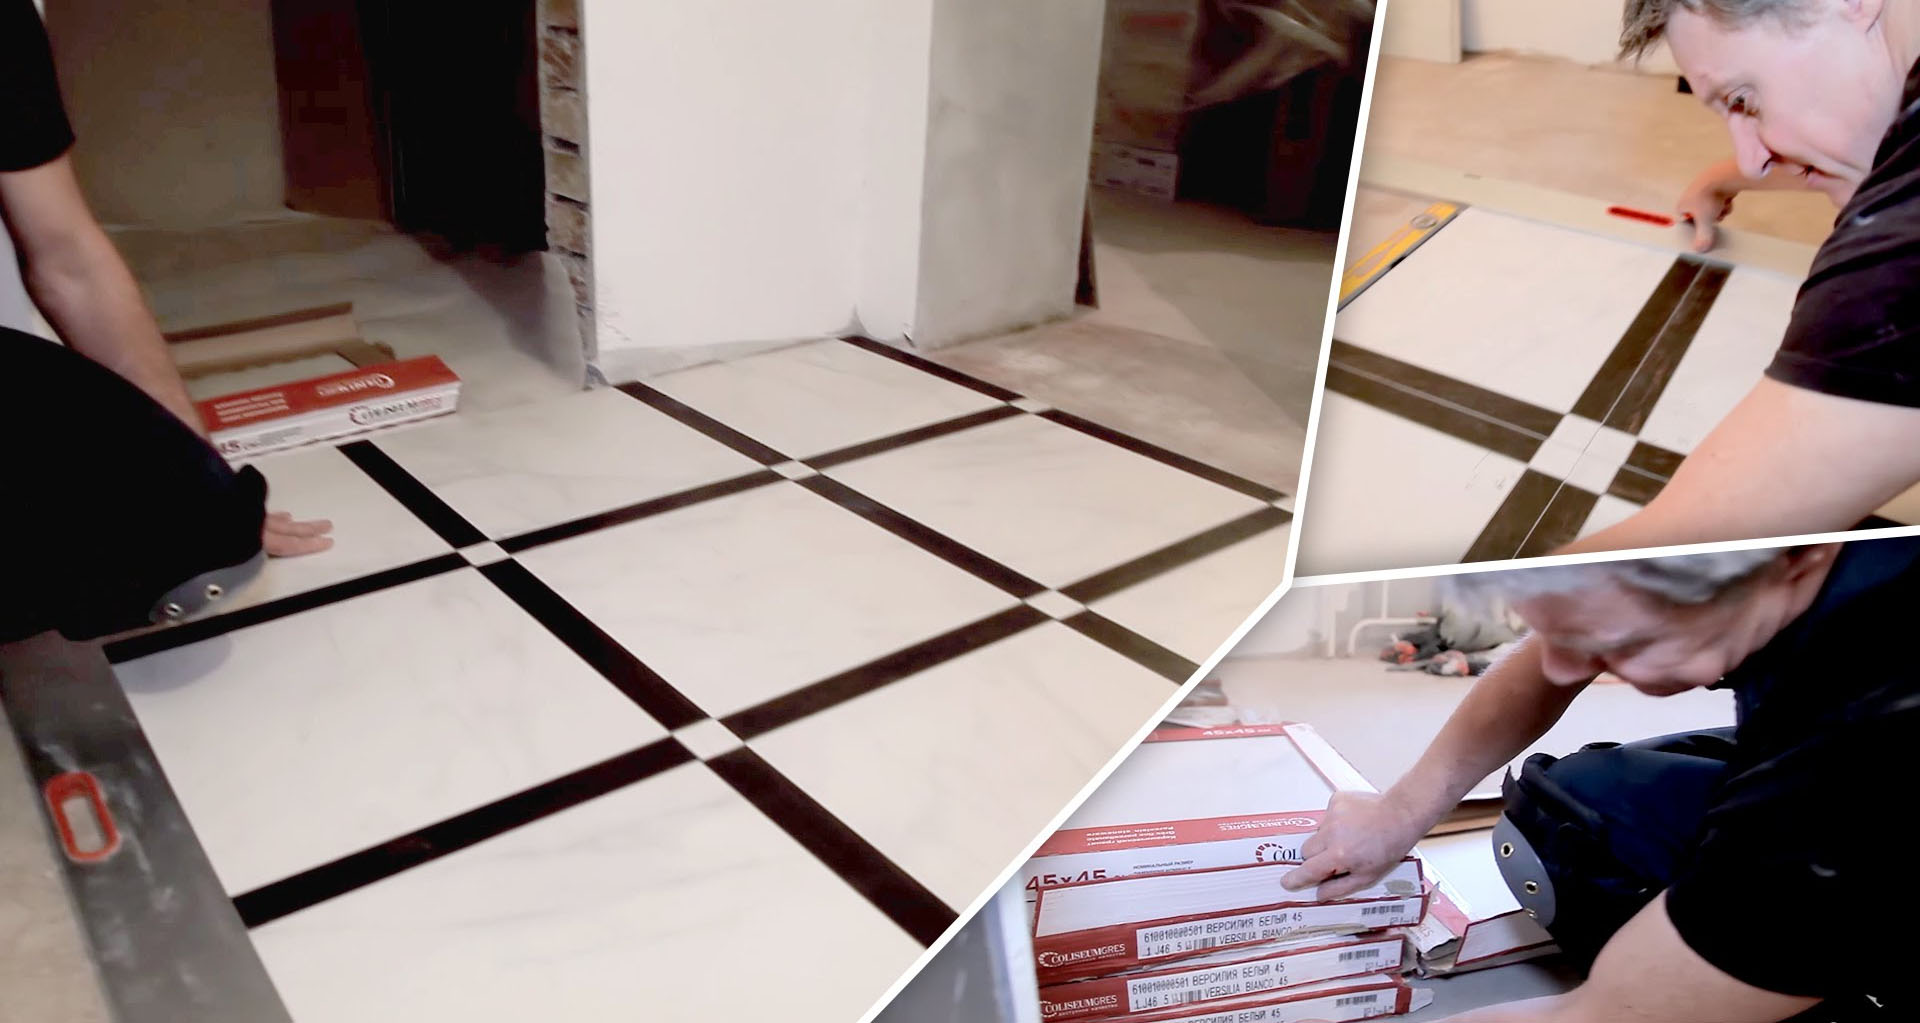
- Modular tiling - assembly of fragments of different sizes in a predetermined pattern. Looks rich and elegant, but, if you do this on their own packing, You need a lot of mess.
Among these options, tiling easy to choose the appropriate. Clay Tile diluted with water in accordance with the instruction and is stirred with a mixer to a thick mash. The thickness of the adhesive under the tiles onto the floor varies from 4 mm 10 mm. Mass is applied to the floor with a spatula alternately in small portions (1 m2). Back of the tiles too thickly smeared with glue and tested with a notched trowel.
Next, we must put the tiles on the floor, and a rubber mallet to align the level of. If you need to trim, use Tile. That the seams were straight, at intervals distance crosses inserted between the tiles. After complete curing is carried out coating grouting. Mass embedded in the seams, and the excess is removed immediately with a rubber spatula, wet foam sponge or cloth. Important, remove the excess, while the remains had not been dried, otherwise it will have a long flush flooring.
Qualitatively formed floor covering of tiles is used for many years, without losing its original appearance. Laying ceramic tiles on the floor - a simple lesson, but exciting and interesting.