Put an apron of tile in the kitchen: the wizard
Each apartment repair meets one work, which have to deal through the power - this tiles, which is put on the wall is very difficult for a beginner. But it is impossible to make a beautiful kitchen or bath renovation, not paying attention to this point,. Tile for the apron is the final element, without which the cozy and comfortable interior to create will come. At first glance, that the tile for the kitchen is not important, but really beautiful and well-built apron performs as a decorative function, and functional - it protects the wall from exposure to liquid, wallpaper there would not have lasted much. Laying tiles - a pledge of his long service set furniture, because now neither hot nor cold water you are not afraid. In today's article, we propose to consider each step: choose, We prepare the wall and put the tiles on the apron for the kitchen.
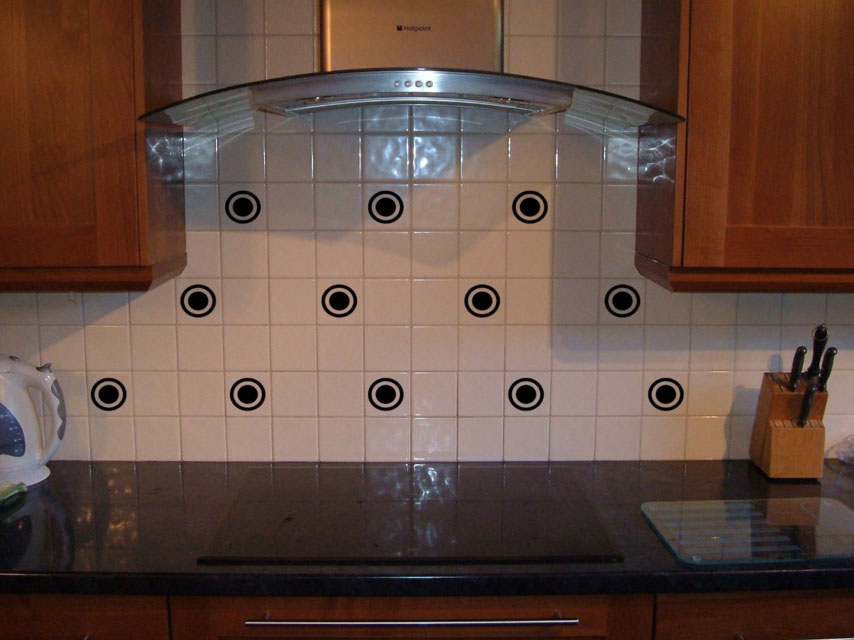
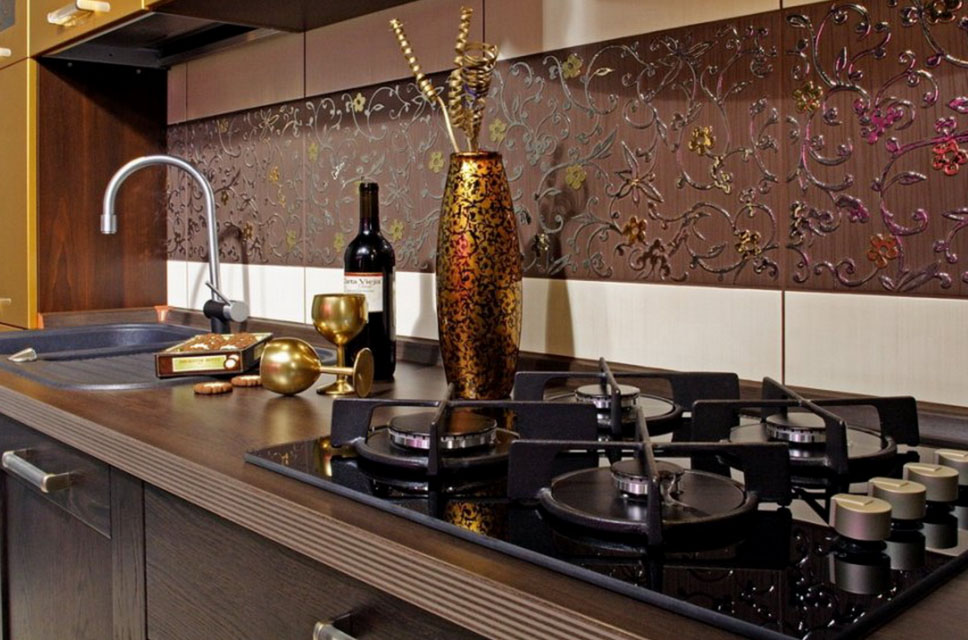
We are making the best choice for the kitchen: design nuances
Brick wall tiles chosen in advance by the selected parameters, which we summarize in the following list:
- Susceptibility to physical stress;
- High level of resistance to thermal extremes, a pair of high-temperature;
- Apron for the kitchen of the tiles must not fade in two to three years;
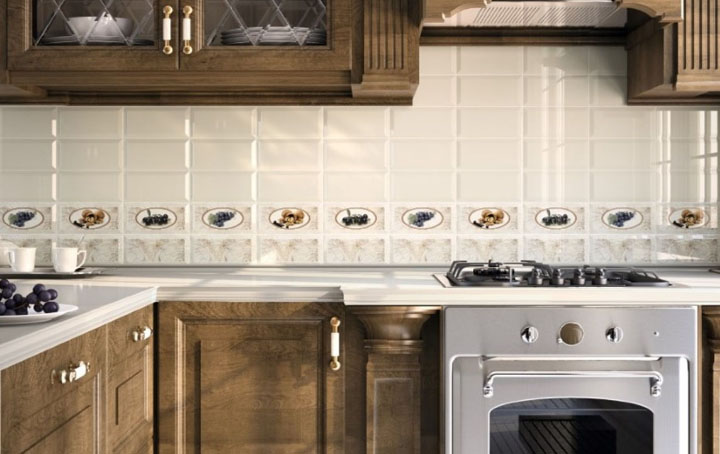
- Choose smooth tiles, to him it was convenient to wipe dirt and grease.
note, that nowadays the majority of tiles produced by modern recipes, and they fully meet the daily needs of people. It remains to buy spatula, select the appropriate design tiles and start laying the tiles. Do not forget about the calculation solution for stacking, once also nowhere to go.
Prepare wall coating for the apron
Preparing the walls under the tiles - this is an important stage of construction, and on, as you follow this procedure depends on the future result. At this stage, the most important to ensure a thorough cleaning of the walls of the past cover, it is desirable to get down to the bare concrete, is not it better to put a tile. If you do not do this, then later left bumps spoil clutch, plaster tile come to naught. In this case highlighted such nuances, are worth paying attention to:
- Preparing walls for laying tiles starts with the separation from the walls of wallpaper. And this is done thoroughly, so that no piece of paper does not remain. this procedure is a simple technique and known to everyone: first moistened with hot water, and then take the spatula tiling and begin to tear off. To recommend it went quickly penetrate to the surface of the groove in order, to make it easier to tear off from the wall. After Wallpaper take a hammer and start to repel the plaster, you need to get to the bricks or boards to, when it comes to apartment. If you do not clear so deeply, it will not be able to do normal alignment, and tiles lie crookedly;
- During the construction, it is desirable to know in advance, what is hidden under a layer of wallpaper. In Soviet homes for the sake of saving are often built of wooden wall. There preparation was carried out analogously, with the only difference, that carried out the alignment walls under the tiles. The basis of plasterboard will help to quickly deal with this problem, so you get a perfectly flat surface instantaneously. In addition to this tile material held up better.
Now that you know how to prepare the wall tiling, We proceed to the next step.
line the walls
When the walls are already prepared can only make the alignment of the walls with gypsum plaster, each centimeter of the surface must be flat and smooth, to provide quality contact with the wall tiles. Before, you start to mix plaster read the instructions, and only then proceed to action. If you are a beginner in this business, the plaster under tiles consistency should resemble a thick solution, which stands almost spatula.
Grout for tiles applied on the wall is easy. You will need a spatula and trowel, by which you put the glue on the wall, and then carefully smeared layer by layer. To evenly grind adhesive plaster tiles, use a large spatula. If a plasterer experience you have, it is possible to dispense with a trowel - place the mixture immediately on a large spatula and put on the wall.
Laying tiles
Now begins the most important thing - we put the tiles on the wall, and the first thing we look at a couple of nuances. When the note, apron that each customer is different, and respectively grout for joints consumption is different. Therefore, do not take the standard of someone's value, count yourself, otherwise it will be a bunch of excess glue, which should be thrown out. Before, how to calculate the adhesive for the tiles thoroughly again peremerte every centimeter, Suddenly you want at the last minute to add a number of tiles, or to make an apron above - every nuance of this is taken into account in advance.

Another point, which should pay attention - binding to the wall, even went to the apron. Here's how: if the clutch starts to angle, the screw is screwed to the corner, and it hangs plumb, if the door, then hang a right on Lutkov. And the plumb line will be seen, how to lay tile exactly. If you're going to lay tile floor is not, and then make a horizontal level, otherwise it is likely to put a crooked. Yes, tile and placed bottom up, not vice versa, otherwise close to the floor notice themselves, that goes awry. To make a horizontal axis for laying tiles in two points of the wall at an equal distance from the floor and tighten the screws tighten a strong thread or fishing line. After this, knead the glue and start to work.
rub clean seams
At this stage, no problems predicted, work does not take a lot of time and effort. After that, you are finished with the laying, and a tile will stand a couple of days, then take a hard cloth and begin to overwrite the seams. After that, how to take rubbed grout, she sold white or color, and soft rubber spatula rub into the wall between the tiles, Alignment is a finger, only to become an even seam. In this work on the creation apron terminate.