Terms of repair in the kitchen: techniques and tricks
Kitchen - this is the place, where housewives spend a lot of time, It meets regularly to family, here are hosting. This is the room, which is obliged to look presentable, be comfortable and functional. make repair their own hands in the kitchen the power of even a layperson. To this end, guided by the rules, prompt, in what order to do repairs. The correct approach to repair it easier, save money and energy.
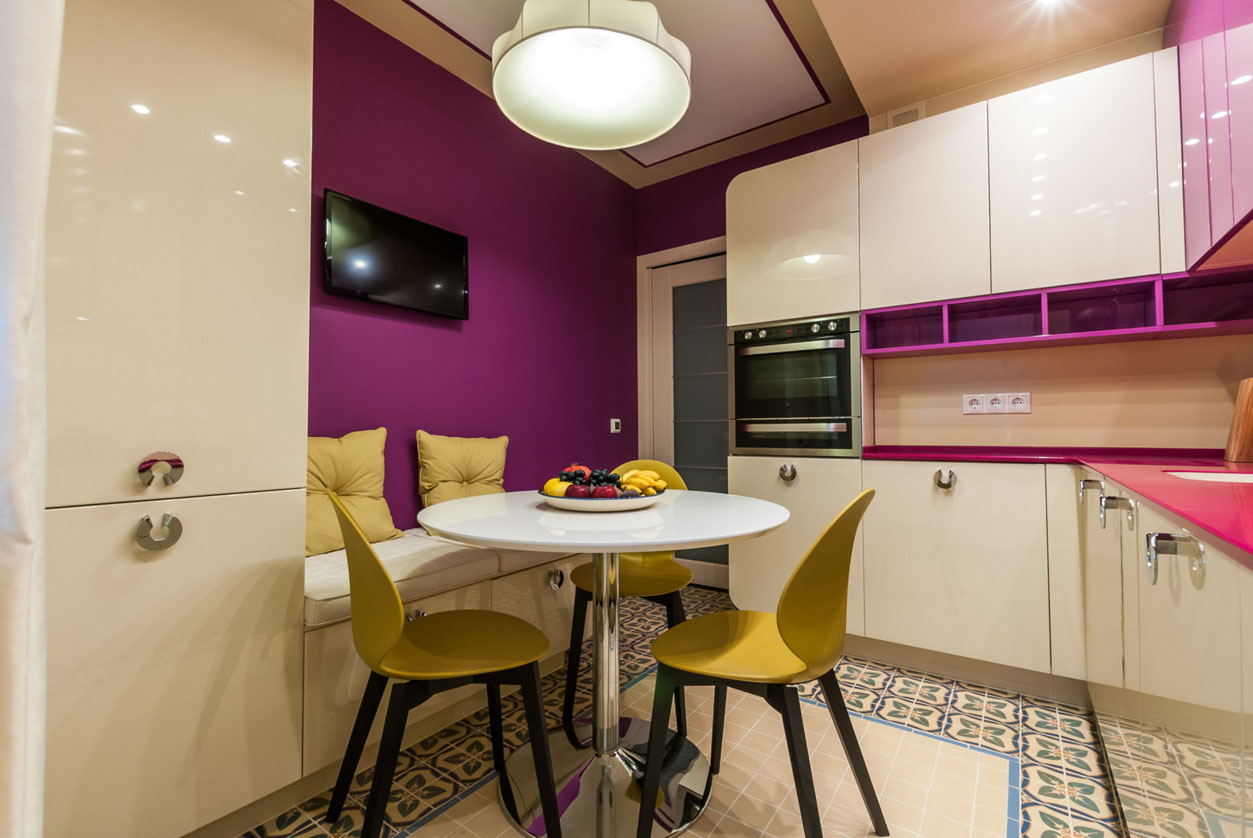
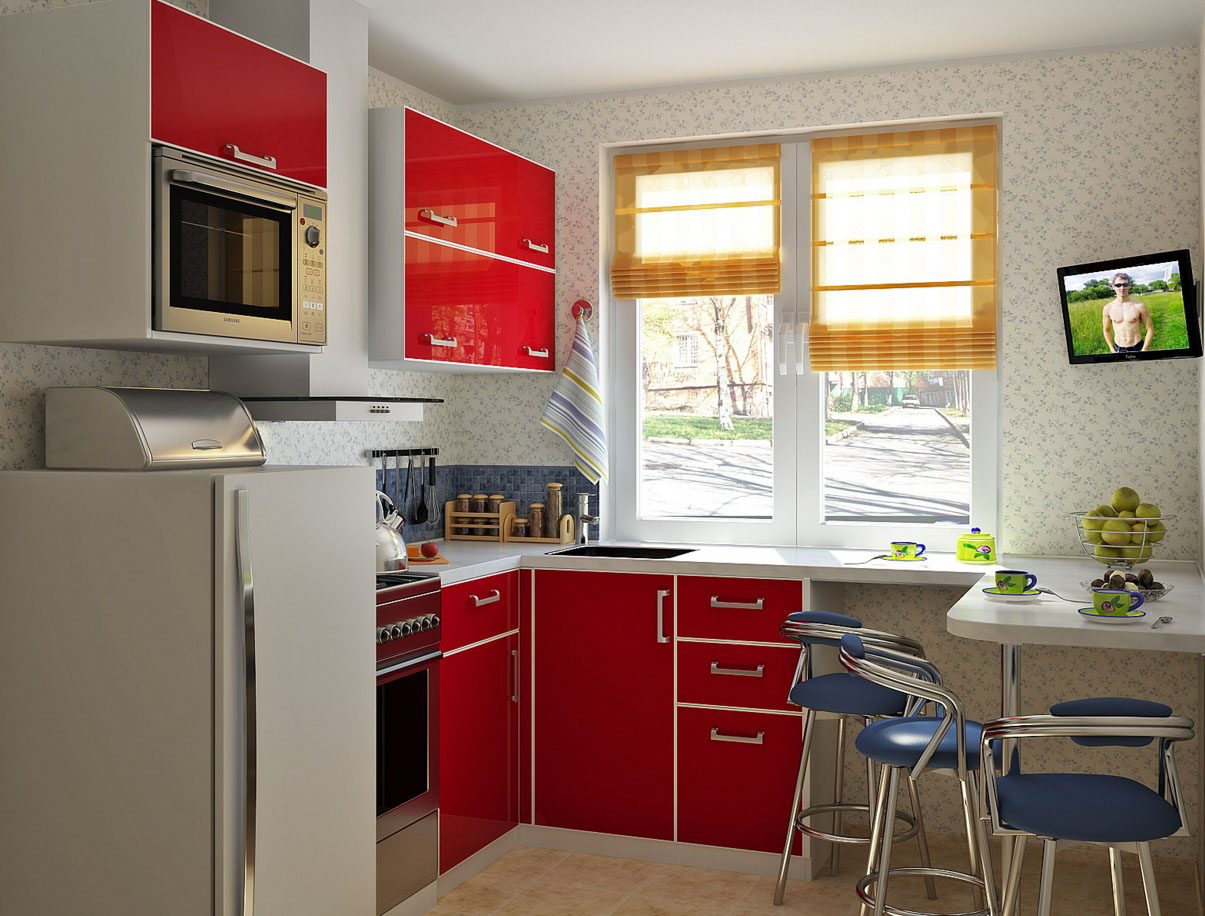
Kitchen - specific premises with the dirty environment. When cooking evaporates, the temperature rises. Therefore, pay special attention to ventilation. The Soviet-built kitchen has a small footprint and low ceilings. Repair in these areas - difficult task. You want to save a useful area, making functional every corner. so, as renovated kitchen right?
The sequence of work and the amount of
first, then you need to do - is to determine the sequence of repair. Start with an evaluation of premises. Measurements make it, calculates the area and the main parameters. It is necessary to assess the state of the communications, ventilation system, think, where to place the kitchen equipment. Carry out measurements of window and door openings, their distance from the floor and walls. The same applies to sockets and switches.
You need to determine where the gas and sewer risers, Do they have to endure in the future. Calculations should be made in the nearest millimeter, because the error will result in unavoidable discomfort at the end of repair.
The result of the previous stage will be a kitchen with all project calculations. Determine the placement of furniture and equipment. About the size of furniture you need to deal in advance with its supplier.
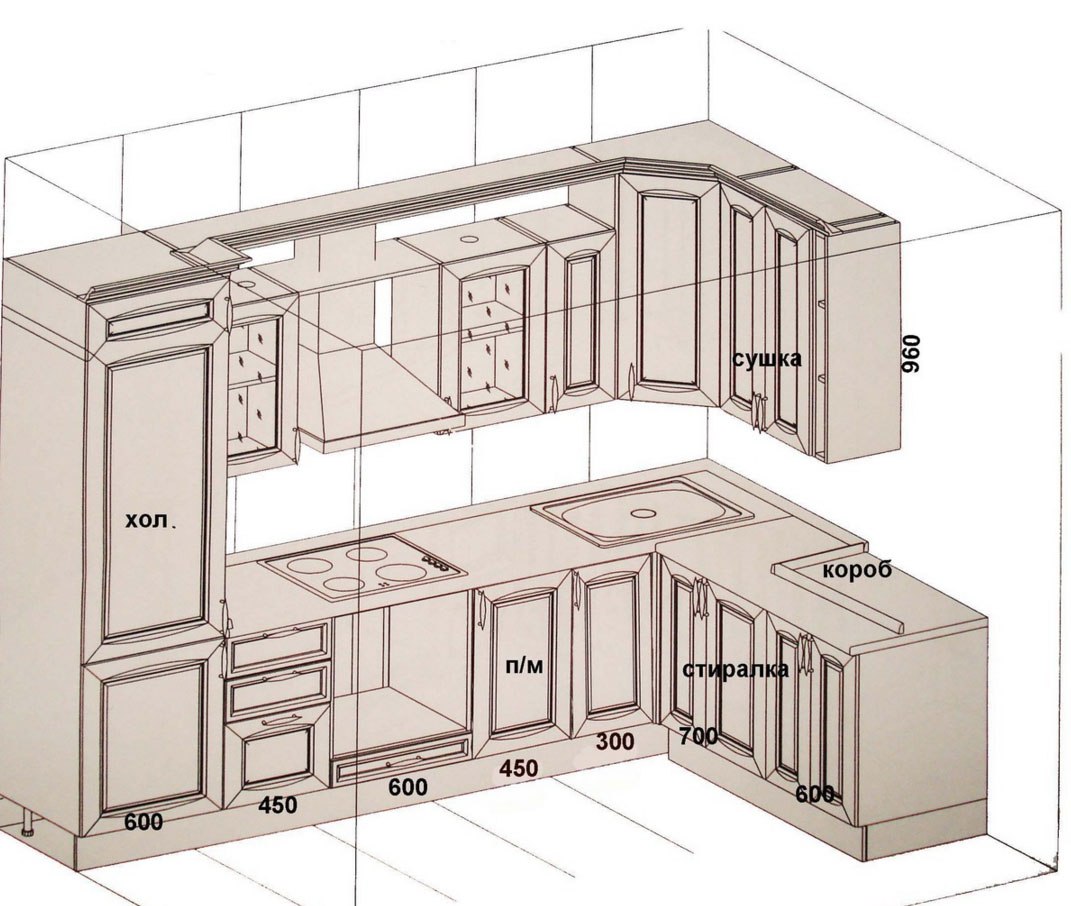
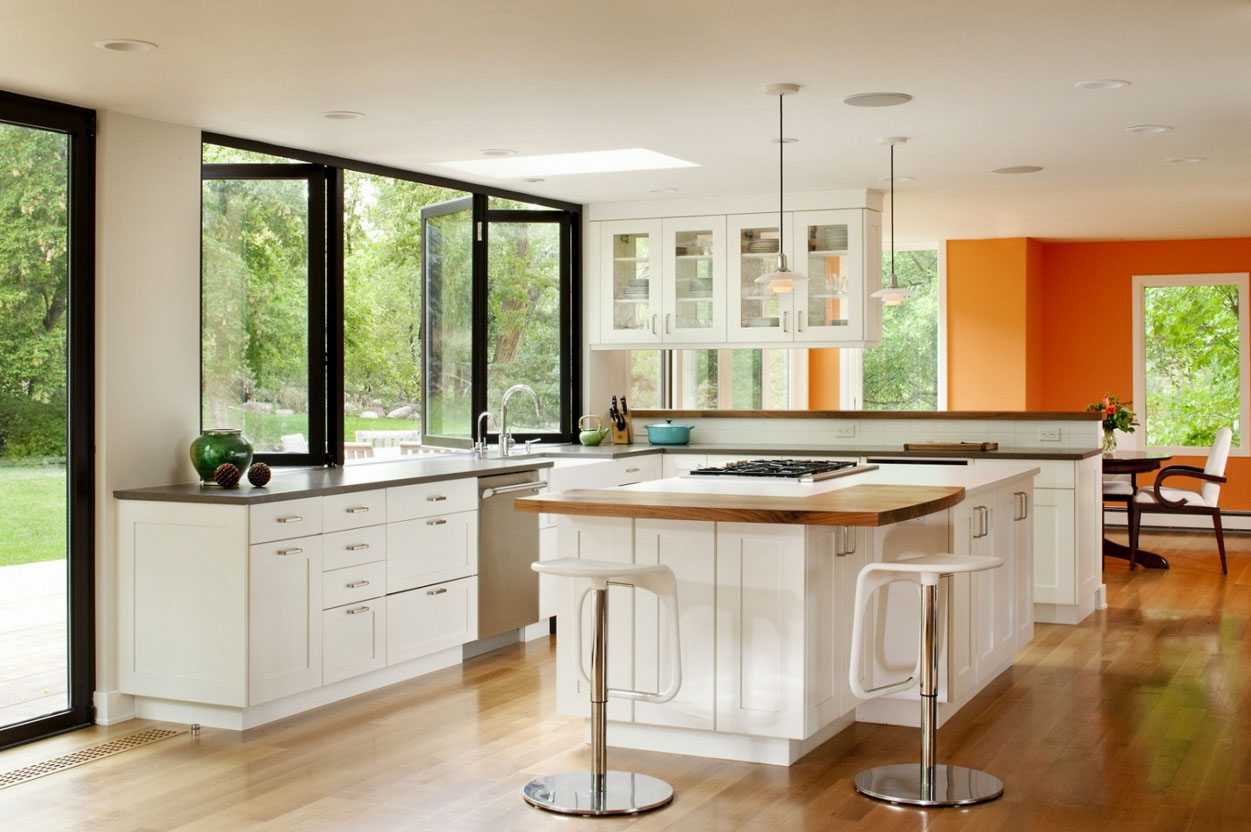
The main functional areas on the kitchen - a plate, refrigerator and sink, which should be equal and each occupy not less 1,85 cm. Sequence renovation of the kitchen with his hands should be observed strictly. If your own to make the project difficult, you can enlist the help of a designer. Preliminary plan of the premises also has a sequence. Initially, determine the position of Communications, equipment, and only at the conclusion of placing furniture.
the main problem, associated with communications, this pipe, you want to hide. Now widely used hoses. They connect the device directly to the gas riser, used in water supply and sewerage.
work, associated with the re-equipment and connection to gas appliances to make your own is forbidden. For this cause a brigade gasman. Transferring the gas column is carried out only with the permission of the respective bodies. Check out the documentation is not so difficult, but the column can be placed in a convenient location.
Sequence repairs in the kitchen It includes one more point - correct positioning techniques. gas appliances, stove and boiler, We should not be located close to each other. Gasman set a minimum distance - 0,8 m. Refrigerator and stove should be placed not too close. Refrigerator from this spoils, not to mention the electricity consumption. The distance between the devices should be at least 0,6 m.
As for the microwave, is it in small kitchen It can be hung on a wall to save space. Many models of stoves are designed for this location.
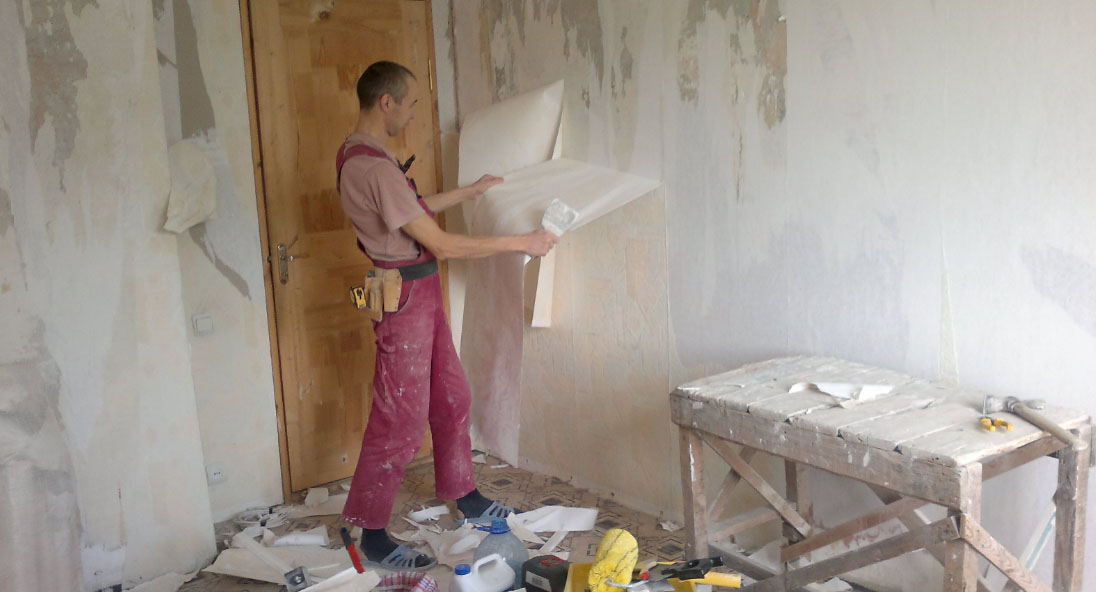
After the kitchen plan will be drawn up, order maintenance in the kitchen involves dismantling the old equipment, furniture, decoration. Tear off from the walls of the old coating, washed fully all premises. How exactly will have to clean the wall it depends on the type of coverage. If this wallpaper and putty, their removal is carried out with a spatula and water. Coating pre-soaked with doors and windows closed, waiting for 1-1,5 hours and brushes. If the walls are covered with paint, then to remove it using special chemical compounds - washing. They soften the old paint, which then can be easily removed with a spatula. Sex purified until concrete screed. Next on the wall, ceiling and floor are applied impregnation - Primers, deep penetration.
The main rule, which must be observed in any type of finish - plaster of whitewash can not be. neither plaster, or putty. The coating will not stay. No penetrating primers will not be able to change this. Whitewash should be thoroughly washed off and the walls, and from the ceiling, if there is one.
Windows and doors
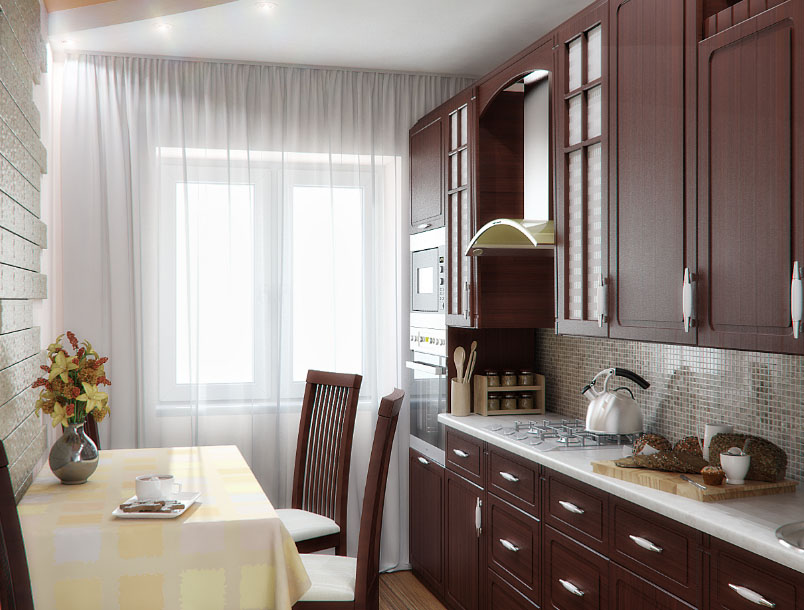
Qualitatively, it is impossible to repair the kitchen without replacing windows and doors. Do it at the stage of dismantling. When the room is fully cleared, it's time to install the new window and door in it. If it is possible, then restore the old windows and doors. Upon completion of works the new door and window need to be insulated film and tape, so as not to damage or stain them in future work.
Roof work
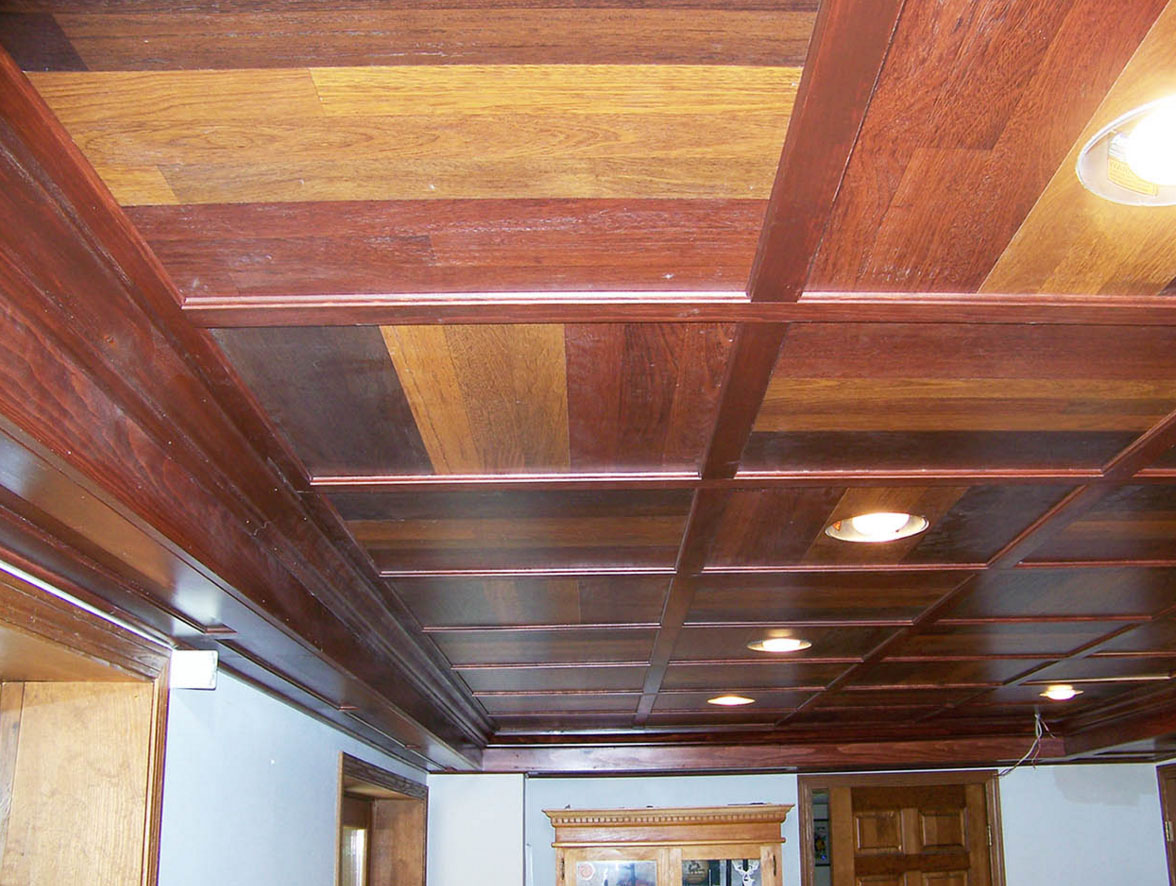
To repair the ceiling of the kitchen need to be clearly defined in advance, what requirements it must meet. Ceiling covering should:
- be resistant to steam and moisture;
- not to change their color;
- be a vapor. Otherwise bacteria may accumulate under the cover, causing fungus and mold;
- it is better, if the cover is washable;
- ceiling should be partially restored by. I.e, if there were some local damage, This part of the ceiling to be easily replaced by a new, without repairing the entire area.
Average service ceiling coverings must be at least 10 years old. Stretch ceilings in the kitchen, as practice shows, deform and quickly lose appearance. Therefore, as the coverage is better to use:
- MDF panels,
- plasterboard (moisture-proof);
- ceiling laminate;
- plastic panels.
Decorating the walls
You can renovate the kitchen in many ways, but it is considered a classic wall decoration tiles. it is practical, easy to use, tile is easy to clean. The downside is that, that the tile seams quickly lose appearance and drives are dirt and bacteria. To this did not happen in the grout is recommended to add a polymer emulsion for the exterior and bathrooms.
Actual idea of finishing walls with plastic wallpaper or paneling. These materials do not accumulate odor and do not fade. Subject to the accuracy of the unit, such wallpapers will last more 10 years old, not to mention the panels.
The variety of colors and textures of finishing materials market makes it possible to create any design in the kitchen. It looks great combined materials. In less polluted areas, you can use light shades, there, where the surface is heavily soiled better fit not easily soiled dark colors.
In any type of finish is important to properly putty surface. Otherwise, the wall will keep any irregularities, even the most beautiful decoration will not look.
The final stage - floor
Work with the floor divided into two parts. The first relates to the very first stage of dismantling, when the old coating removed. Then pour a new tie, as it is the dirtiest type of work. Further work with the floor can be done before or after finishing walls, it does not matter. A new screed is laid laminate, tile or linoleum. If the concrete screed is not provided, but lay a wooden floor. Tile it is not spread. Decorate in this case, the surface can only laminate, parketom. It needs to more carefully align the wooden surface for linoleum flooring.
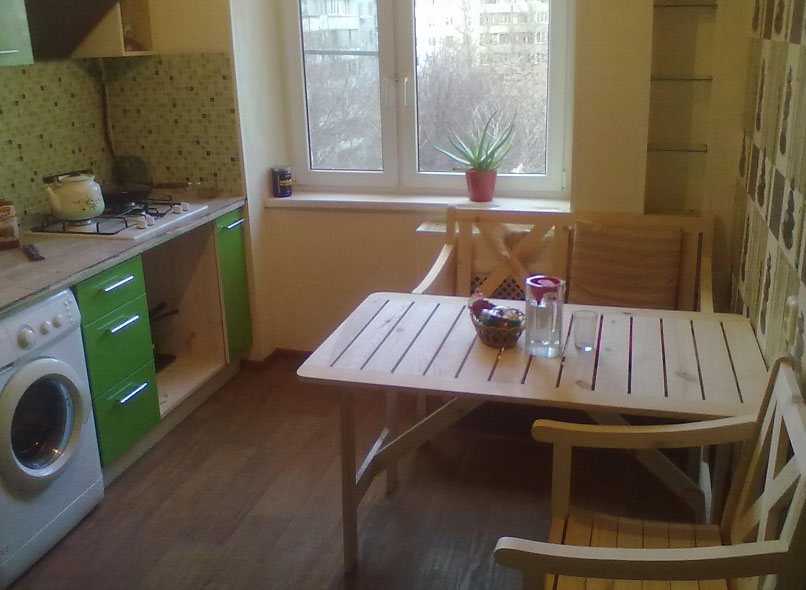
At the last stage of repair is to place furniture in the kitchen and enjoy the work done.