Mosaic as a protective apron for the kitchen: advices of the master
Kitchen apron - is the protection of the working wall from contamination, water vapor. The material for the cladding is selected durable and beautiful, so the decorative mosaics is also suitable for finishing. About Apron Kitchen mosaic and how to perform mosaic tiles, you'll learn in this article.
Range
Mosaic consists of individual elements, which are called chips. The size of each of them is from 1 × 1 cm to 10 cm × 10, it depends on the manufacturer, material manufacturing and design ideas. For kitchen apron, according to experts, it is recommended to use the size of the 2 to 5 cm. The geometric shape of the elements, not only the square. Although it is common variant, sold more rectangular, round, oval and polygonal chips.
apron from mosaic in the kitchen collected from these chips, or using pre-prepared designs for the mosaic. For facing the kitchen apron combined standard ceramic tile and mosaic picture, eg, Same ceramics. Building stores offer prepared schemes for interesting ornaments and pictures.
glass
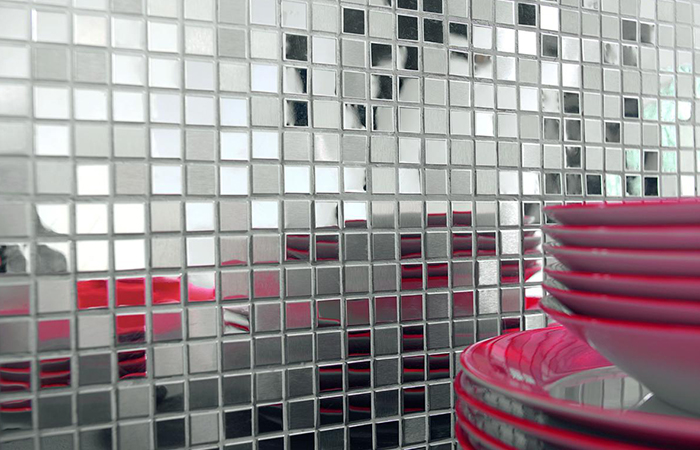
Glass - a popular material for finishing apron. he is a solid, reliable and inexpensive. Glass mosaic sold particles size of 1 × 1 cm, 1,5× 1.5 cm and 2 cm × 2. The thickness of each 4.3 mm, but it's enough for a kitchen apron. Glass tile made of white quartz, so for the color it adds pigment substance, and to shine - pearl or aventurine. In this way, tile bright colors is more expensive. The main advantage - it is resistant to destruction by fire. Such a material is well suited for the working surface of the gas stove. Besides, Glass is easy to clean and does not accumulate bacteria.

ceramic
Ceramic tiles on the grid - this is a standard ceramic tile, but smaller in size. Characteristics and features they have the same. Sold tile formations of 30 × 30 cm of the elements 1 × 1 cm or more. Available ceramic tile and 10 × 10 cm, which is also used for laying mosaic. color, the shape and structure of diverse tiles, therefore, in a large selection of shops to suit every taste and color. Besides, manufactured and finished panels, drawings on which will make the kitchen an original and unique.
Porcelain
The main difference of the ceramic - a method of manufacture. If the elements are made of ceramics separately from each other, in the case of granite - a plate, which is cut into tiny pieces.
According to the shape and size of tile is no different from the ceramic, but visually reminiscent of stone. mosaic Grout, As in the previous cases must be waterproof and comply with colors apron.
stone
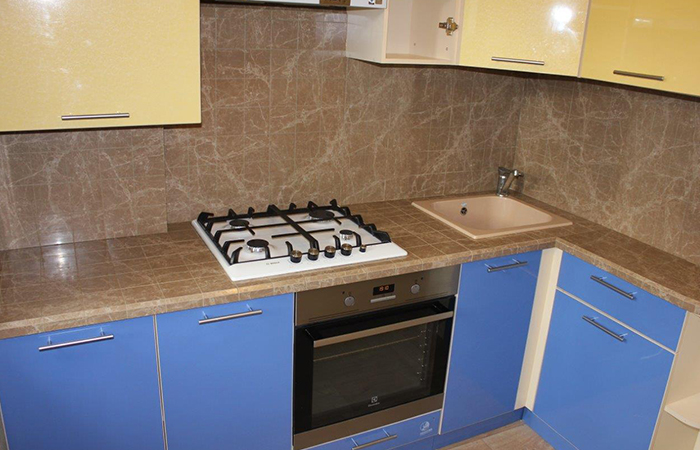
Mosaic on the kitchen apron made of stone - an elite category of liner. Beautiful and durable elements are cut out of natural stones and minerals, which is reflected in the cost of production. It is better, if the surface texture is smooth, without patterns in relief. Kitchen apron easily contaminated, and coloring products like coffee or beet juice may leave stains on the tile. Nevertheless, the main drawback of the material - its cost.
metal
Elements of the web not made of metal. They are ceramic or plastic figures, which wearing plate thickness 0,6 mm stainless steel or brass. This original version will add a stylish look to the interior, but there is a drawback - the surface easily soiled, so noticeable splashing, stains and fingerprints. Metal mosaic dear, and its performance characteristics are not suitable for the kitchen, therefore better to replace glass with imitation metal brilliant.
combined
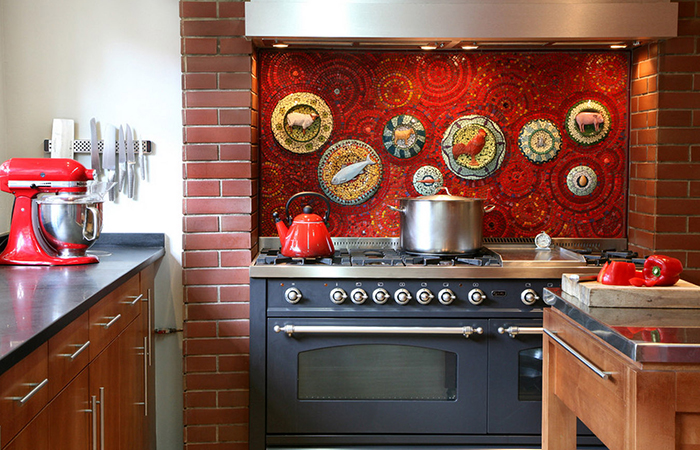
Mosaic tiles for the kitchen on an apron often combined with two or three materials. So, It combines elements of rock with gold and silver glass. The original version - author mosaic own hands. It is made of decorative stones, strass, metal inserts or broken crockery.
mounting Style
There are two ways, how to glue the mosaic on the wall.
ready beds
Mosaic tiles in one piece layers are sold in DIY stores, where it is desirable to choose the right grout for mosaic, to blend in color. How and what glue to the wall depends on the tiles. release options, reverse side of which is treated with an adhesive layer and fixed on top of paper. On such a hot plate is removed and a protective paper layer is glued on the cleaned surface.
be careful, if you are wrong or inclined stuck sticky layer, longer possible to alter.
In the second embodiment, on the wall, a layer of moisture-resistant glue, and the plate is fixed to it.
according plitochki
Small plitochki size of 1 × 1 cm purchased or prepared sets discordantly. Besides, the original pattern is derived from the battle of dishes or standard tiles. before laying, small elements are mounted on a reinforcing mesh. Further, this mosaic is placed on the grid as a ready reservoir. Mosaic tile for kitchen on apron is offered in two embodiments,, but it is better to purchase complete with ornaments, To save time. Especially, if you have no experience.
How to put the mosaic in the kitchen?
If you decide not to hire workers, and to make repairs on their own, step by step guide will help tiling with his own hands.
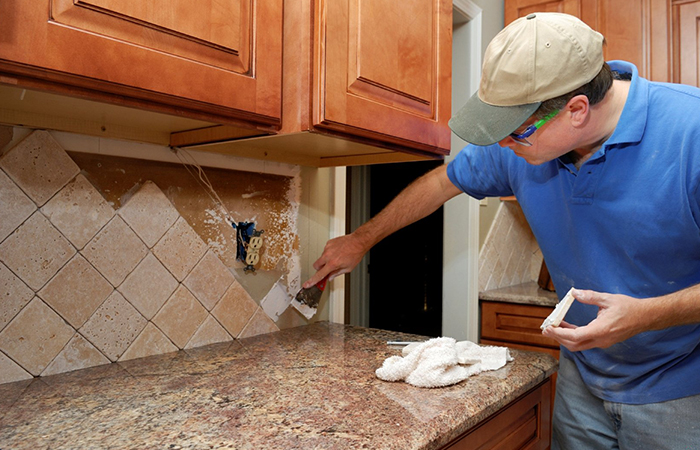
materials
To lay the needed tools and materials:
- putty knife (2-3 pieces);
- bead;
- latex adhesive;
- building level;
- scissors;
- primer;
- putty;
- rubber hammer and a block of wood;
- water-resistant grout;
- tile.
surface preparation
Gluing mosaic grid is necessary on the prepared surface. Mainly it is cleaned from the previous finishes and is aligned as far as possible. Patterned brickwork helps hide irregularities, but the volume bump to eliminate better with plaster or putty. Check the level of the result. Besides, kitchen Mosaic Apron It will not last a long time, If the wall is not primed wool roller. If tile adhesive, the wall must be clean and free of grease.
Laying mosaics
- Stack recommend glue, it is moisture-proof and the connection wall tiles stronger. Trowel, apply adhesive to the wall thickness of 3-4 mm.
- Spatula with teeth a recess on the glue, but not to the wall.
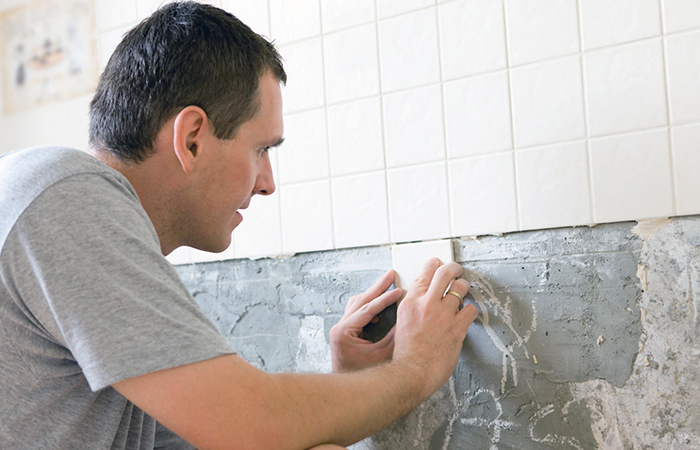
- Visually define the middle of the apron, on the marked spots from the bottom begins laying. The first layer of neatly mounted on adhesive.
- Rubber hammer gently tapping on a tile, for tight fixing. So as not to damage the chips, knock on wood hammer bar, He will soften blow.
- The rest of the layers of stacked similar. At the edges of the apron is necessary to adjust the tile size. Cut tile special roller, and the net - with scissors.
![Installation of the tiles on the kitchen apron Монтаж плитки на кухонный фартук]()
Surface preparation - the key to durable service apron - Do not forget in the process to remove excess glue and paste crosses plastic between layers.
- A day after laying proceed to the processing of joints. Grout Mosaic squeegee applied to the tile space. Remains just remove tiles, until they dried up.
- Through 15 minutes with a damp washcloth to wipe the seams.
Tips for saving budget
- If the mosaic for kitchen apron is too expensive, replace the ceramic tiles, which is painted like a mosaic, because the standard tiles are cheaper. If laying performs customized employee, his services for the standard ceramics also cheaper.
- Interesting view gets an apron with a combined mosaic. The big stores are often held shares and the sale of goods remains, which in the author's performance of apron give the unusual and original form.
- If you have already laid tile on the wall working, but it is damaged or out of date, Then you can not disassemble it and buy a new one, and the use of stickers on the tile for the kitchen Vinyl. These stickers are sold kitchen apron with pictures and ornaments, that mimic the masonry mosaic. Price mosaic selfadhesive kitchen significantly less ceramic and can be glued onto a flat surface of any material.
![Self-adhesive film on the apron Пленка самоклейка на фартук]()
Mirror film on the kitchen apron - If finances do not allow to buy a mosaic on the entire working wall, designers offer to alternate small items with ceramic tiles or in some areas to mount small ornaments.

