Puts apron, tile in the kitchen: technology and interesting ways
Ceramic tile for the kitchen apron will not only protect the walls of the premises with the dirty environment, but also make the interior complete, individually. Types of tiles so diverse, that the handyman is lost. To help - selection rule. About all the nuances and methods of self-stacking is useful to know, to get high-quality and beautiful surface. Today we will talk about, how to lay Apron-tile in the kitchen.
The choice of tile - types
Every owner wants to see his kitchen particular. Talk about the price of place - the quality can not be cheap, therefore analyze the strengths and weaknesses of a particular type of ceramics:
- traditional pottery. Characterized rich palette. durability, durable and easy to clean. The complexity lies in the laying the preliminary alignment of the walls, but, such procedures require all the options and the lack of it can not be considered.
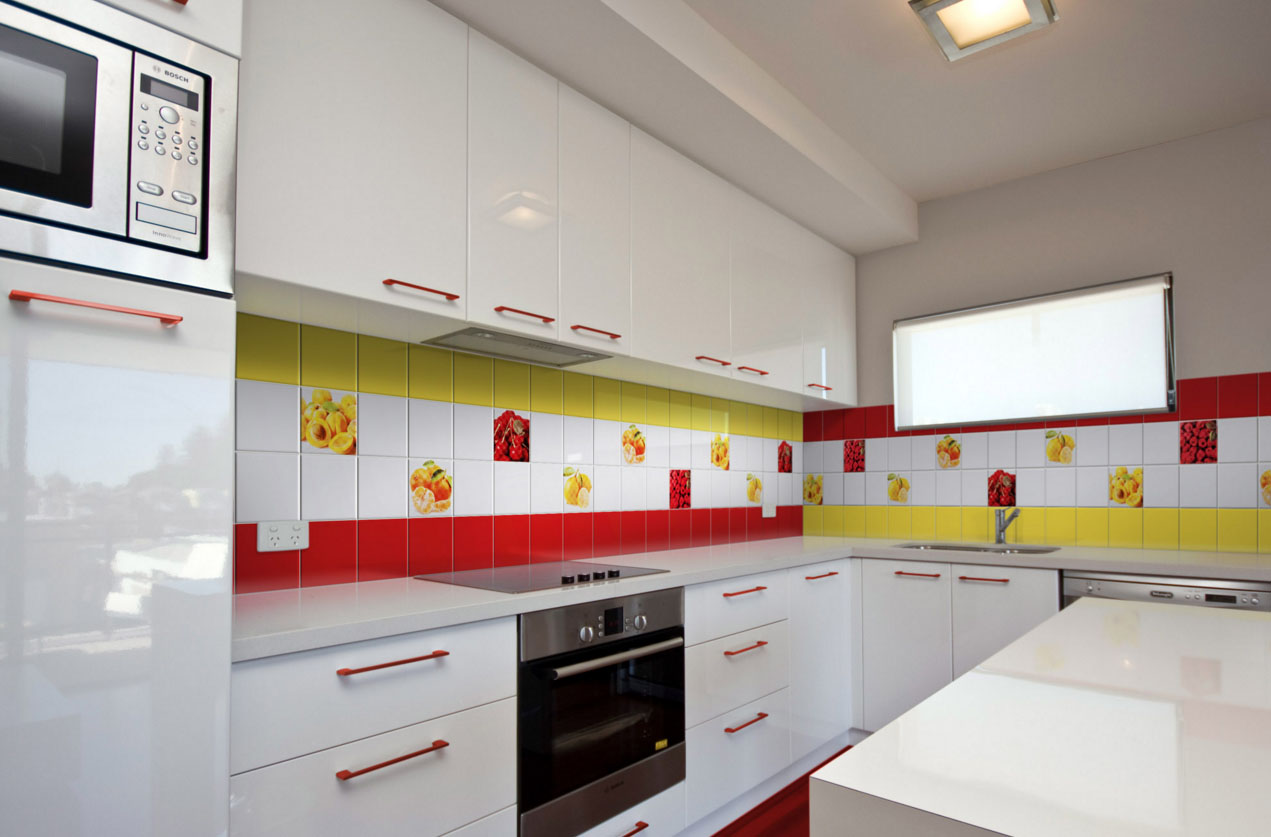
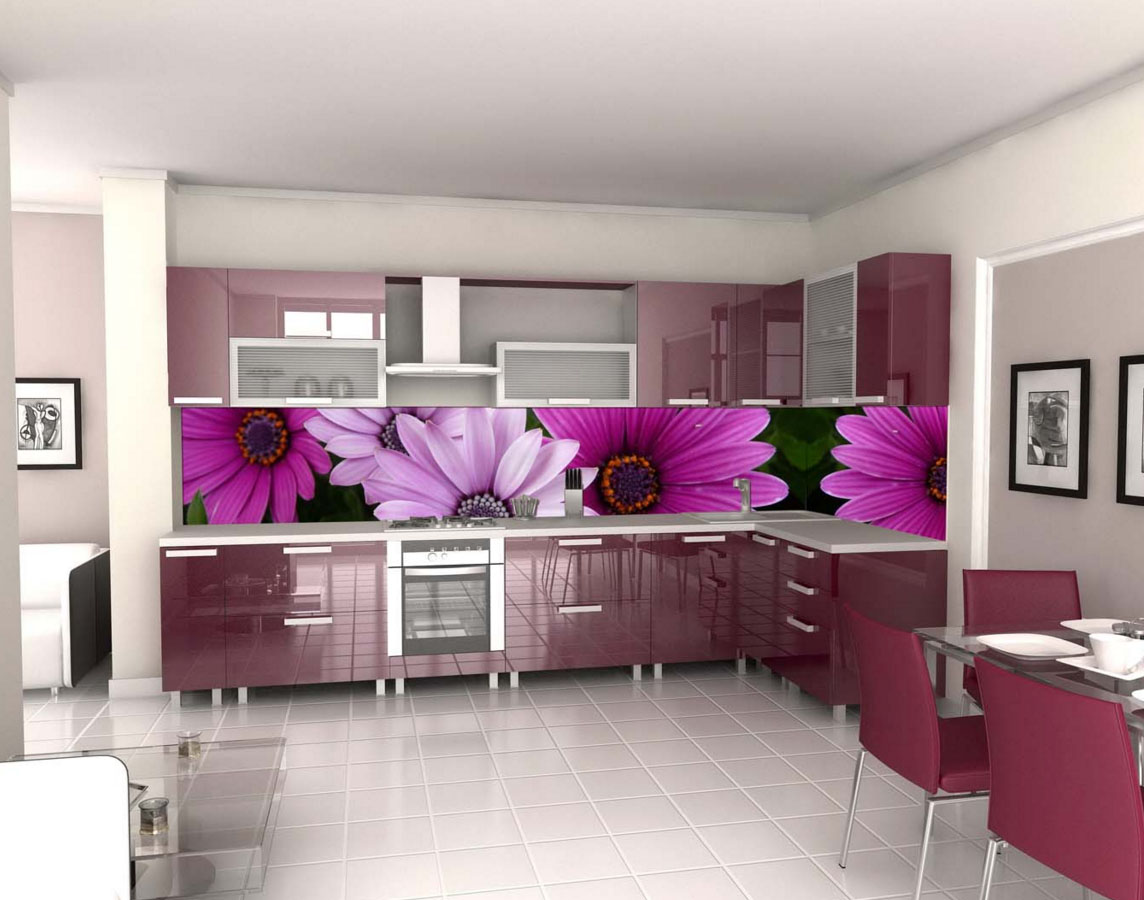
- photo tiles. The main advantage - originality of design. Carried out under the order, If the kitchen is the owners want to capture their own photos or landscapes. Laying the tiles with their hands of this type - hard. It is best to hire a master - there is a risk to make a mistake with coincidences, then the idea will be lost. Of course, the cost of laying this type of tile is high, but the result is worth it. Also becomes a minus and the, that mechanical failure, replace the element is almost impossible.
- Mosaic. The most budget option decor. Suitable even fight and in agreement with the store will purchase free or cheap. Stacking takes place in the fantasy fine, creating an original design. The disadvantages include the need for a large amount of related materials - tile grout for joints, glue.
Having defined the embodiment, should not buy it at once. nuances, As for other options - strict.
What to look for when choosing a tile
For proper purchases have the following values:
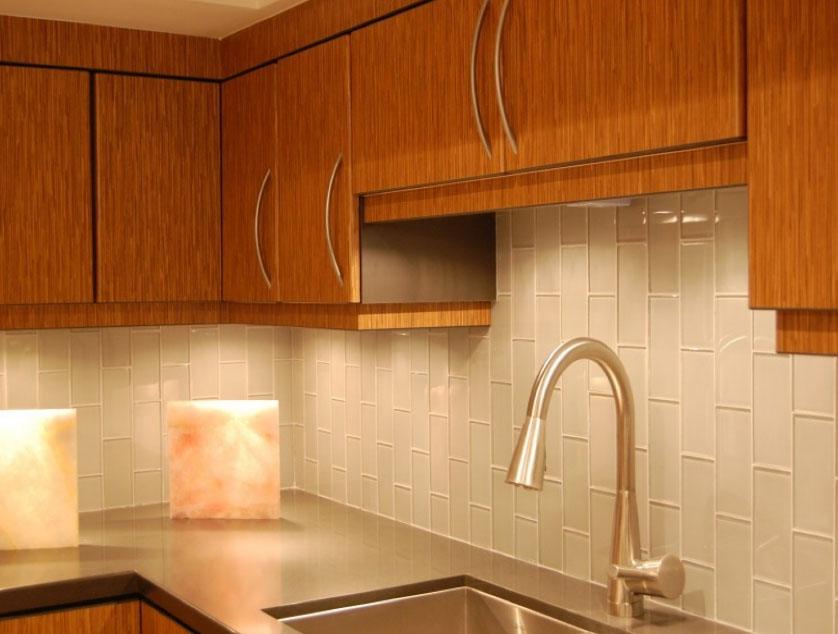
- Size kitchens and furniture. Overall the room is not man the apron of large tiles - it becomes less visually. Has the value and size of a finished surface - area between the top cabinet, a stove and a sink or wide band for the whole kitchen set. For the first embodiment is suitable square-type ceramics. For the second - rectangular.
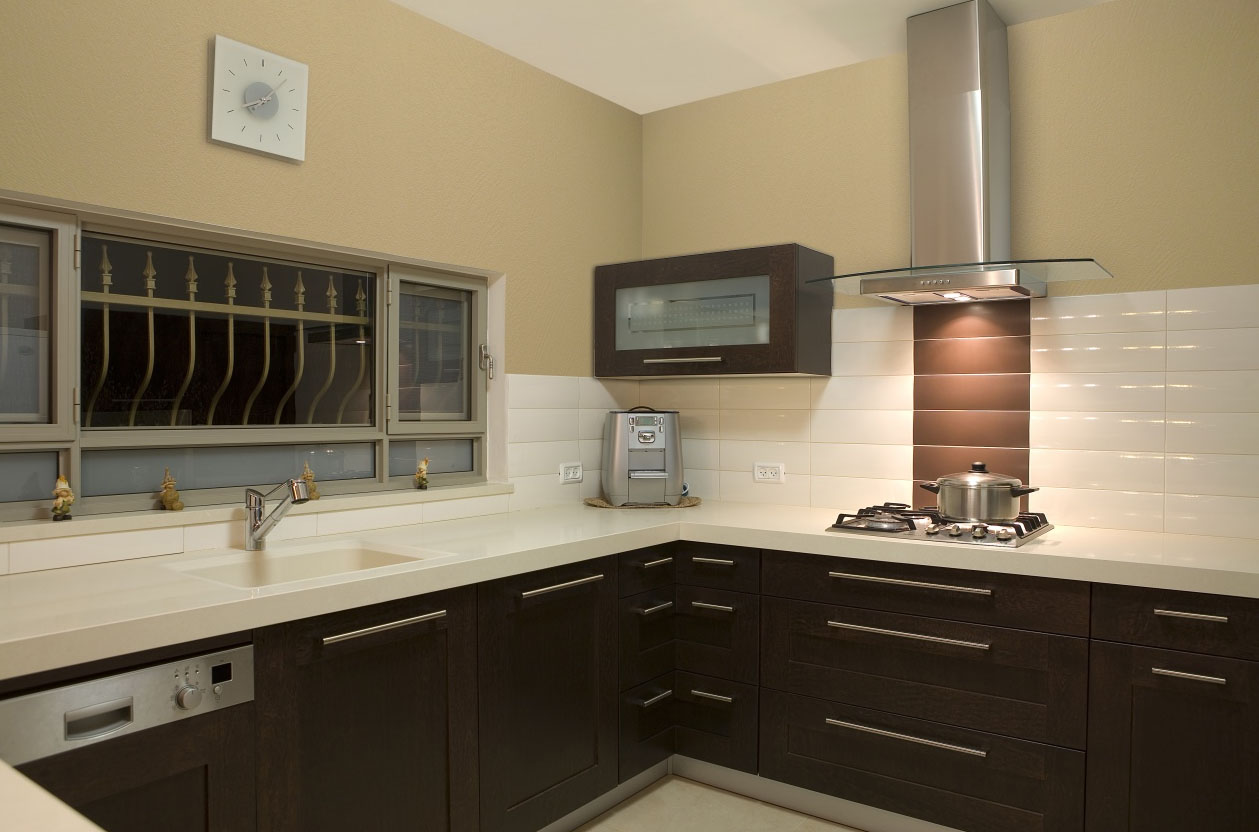
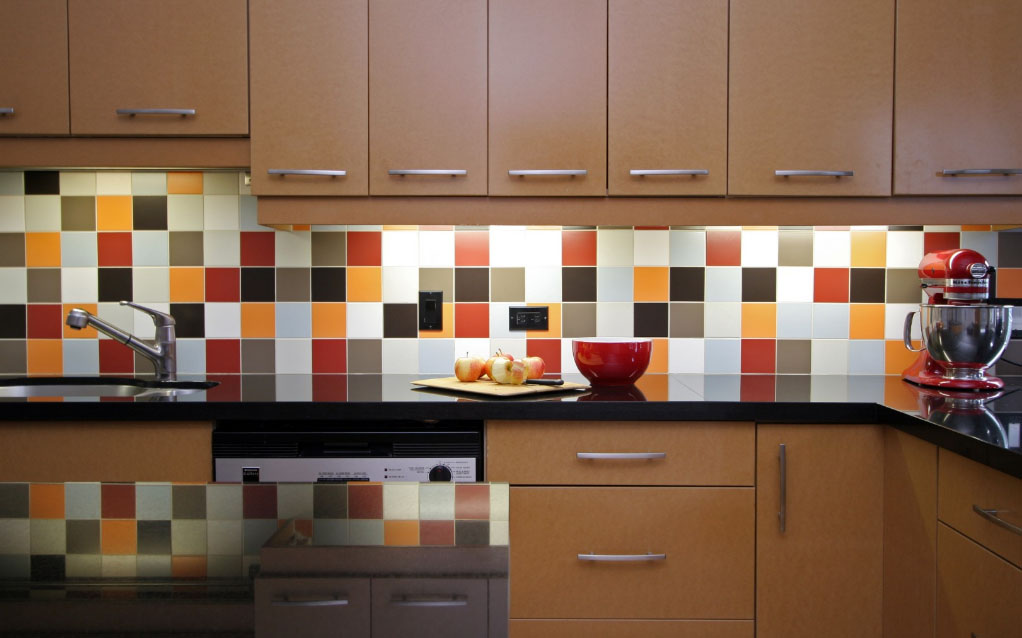
- color kitchen. White tiles - universal version. but, Mark and for large families, not suitable - all free time, the hostess will spend to bring an apron in order. Monochrome color - it allows the kitchen to start playing with bright colors, but it requires color matching headset - the contrast of place. Multitsvet - preferred mosaic tiles - performed by her apron from the collection of bright colors, allowed.
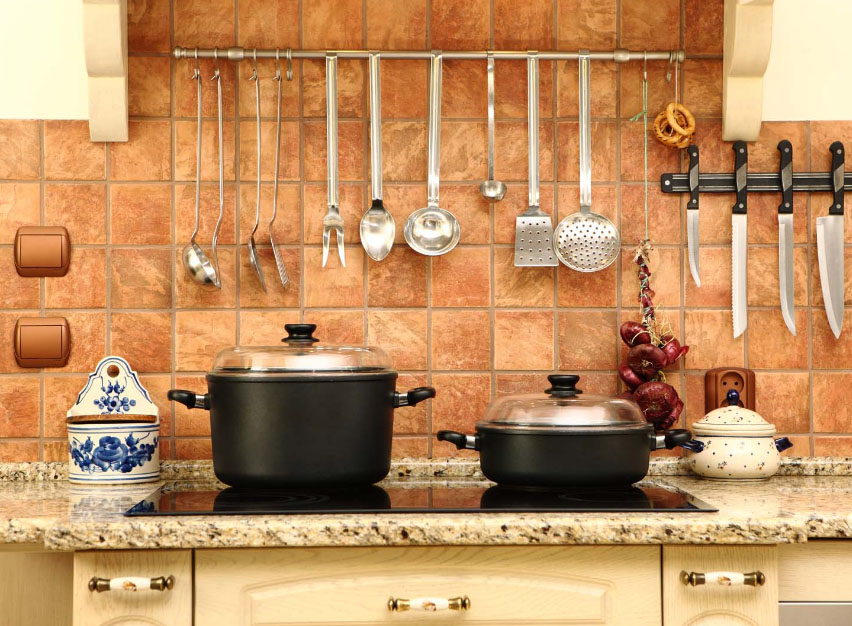
![an apron of tile]()
- Quality. Kitchen - wet room. condensate drops, deposited on the surface, contain fat molecules. Hence the conclusion - to select the raw materials should be smooth, glazed. In this case, possibly, clean wall quickly, without tedious scraping.
- amount. To avoid overspending, represent important advance in what way will be stacked facing. Traditionally, to put the tiles on the tile or use other methods - herringbone, shift, chess, fantasy. In the case of the first embodiment - classic - to increase the amount of 1 packing. Guide battle, cutting. In the second case, the number will increase by 3-4 Packing.

Take the trouble to look into the box before shopping, checking each ceramic unit integrity and chips. Even with the broken edges, the requirement to replace tiles - legally.
Laying the tiles with their hands
so, goods purchased. Also required ceramic tile adhesive, primer for walls and seams solution. select color grouting tile easy - it is selected in accordance with a touch of just apron or contrast. White is considered a universal. It is important to take into account, that the material should be moisture-resistant. It remains to buy tools, if you decided to do the work of their own hands. What you need:
- The device for cutting tiles. It will allow correctly and accurately get the size of the element.
- Spatulas for application and smoothing of solutions. Some must be made of metal with teeth, second - exactly, rubber or plastic.
- building mixer, level, roulette, tic plastic for keeping a distance between the elements. Metallic decks ceramics is not laying paving slabs - special care is required.
- Metal profile for stacking the first row.
- Detergents.
Needed gloves and goggles. Modern solutions are corrosive to the skin of hands, ceramic and flying dust should not get into your eyes. Further, technology tile with their hands:
Preparing walls
Kitchen is released from furniture. Antic wall covering dismantled perforator or trowel. Wall wash and obsushivayut. The surface is then impregnated with a large amount of primer - it is needed for better adhesion to the glue. The impregnation is carried out in two stages - wall after cleaning and prior to application of the composition for two hours before the operation.
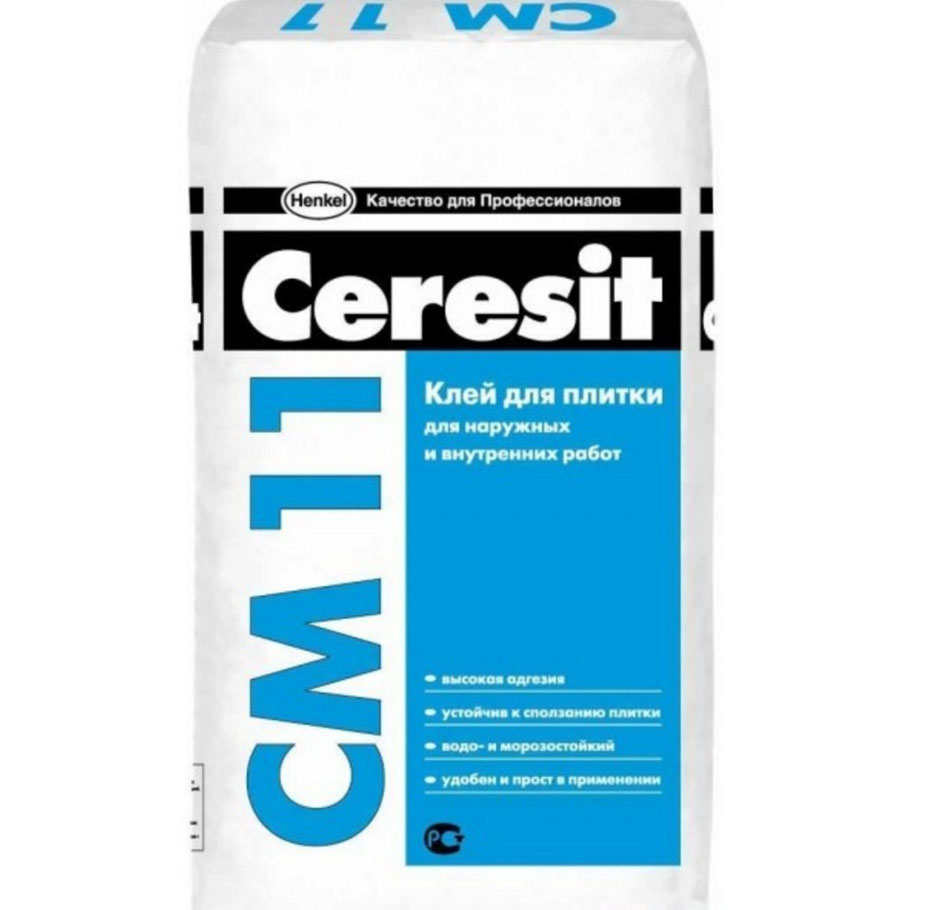
Now a variety of compositions such, that decide which tile adhesive better - difficult. Use the recommendations of the trade networks of advisers or positive feedback. Tile adhesive Seresit deservedly occupies a high place in the rating. Now you do not need to deal with knocking out the notches on the walls - the composition tightly fix the ceramic surface.
marking
That there was no bias in the future, mark out in advance the surface for laying. At this stage there are rules:
- The edges of the apron must go under the upper and lower edge headset 2-3 cm. It is important to calculate the width so, to tiling held integral elements, + distance to grouting. Marked lines will not be allowed to lose landmark.
- The lower edge of the steel profile is fixed. It is necessary to lay out the first row. Width sufficient for setting, but it should not be allowed, set to depart significantly from the wall.
For artists without experience, Marking all vertical, horizontal or diagonal lines - the undoubted help in. On the availability of tools to increase and speed.
Preparation of mortar
Kneading portion can not be, If the wall or ceramics has not yet been prepared. This is done directly before laying. The plastic container is poured into water and pour powder - tile adhesive consumption according to package directions. The primary batch is handed, the second - a mixer, to bring the masses to the uniform. Further, Prepare solutions give time to swell, after stirring and the work can begin. After three hours - a dried solution unfit.
Tiling
Before the start laying tile, it is soaked in the tank for a couple of hours - wet, it is better to cut and fixed. Besides, technological advance requires drilled holes for the insertion sockets and outputting them to the surface of the apron. Further:
- Notched trowel applied layer of the solution on the wall. It is important to clearly fix grooves - so will better grip. Laying tiles starts with a support on the lower ceramic metal profile edge, prominent from the corner by.
- Stacked first row in compliance with the distance. Markings according to align or level. plastic cross inserted between the tiles - two on each face.
- The following rows are placed similarly not recommended to do more than three rows at once - it is important to lock onto the ceramic wall, otherwise the tile adhesive can not hold heavy series and increase the risk of collapse. It is important to monitor the level of the resulting plane and leveling layers apron fixing solution.
after each 10 pcs, excess solution was removed immediately from the surface of the ceramic, Then tile adhesive, its dried mixture, remove hard. When the apron is almost ready, it is left for grouting.
Grouting
Constructional mixture was diluted to a paste. Moisten each seam immediately prior to application - so, better adhesion to happen. A rubber spatula, part weight gain, and grout for tile joints pressed inward. Work is carried out until, until the mixture takes seam. Then, set perpendicularly to the seam with a spatula remove excess. If you want to get a groove, subject to special head part formed seams between tiles.
Washing apron
After two hours after grouting the tile joints fixed, the rough side of a sponge clean tiles, soft - washed. After cleaning, wipe the apron dry flannel - it will give the necessary shine.
Interesting ways to tile
Beautifully put the tiles with their hands in several ways. This will make a cheap version of the solid color noble-looking. so:
- Chess. Traditional tiling on the wall with variable color elements. Suitable only for square tiles.
- Diagonal. The first row looks like stacked triangles. From them the whole surface will. Contrasting grout tile will make even an ordinary ceramics attractive.
- Bias. Suitable for any size. Under identical elements tiling device resembles a brick wall.
On the basis of these options create different styling options - herringbone, kaleidoscope, lines, parquet.
Acquired battle tiles will create an apron with oriental motifs, like the frescoes and mosaic facings. Independently put the tiles - easy. Required to sacrifice time and use their own imagination to create a biased result.