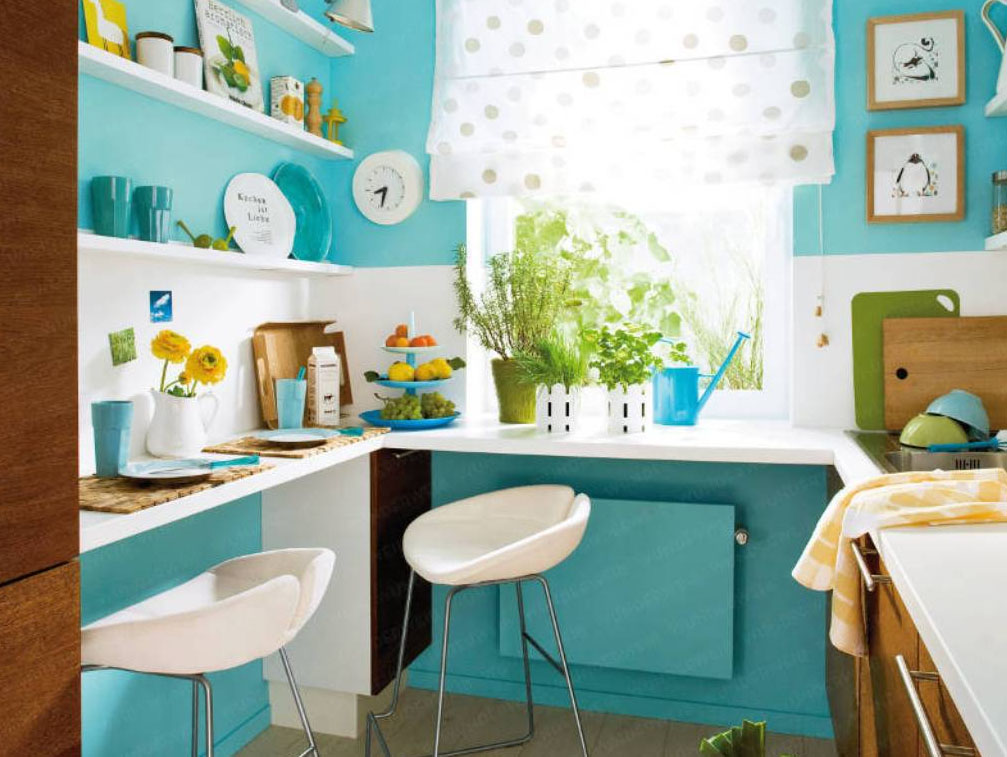
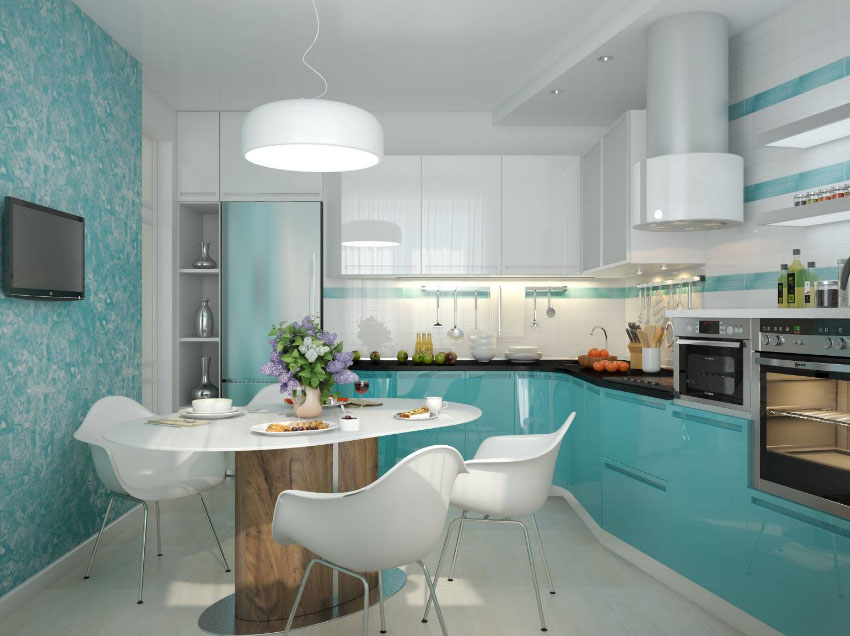
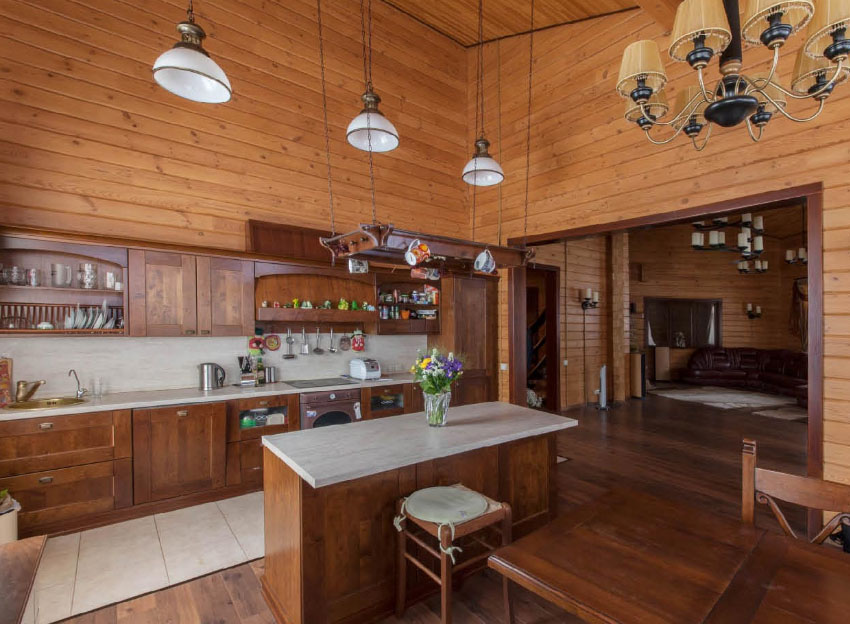
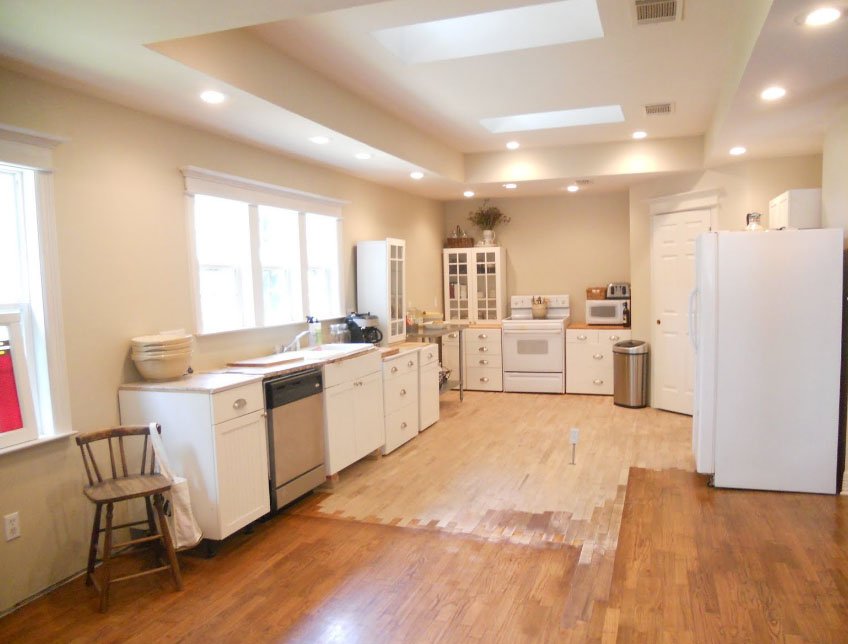
Features a large repair in a small kitchen
If you are tired huddle in a small and unequipped kitchen, it's time to get down to business! Nobody says, that repair is just. But if you develop a phased plan and steadily adhere to it, the kitchen will turn out beautiful, and the quality of work even envied by professionals. No matter Khrushev it or kitchenette in the panel house - instructions for the implementation of the repair almost the same.
Stage №1 - drawing up a design project and budget
If your intention is to make alterations, then start with the collection of documents and receiving permission. In any case, it worked out in detail the design of the future kitchen and technical details. The issue of replacing the window, water pipes, compiled sockets layout - before beginning active operations you should not remain a single question about, what and how to change the kitchen.
According to the work plan and design the project, a list of necessary materials and expenditure estimates, wherein all materials directly purchasing optionally.
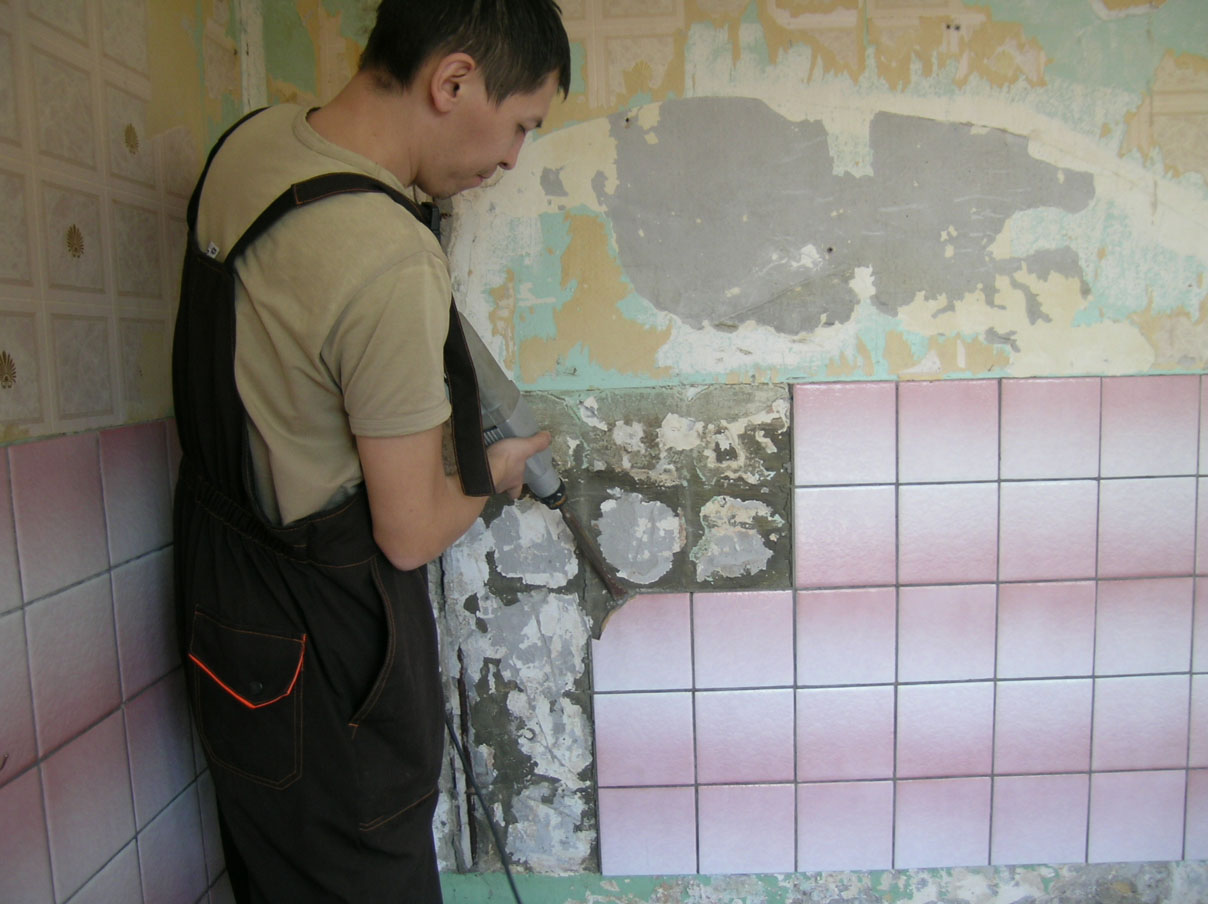
Stage №2 - the beginning of the repair or removal of the old kitchen
Repair of small-sized kitchen starts with dismantling, which comprises the following steps:
- Take your furniture, remove the chandelier.
- Get rid of the old finish on the walls and ceiling - paper wallpaper soak for half an hour and remove the scraper, paint from concrete walls bring down a sharp hatchet, demontyruyte tiles. The ceiling is cleared, if it is painted.
- Examine plaster - remains strong on the walls, and tubby with prostukivanii removed.
If the kitchen is laid tiles, the old lime-sand solution necessarily remove - dried mixture under a tile to throw up and repair it is necessary to alter
- Remove floorings, including wooden flooring.
- Remove dilapidated water pipes.
- Remove construction debris, Get rid of dust.
During dismantling does not get under the window - removed the old and put in a new one day.
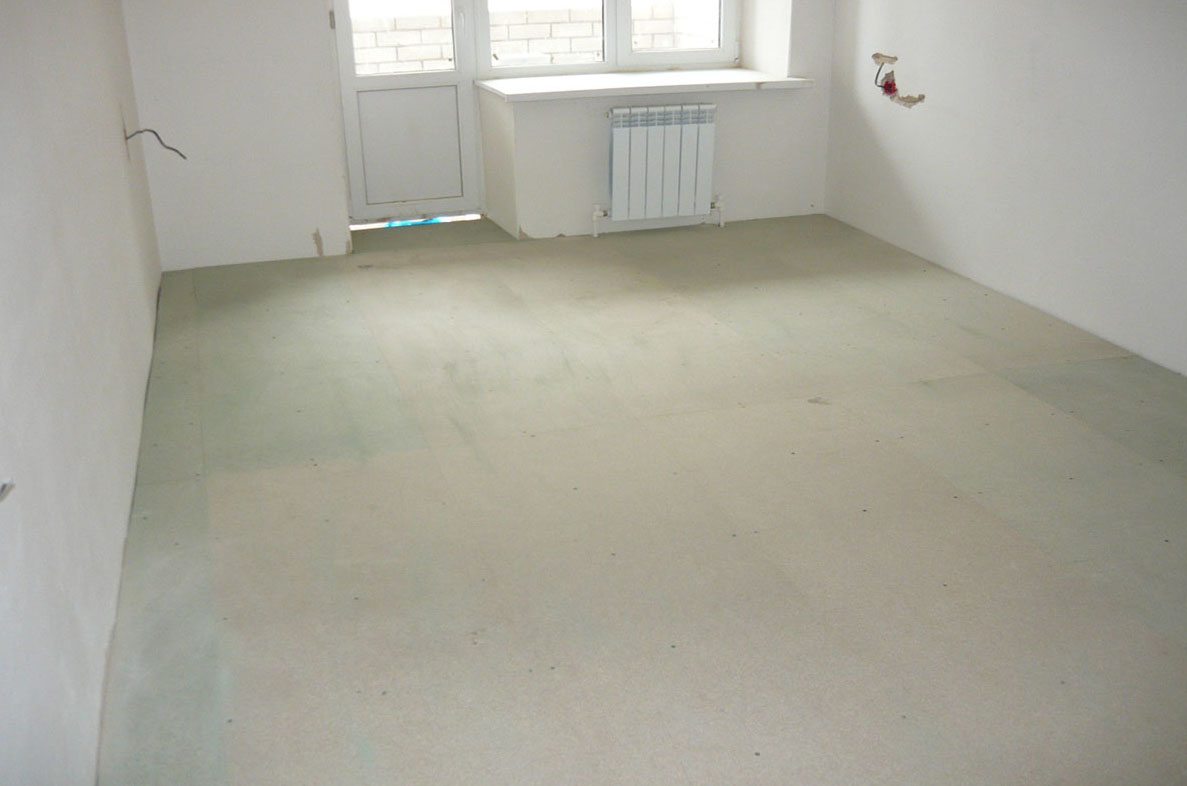
Stage №3 - rough floor finish
The optimal variant of the subfloor - pouring cement screed and waterproofing prior to pouring. Extensive floor repairs carried out, if the detected cracks larger than 2 mm. Works are carried out in the following order:
- Hammer bounces old screed;
- Paul carefully swept out and vacuum cleaners;
- Are sealed seams between the panels;
- Shall be verified by means of the level and the floor is horizontal stretched woods;
- Laid waterproofing kitchen floor;
- installed beacons;
- Is filled with a solution and leveled regulation - kitchen floor done in one go, otherwise it will not work even. The minimum height of the screed - 2 cm;
- On dried screed is laid thick plywood 15-20 mm.
To protect yourself from leaks, should be properly done waterproofing floor. If you use a covering material, you should start at the edge 15-20 see the wall surface without notches. Liquid waterproof materials - bituminous waterproofing floor, kauchukovaya, Rubber - applied with a brush in several layers. In this case, it is imperative, to the floor was dirt.
Step №4 - replacing windows
Held after the organization of the sub-floor. Important, to this point a new window has been prepared and delivered. Installation best left to professionals.
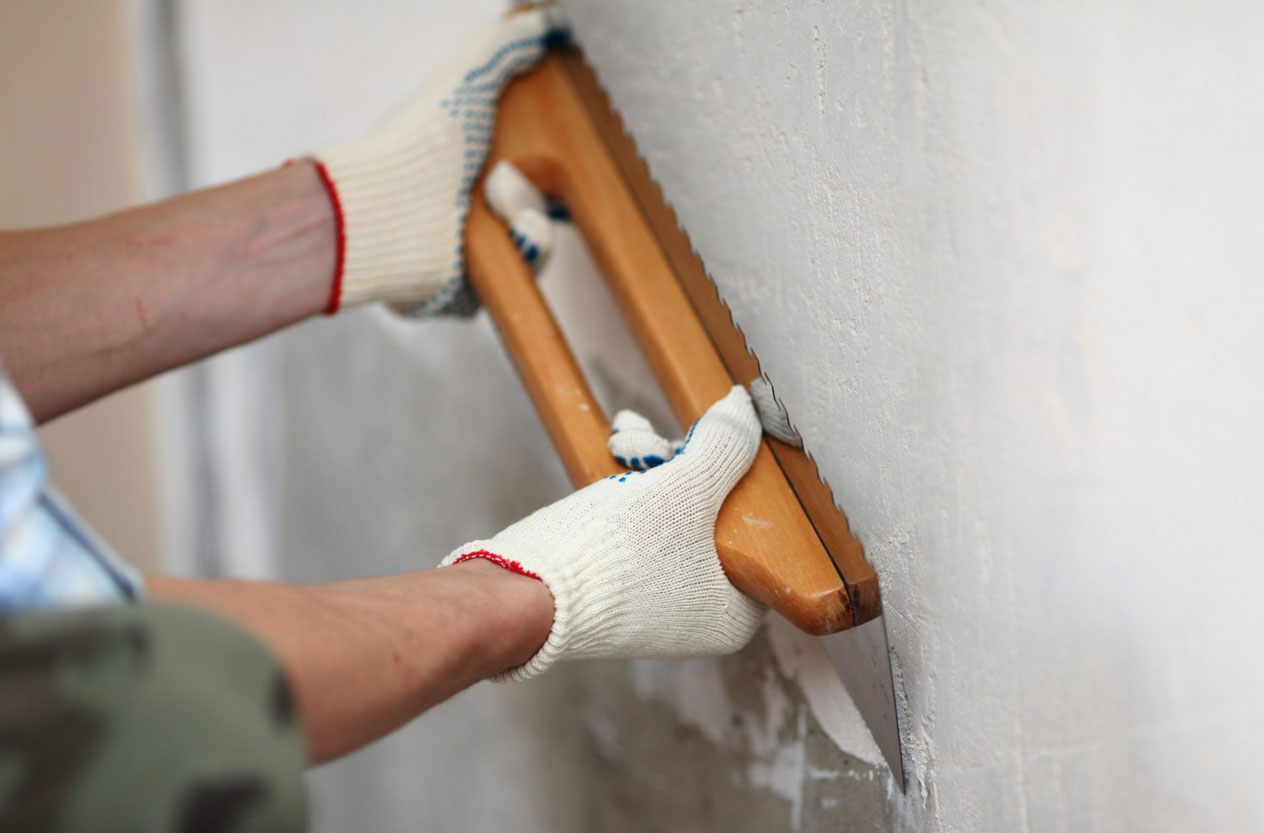
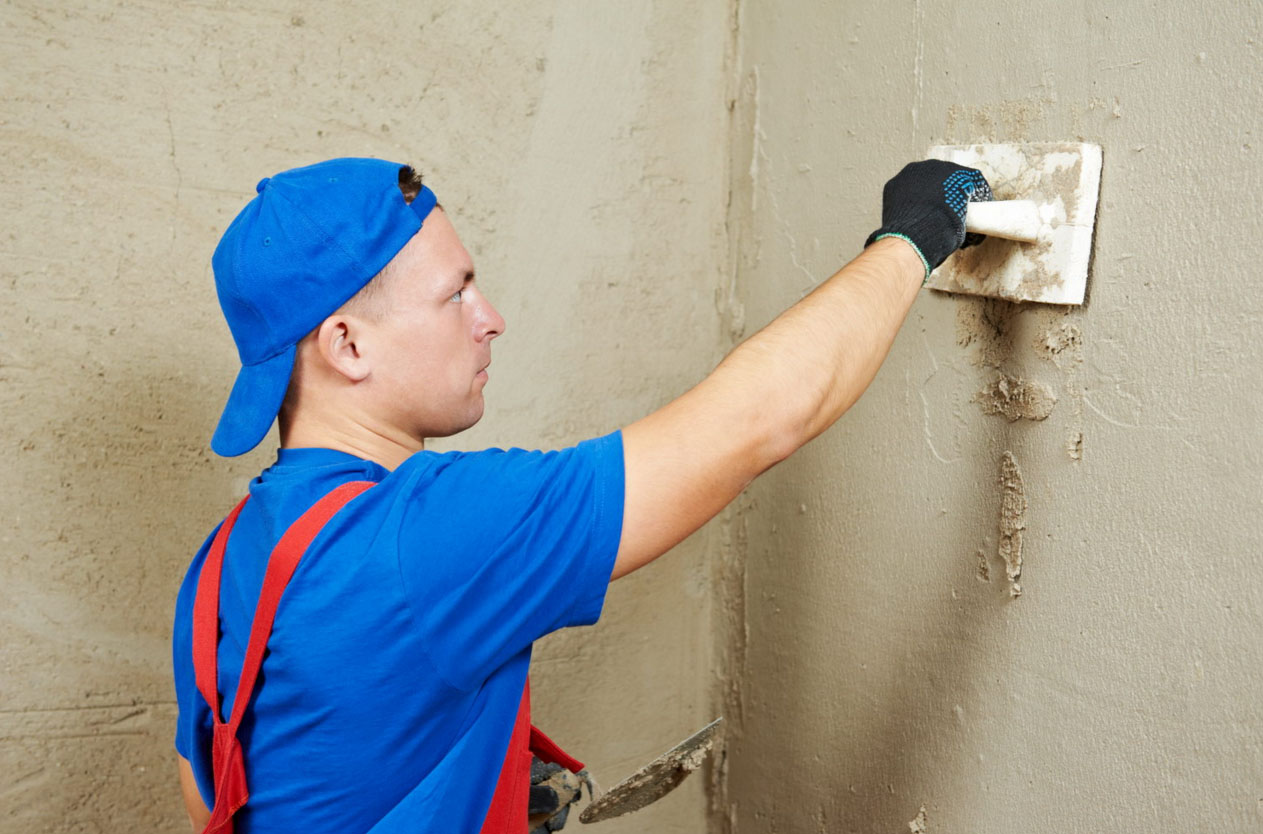
Step №5 - alignment and walls
It is the most labor-intensive stage, but without the smooth walls do not get high-quality finishing. Surface leads to normal view in two ways - by using wet and dry plaster, when used drywall, tape for sealing seams GCR, putty.
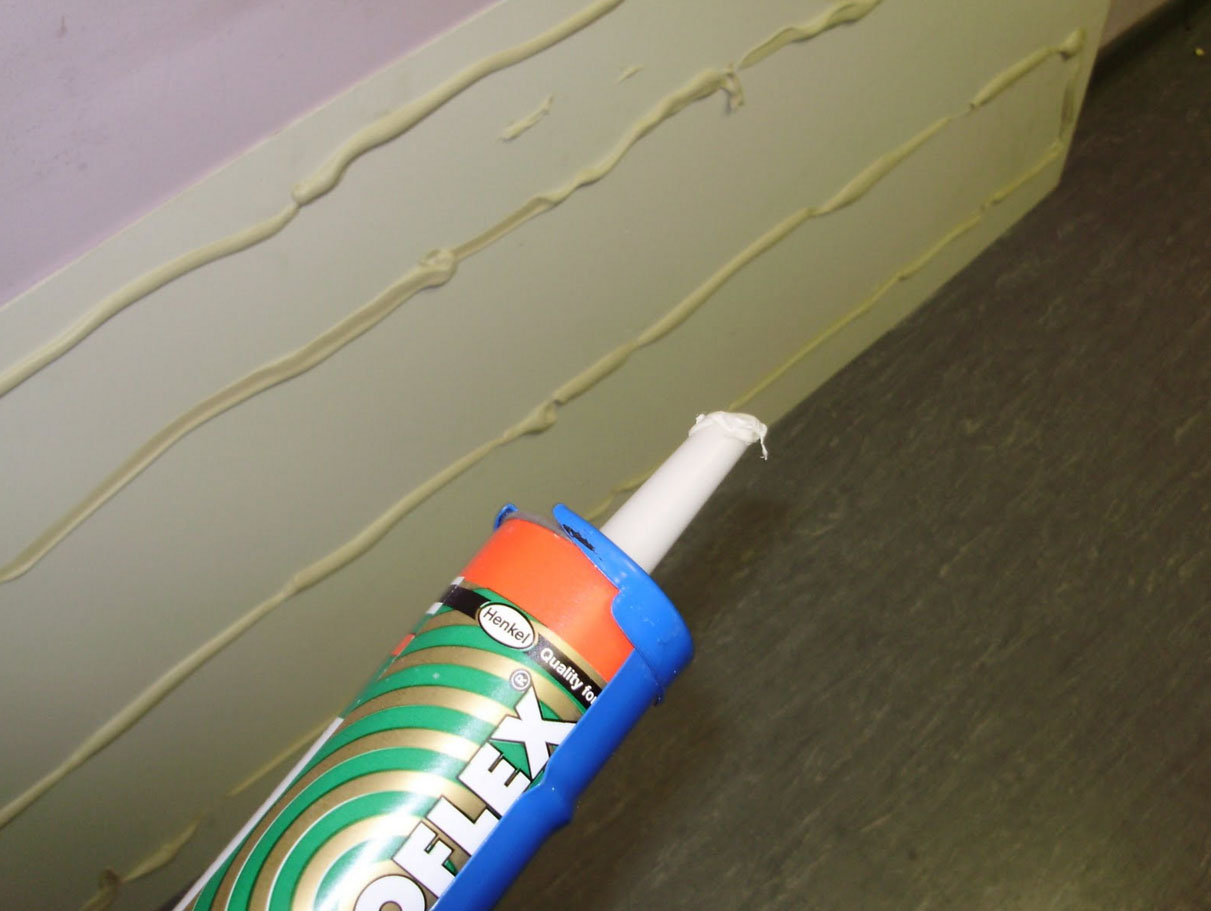
Alignment walls wet
On the wall, a layer of plaster. Pre deep cracks are sealed and aligned, then the surface from dust Neaten. Depending on the wall material chosen and the primer is applied - it protects from drawing water from the plaster. In places, where the tiles fit, spreading the reinforcing mesh and solution prihvatyvaet. For the walls better use of the plaster with the addition of lime. The solution becomes plastic, It adheres well, not draws water. Maximum layer of plaster on the wall, which is applied in a single pass, is 3 cm. Increase overall wall thickness by means of plaster on the can 8 cm, an optimal solution is the thickness before 5 cm, but not less 5 mm.
To put plaster, You need the following tools:
- ready beacons;
- Rule - a tool for leveling plaster;
- Drill or punch, for dilution nozzle;
- Putty knife, container for plaster;
- Level, plumb, fishing line;
- Dowels and screws with flat caps;
- Screwdriver;
- drywall.
If the surface of the glued wallpaper or paint is applied, then to obtain a smooth wall held plastered walls on beacons. The distance between the beacons is on 10 see less, than the length of the rules, which moves along the protruding guide ribs and removes excess plaster. Angle between the kitchen and left the lighthouse 20 cm. To set the beacons to align walls, following steps are taken:
- On opposite sides of the wall at a distance 20 see from the angles spend plumb vertical lines;
- from above, middle and bottom of each line of screws, screw so, To tighten the fishing line between them formed three horizontal rows;
- There, where the fishing line for the wall or close to it suitable, screw screwed out - between the scaffold and the wall must fit lighthouse.
If there is one large projection on the wall, then it is easier to bring down, than with the plaster thick layer.
- Connect the tape level to rule, attach it to the flat screws, expose them vertically;
- Remove the twine;
- Between the screws lay Plyuh solution, glue them beacons, which will fall on the cap screws;
- In the center is placed a third beacon;
- Hammer plaster under the lighthouses;
- Give beacons good foothold.
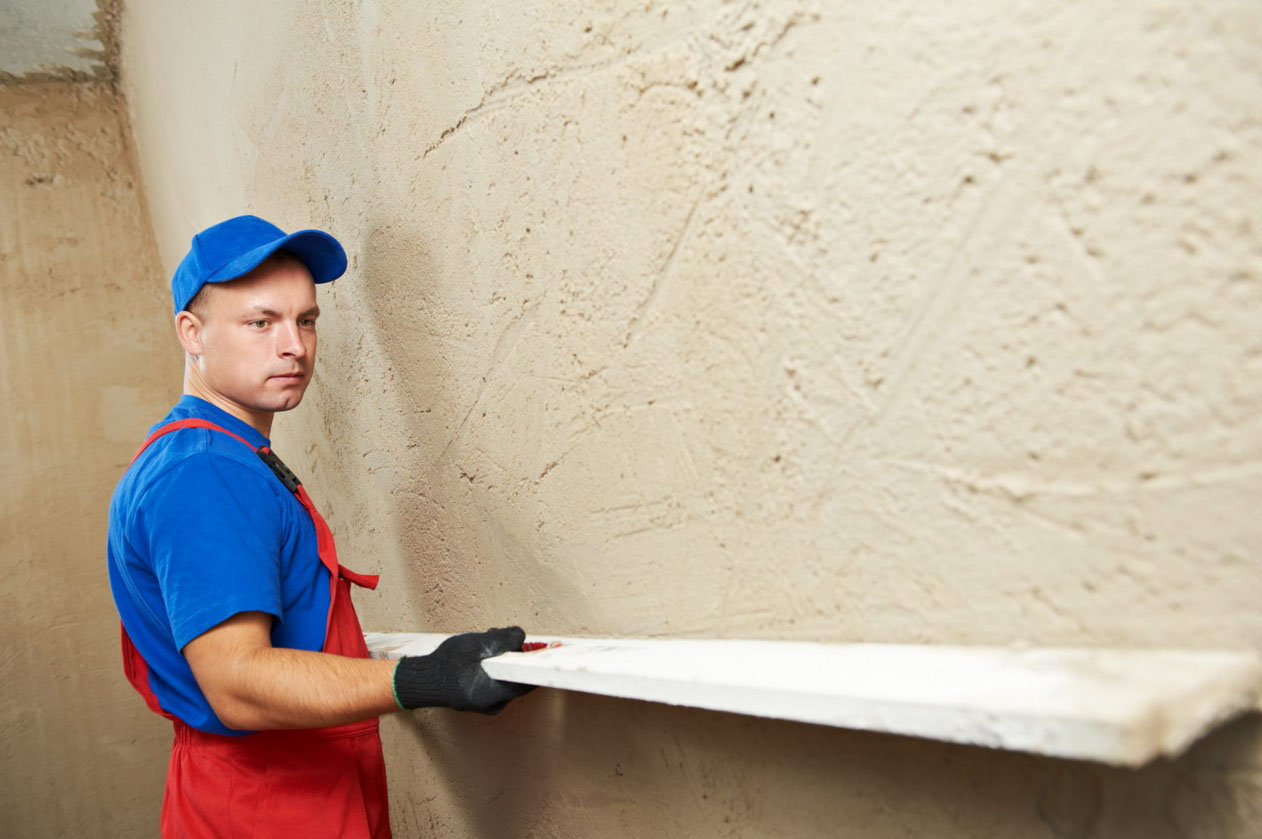
Plaster nashlepyvaetsya between beacons, aligned rule from the bottom up. Depending on the thickness of the coating it may dry up to 3 days.
Withdrawal of the right angle between walls is particularly relevant, which is put in kitchen. Plaster corners with their hands is done by the profile angle with serpyanku - kontrashultsa. The solution was put angle, set corner, nestles rule. Solution, which will come out of the holes kontrashultsa, gently pounded on the angle of the side.
After drying, the walls are covered with putty Homepage. The finish is used for wallpapering or painting.
Alignment walls dry method
option №1. When the curvature of the walls 5 cm is advisable to align them with the help of plasterboard - to the metal sheets are screwed or glued to the frame wall, are sealed seams GCR, surface shpaklyuetsya. Before you can use plasterboard walls is sufficient to impregnate antiseptic. you will need:
- galvanized profile;
- sheets of plasterboard;
- black screws;
- Tape, to patch drywall seams, putty;
- screwdriver, drill;
- Level.
The marking is done on the floor and the ceiling. It refers to skin the border. First, put the frame of galvanized profile, then put vertical webs and stiffeners. To strengthen the profile of the wall should be at a distance 60 see the axes, since standard plasterboard sheet having a width 120 cm. The distance between the screws - 20-25 cm. If later the right to close up the seams in drywall, it will be a single plane. Align the wall using drywall in the kitchen little faster, than with the use of plaster, but, GCR will eat a certain area of the already small room.
variant №2. Drywall can be glued, first removing obvious irregularities. Do not be afraid of joints between the sheets - serpyanka or paper tape for sealing drywall will help get rid of them. During bonding leaves a gap of 5 cm to the floor and ceiling to dry glue. On the surface of the wall drilled holes, they are inserted and screwed dowel screws. Hats hardware must lie in the same plane - they are limiters for the GCR. Glue is put by piles 25 see the letter plasterboard, which is then pressed to the wall with screws - wooden board applied to the GCRs and tapping a rubber mallet.
It is now to close up the seams on drywall. For this purpose serpyanka adhesive or paper tape drywall joints. Large differences between the materials is not, but paper tape for reinforcement angles, and no serpyanka. Sealing of seams on plasterboard is as follows:
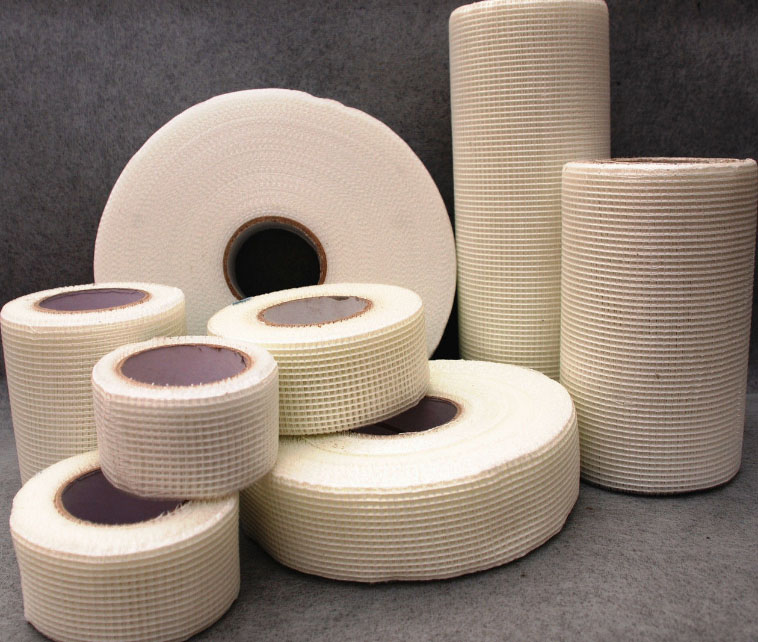
- Serpyanka - so as not to cause cracks, It is important to know, like glue serpyanku on drywall. Pre GCR it is necessary to remove any dust from, and the tape stuck on all seams. Then it is covered with the top layer of uniform fillings, which is aligned with a spatula. Putty for joints using serpyanku selected for a particular tape.
![serpyanka]()
- Sealing joints in drywall using paper tape begins to alternately depositing a thin layer of plasterboard and fillings bonding tape. Immediately smear the entire surface can not be - dissolved dry. excess putty, squeezed out of the tape, removed with a spatula.
Regardless of the type of tape is placed at the next stage starting putty for drywall seams and the surface becomes smooth. As such, the walls are lined with tiles, decorative panels, including four-wheel coupler is used - it is worthy decorate the dining area. If you plan on painting or wallpapering, then carried out finishing drywall plaster paintable layer is not more than 2 mm and the grinding. It is believed, that the electrician is better to plant after the leveling of walls.
Stage №6 - ceiling
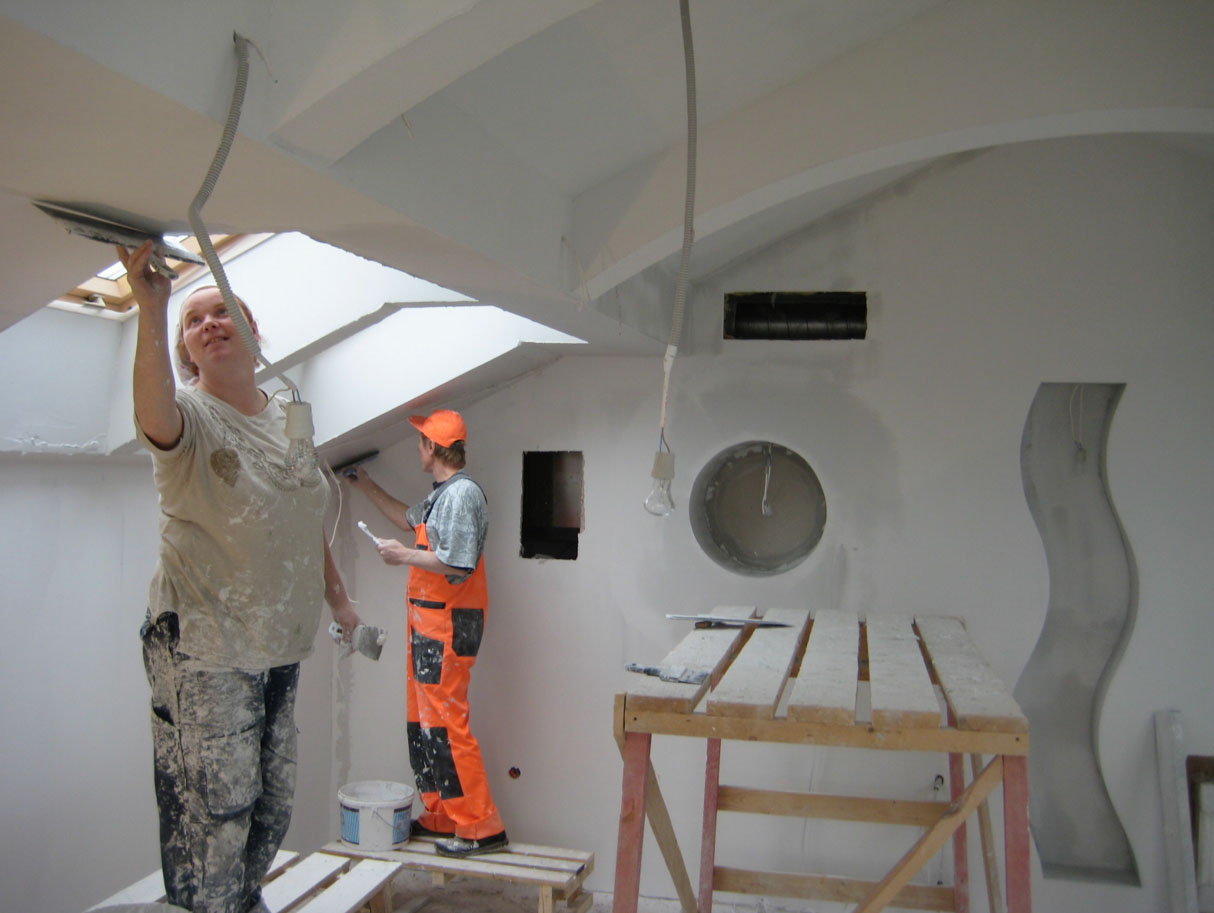
Rough finish ceiling depends on its final form. If you plan on painting or wallpapering, the surface should be thoroughly cleaned, seal cracks, align. However, the most popular type of coating are ceiling plasterboard. As in the case of a ceiling mounted metal frame walls, which is attached to the GCR. To seal joints on plasterboard better with the help of self-adhesive serpyanku. It is then used to coat seams and finishing.
Special attention should double ceiling - plasterboard construction, which will give an individual design, It will help to create a practical and interesting lighting. The first step is preparing the ceiling drawing, then acquired materials:
- Profile bearing guide plus, connecting brackets, suspensions;
- GKL, mesh drywall tape, putty;
- fixtures, wire;
- Screws for metal and concrete;
- Drill, Cordless, length level 1,5 m, construction knife, hacksaw in metallu;
- Antiseptic for impregnating the tile before starting work.
After raising the first tier should be sealed seam or seams on the ceiling. Once transferred to the surface contours of the second level, which often is additional lighting. Frame hangers mounted on the second level. If the design has a curved shape, the profile is cut through 5 cm. The frame is sheathed with plasterboard, slots used for sealing tape for seam with filler. Held decoration of the ceiling.
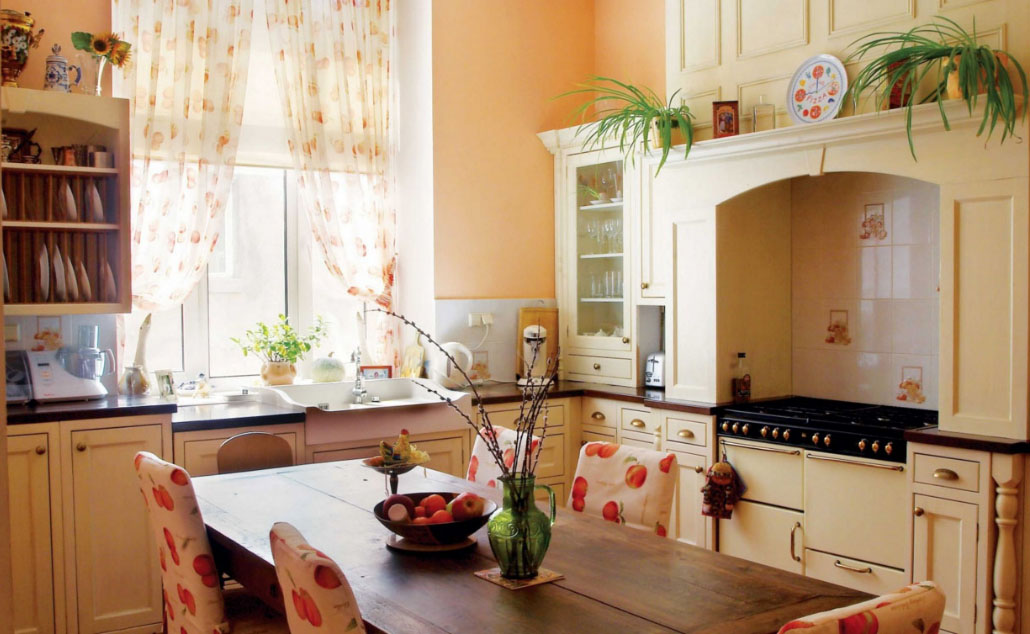
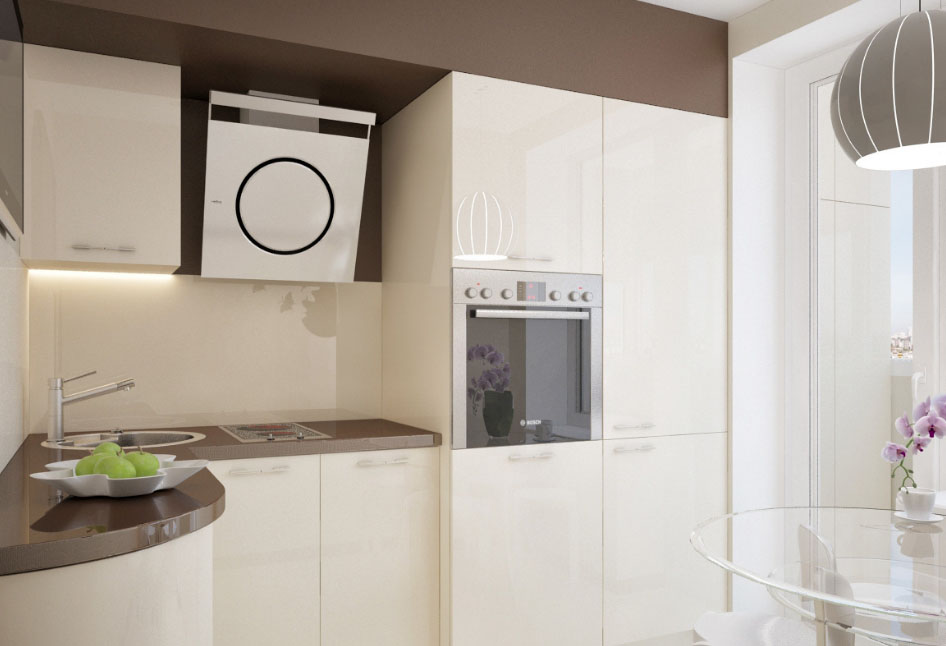
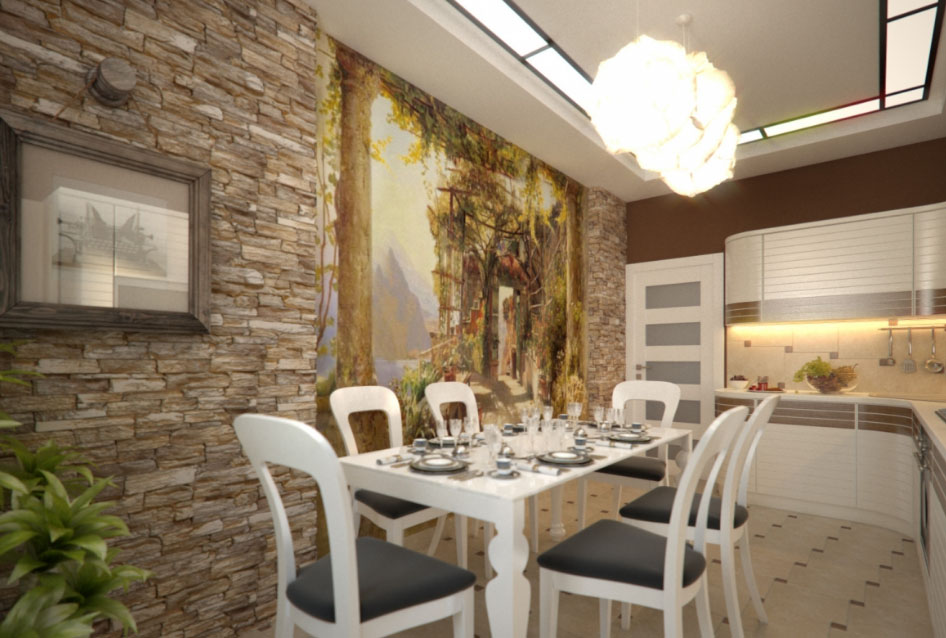
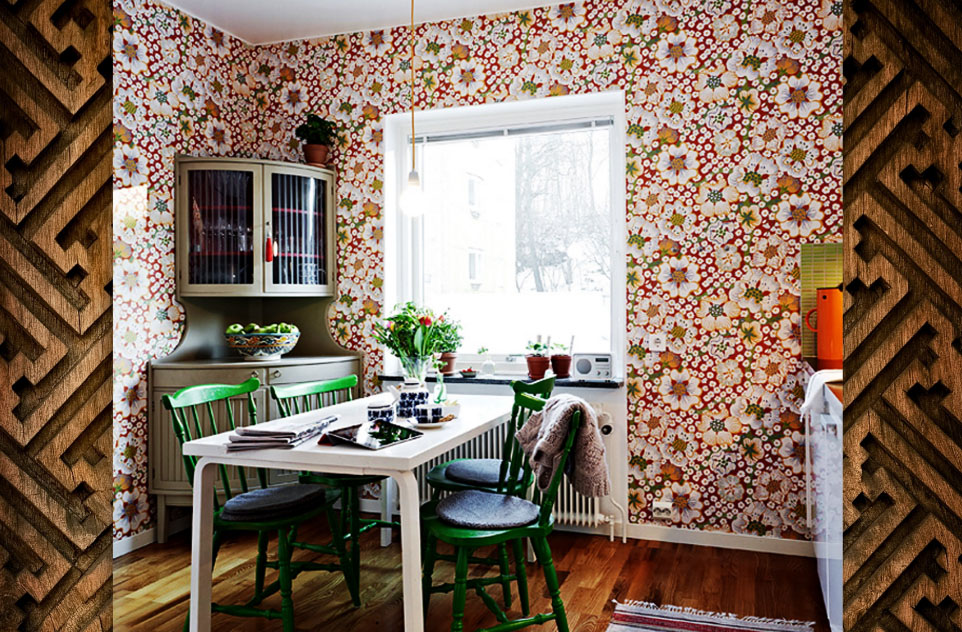
brief summary
In order to repair a small-sized kitchen is to preserve every square centimeter, rational arrangement of the kitchen furniture and lighting. Work on leveling the surface always eat some of it, and therefore, do they need to be selective. Painting or wallpapering require an even and smooth wall or ceiling, Installation Headset - derived a right angle. If you plan to finish artificial stone or decorative panels, it is better to save more usable space, than to give it the perfect geometry.