As simple to make repairs in the kitchen ceiling with his hands
It is time to carry out repairs in the kitchen, including ceiling. If there is insufficient time and money, better to do it yourself. This requires to study the issue in detail, as the repair of the ceiling in the kitchen is different from similar works in other rooms. First of all, kitchen is the room in which the constant humidity, smoke and fumes, High temperature and steam. therefore, before selecting and materials for the repair of the ceiling, read the, that you want to change or correct.
Carrying out repairs in the kitchen with his hands better to the following steps:
- surface repairs;
- installation ceiling.
Let us consider in detail the above-mentioned methods, considering, that is supposed to repair the ceiling of the apartment with his hands.
The sequence of the repair of the ceiling in the kitchen
Consider appropriate ways. Repair of the ceiling in the kitchen with his hands best budget option. Take advantage of the proposed methods.
The methods and embodiments
The first method: this whitewash. It allows the ceiling to breathe. Whitewash operate solution of lime or chalk, there is no fundamental difference. Preliminary work under whitewash itself whitewash performed in the same sequence, regardless of the material used. It is important to observe the algorithm.
Initially clean the surface of the former layer whitewash. This is best done with a brush. She scraped off dust and dirt, spatula and then cleaned cracked or backward part. Now rinse water remaining layer. Undulating surface defects or, formed after purification, We need to putty. For this purpose, ready dry mixture of plaster or filler. Under surface must be flat whitewash. therefore, putty to the ceiling with his hands and bring it to a state of maximum evenness required skill. This is done by using a special float construction. And if the surface does not get exactly, better sanding with fine sandpaper. The finished surface is treated with a primer, it fasten layers. After processing, the smallest cracks become visible, until then inconspicuous. It takes time, the surface is dry. eliminating defects, proceed directly to whitewash. To perform this operation using roller or brush. Quickly perform this operation by using a spray gun. Only the pre-strain solution, that the sprayer is not clogged.
Attention: can not be applied to one type of another whitewash, this will lead to the formation of streaks and spots.
The second method involves the execution of the plaster repair, for the subsequent finish painting or wallpapering latex paint. Performing finishing with this method of repair is an important moment. For finishing is better to use stucco. Putty before painting requires skill. If you have the means, then invite a professional plasterer. Price per 1m2 of filler depends on the state of the surface, layer thickness and topcoat.
Let us consider in detail the implementation of plaster technology. The surface is carefully cleaned, as in the previous case,, and then applied to the primer layer. After that, as the ceiling is dry, you can putty ceiling. To work better to choose a ready-made dry mix, which can be purchased at any store building materials. Terms of breeding and the proportions indicated on the package. You are required to thoroughly stir the mixture, without the formation of lumps. Plaster ceiling It must be uniform mass having the consistency of sour cream.
Attention: ready mix very quickly thickens, so it is better to cook in small quantities.
The composition is applied to the ceiling surface trowel. Better layer do not thicker 2 mm. If required thick layer, it is best to apply a few layers. After each layer of his carefully rub clean, using a special mesh, but only after, it is completely dry.
If the surface of the alignment will be glued wallpaper, then apply a primer and after drying to proceed pasting. For coloring water paint is applied another layer putties. And then adjusted to the maximum surface roughness, and then the final primer ceiling. Now it is ready to carry out finishing.
Mounting tension, polvesnogo ceiling of plasterboard with their hands in the Khrushchev 9 sq.m
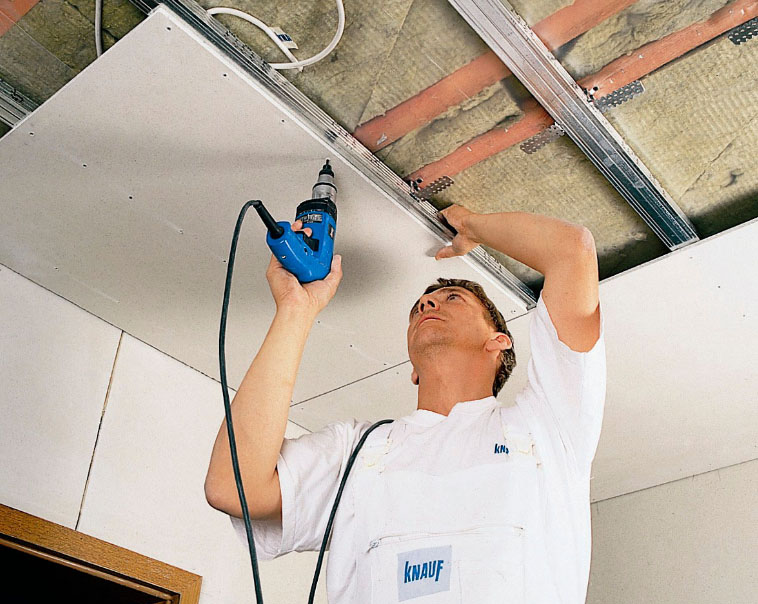
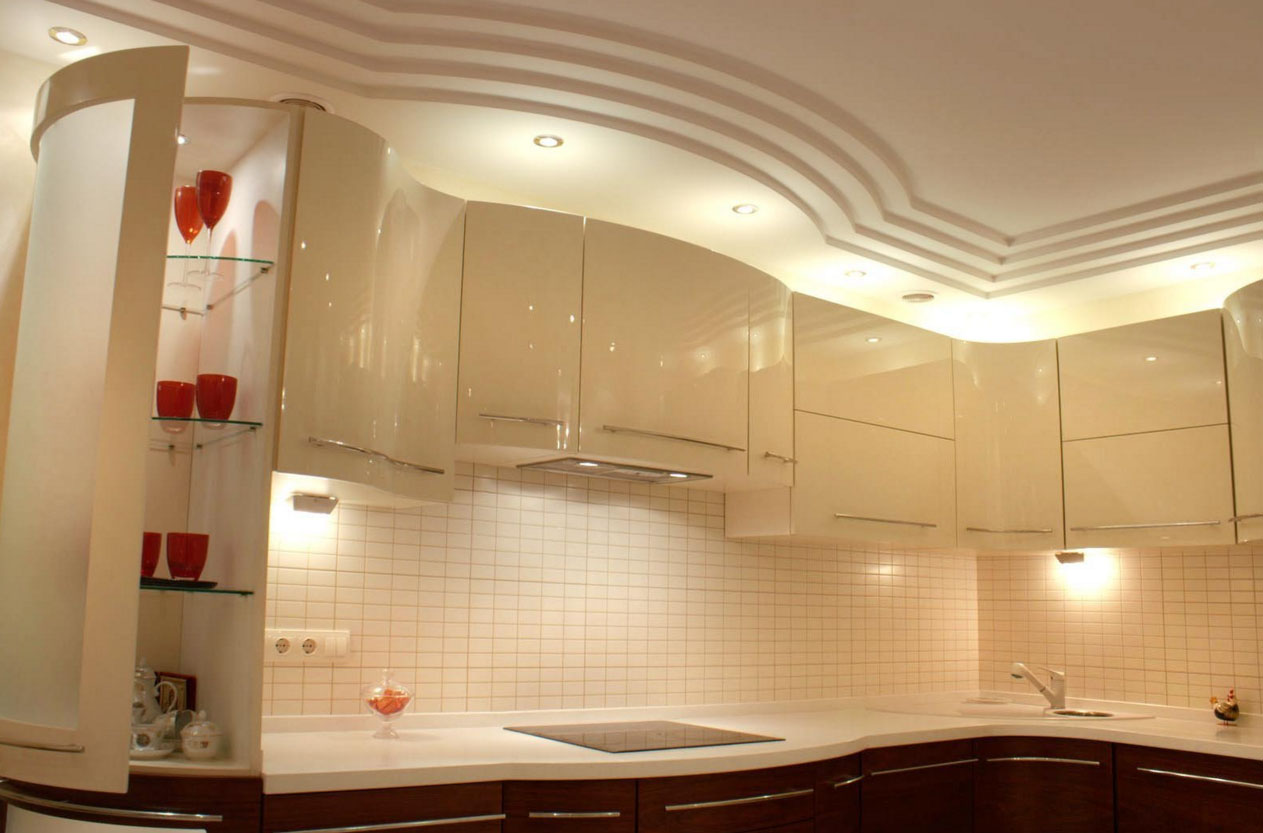
These days, much more, performing repairs in the kitchen, install a suspended ceiling, that allows you to create unusual interior design. This method will make it possible to perform the lighting of any type and complexity, positioned under construction ventilation system, wiring harness and other communications. Besides, You can perform a multi-level lighting. But all this requires a height. It is better not to apply the ceiling in the low rooms, since it will reduce it by a further 5-7 cm.
Suspended ceilings are used in those cases where:
- ceilings have an uneven surface;
- no time for pre-surface finish;
- Finish will be much more expensive;
- it is part of the overall interior design.
When installing a suspended ceiling it is important to perform measurement correctly, in order to avoid distortions, for it is better to use the level of. First put in the corners of the label, then scheduled on the walls with a line cord for installation under the frame profiles. Then mount frame. Before the final stage (installing PVC panels) best to the wall putty. Suspended ceiling does not require any more finishing.
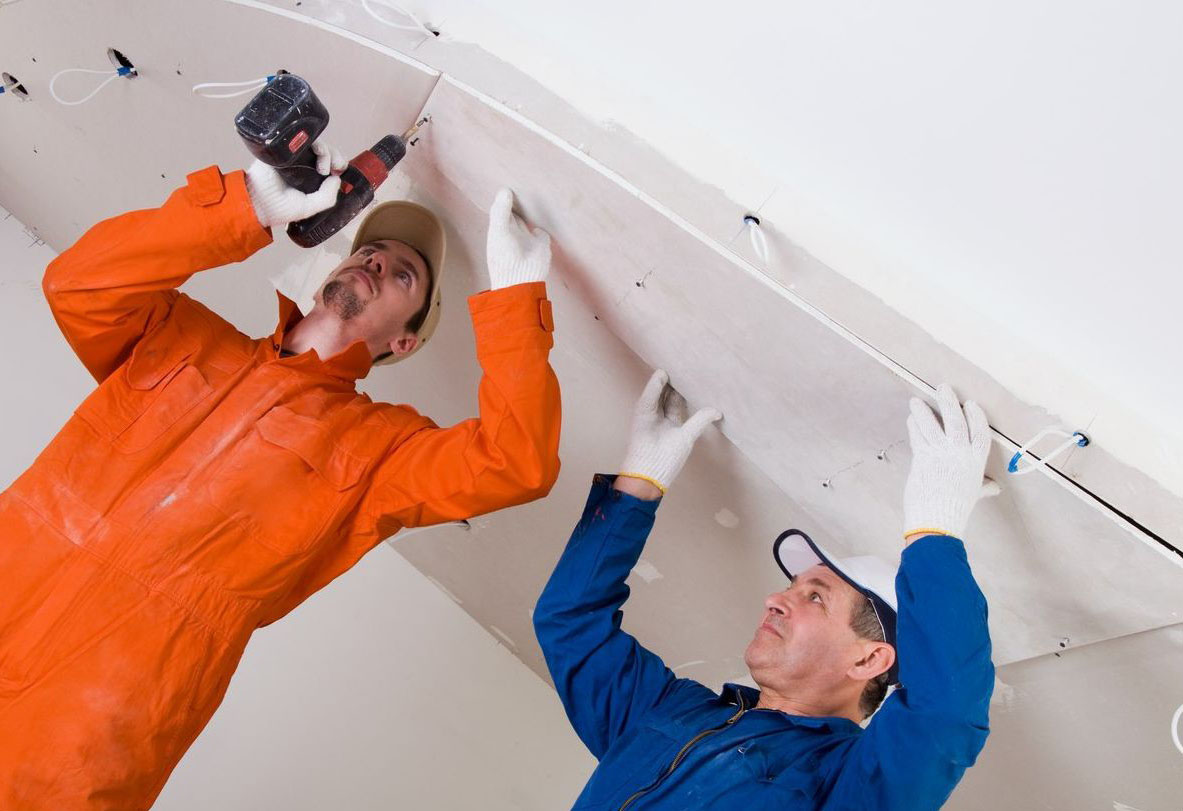
The variant of the ceiling, wherein the profile is attached to the plate of plasterboard. The seams between the plates sealed special mesh- serpyanku and cover the surface of the gypsum filler. Putty plasterboard better thin layer. After applying the primer on a surface can be glued wallpaper or paint. Paint plasterboard ceiling can be latex or acrylic paint. Possible to paint without drywall putty.
This material allows a multilevel ceiling different configurations and colors, using several lighting options.
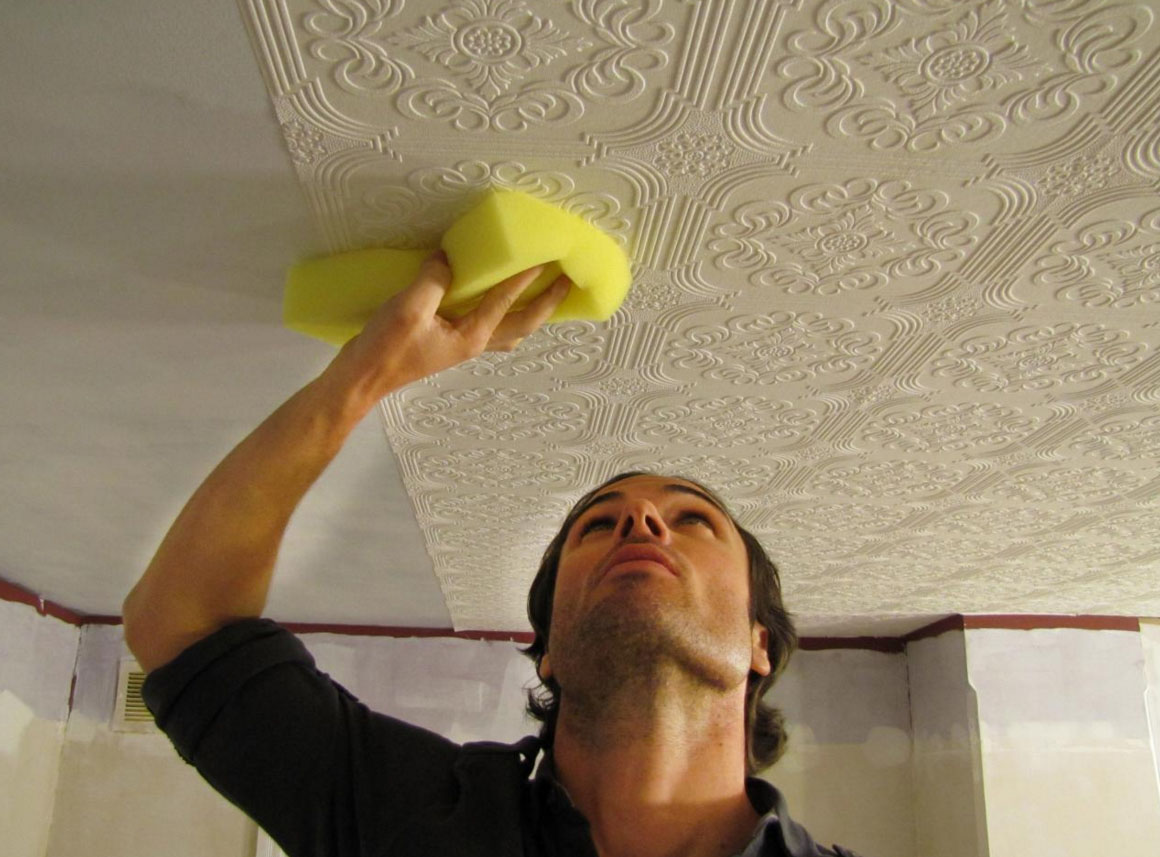
Wallpapering and plastic panels: cosmetic aspect in the design of the room
Wallpapered ceiling with his hands is not difficult, especially, that technology is no different from a similar process for the walls. need wallpaper, glue, Brush for applying adhesive, roller and clean dry cloth.
Kitchen is best to use washable wallpaper, since they are easy to clean from dust and dirt, do not absorb moisture and odors.
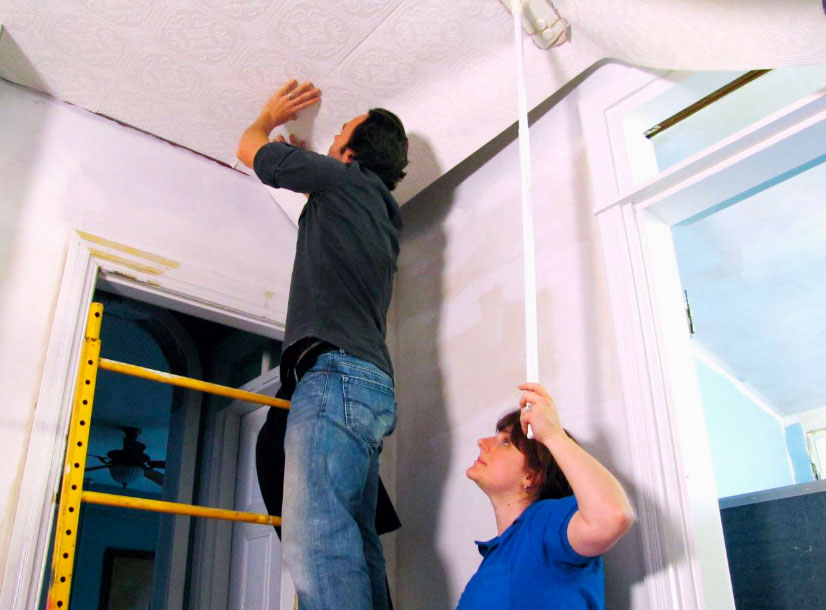
Wallpapers cut into pieces with a margin of 10 cm, for lapping at the walls. Glue is applied by brush to the strip of wallpaper and ceiling. Band put joint to joint, carefully smoothing roll, to leave no air bubble. Excess adhesive is removed with a clean tissue. Glue for wallpaper on the ceiling is better to buy a special and good quality. Glue strip better from the window to the opposite wall, that the joints are not visible. Extra wallpaper on the edges removed with a knife.
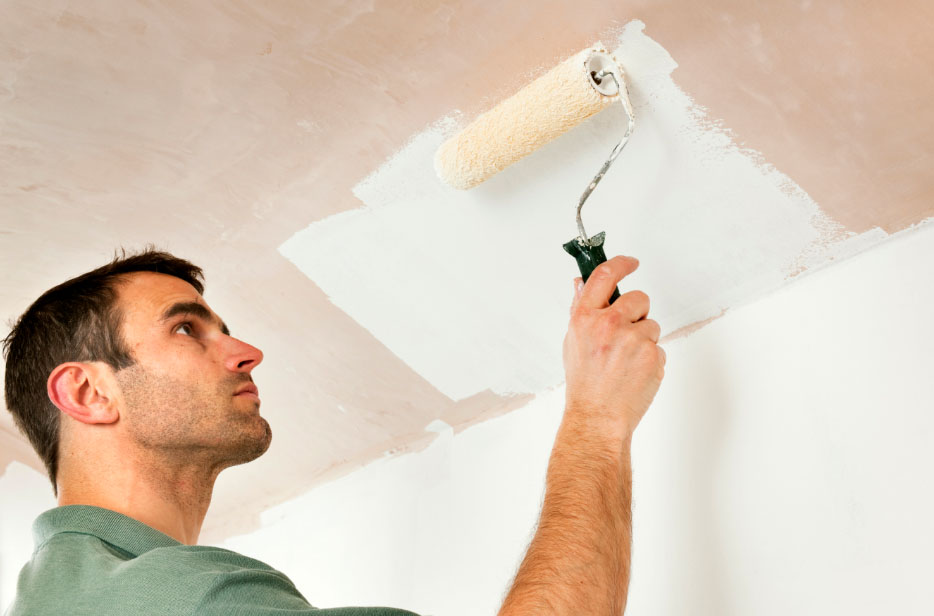
ceiling painting requires a perfectly flat surface. This requires a properly putty ceiling. How to achieve the above discussed. Now we focus on the painting. Modern textured paints allow for cracks, because their structure will hide such defects after staining.
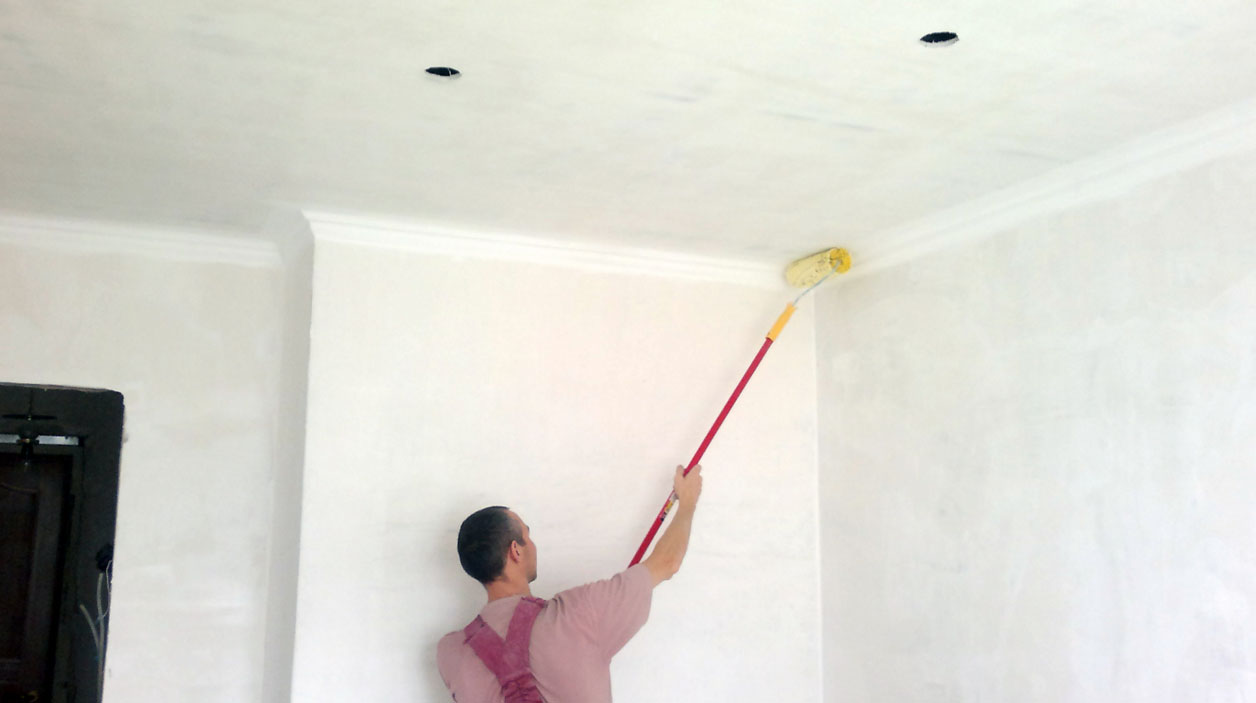
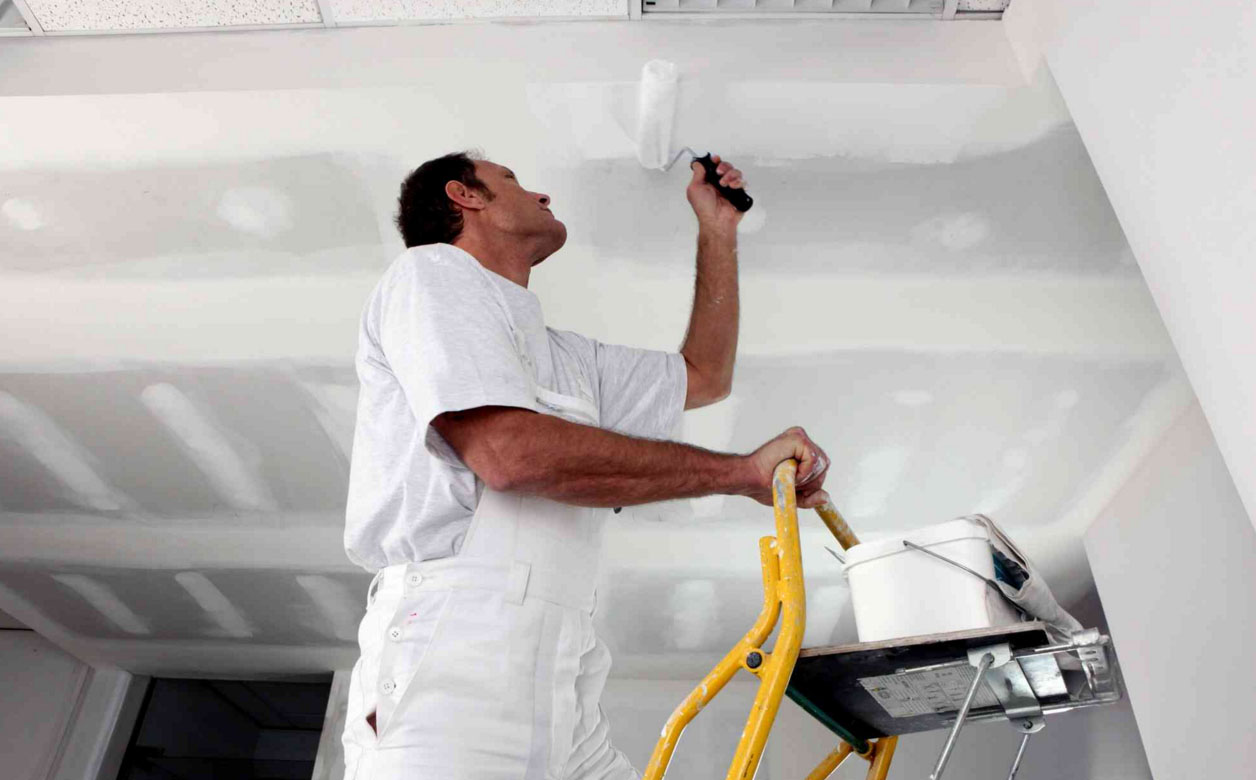
To paint the ceiling, take roll and a special container for the paint. It is better to apply several layers, each of which is arranged perpendicularly to the previous, performing a rectilinear movement. Mandatory The last layer applied on the route from the window to the opposite wall, it will hide possible flaws, and a ceiling surface looks uniformly colored. Paint the ceiling of plasterboard with their hands as a.
Of course, it's not all the possible options for repair of the ceiling in the kitchen. They are suitable BEM, who has decided to repair the ceiling with his hands, and are available in the financial plan each.