6 the most popular options for finishing the ceiling in the kitchen
Very often the repair and decoration of the ceiling is a matter of complex. In fact, there is no difficulty, if the approach to the process of intelligently.

As the surface of any ceiling trim several ways. The following options are finishing the ceiling in the kitchen:
- installation of suspended ceiling;
- Installation of suspended ceilings;
- pasting tiles;
- pasting wallpaper;
- decorative plaster;
- whitewashing or painting.
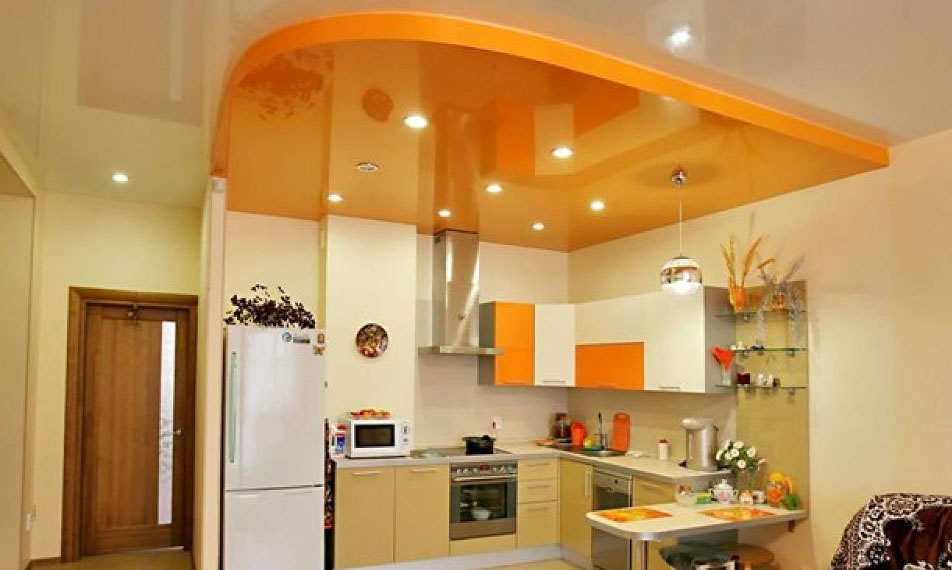
False ceilings in the kitchen of polystyrene, pvc, linings and other composite materials
Suspended ceilings are mounted in cases, when the ceiling surface has defects, the removal of which is problematic, or the alignment is more expensive, than installing such a construction. Installation of construction is carried out in several stages:
- execution of marking the surface of the ceiling and walls, installation using dowels metal hangers;
- surface binding (on the perimeter of the kitchen) special profile rails;
- installation and attachment of the profiled beams and rails to the suspensions.
mount, the prepared crate, PVC plates simple process. The prepared panel is secured to screws structure. Between them they are connected by means of special slots. On the edge of a special corner set, which hide the lateral surfaces. When mounting structure, at each stage is required to check the level of the horizontal surfaces, in order to avoid distortions. set false ceiling without seams for rooms with a small area.
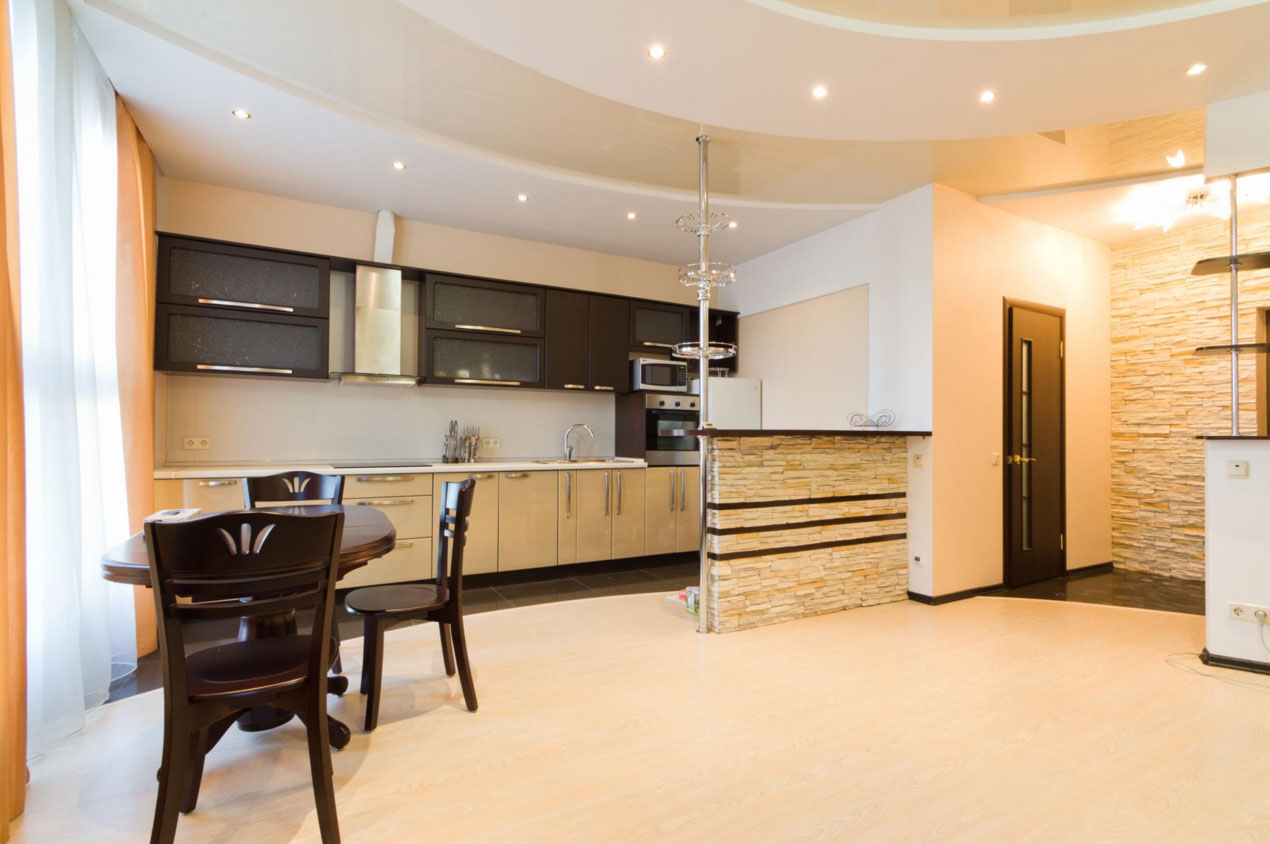
One more way to the ceiling renovation without performing finishing - Installation of suspended ceilings. This method is good, when uneven surface.
Suspended ceiling is installed in the following sequence:
- Removing measuring and marking the ceiling surface;
- installation profile for securing;
- mounting racks under the lights;
- film installation;
- installation spotlighting;
Skirting attached after finishing walls.
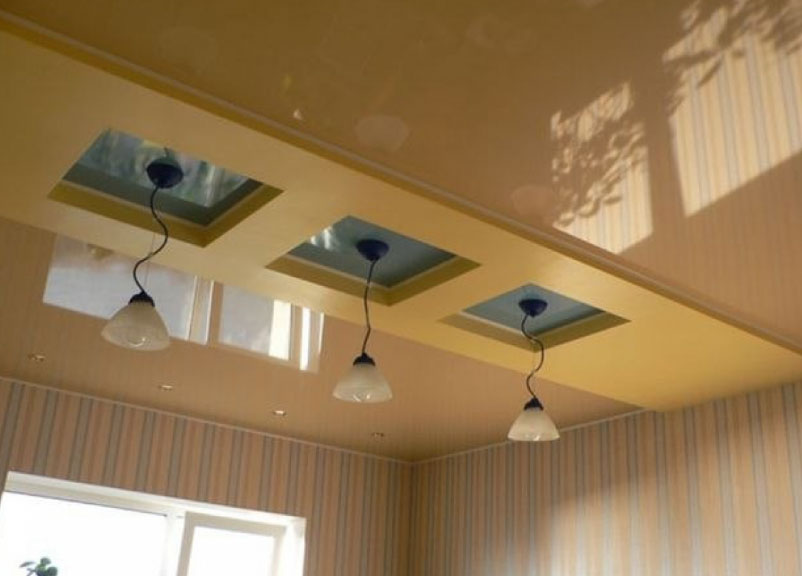
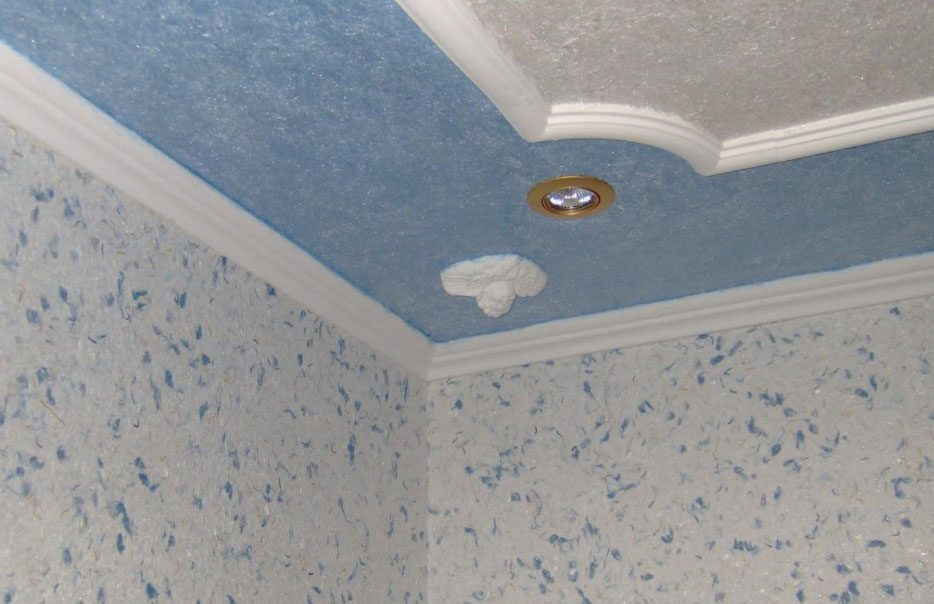
Wallpapering the ceiling - an interesting option finish
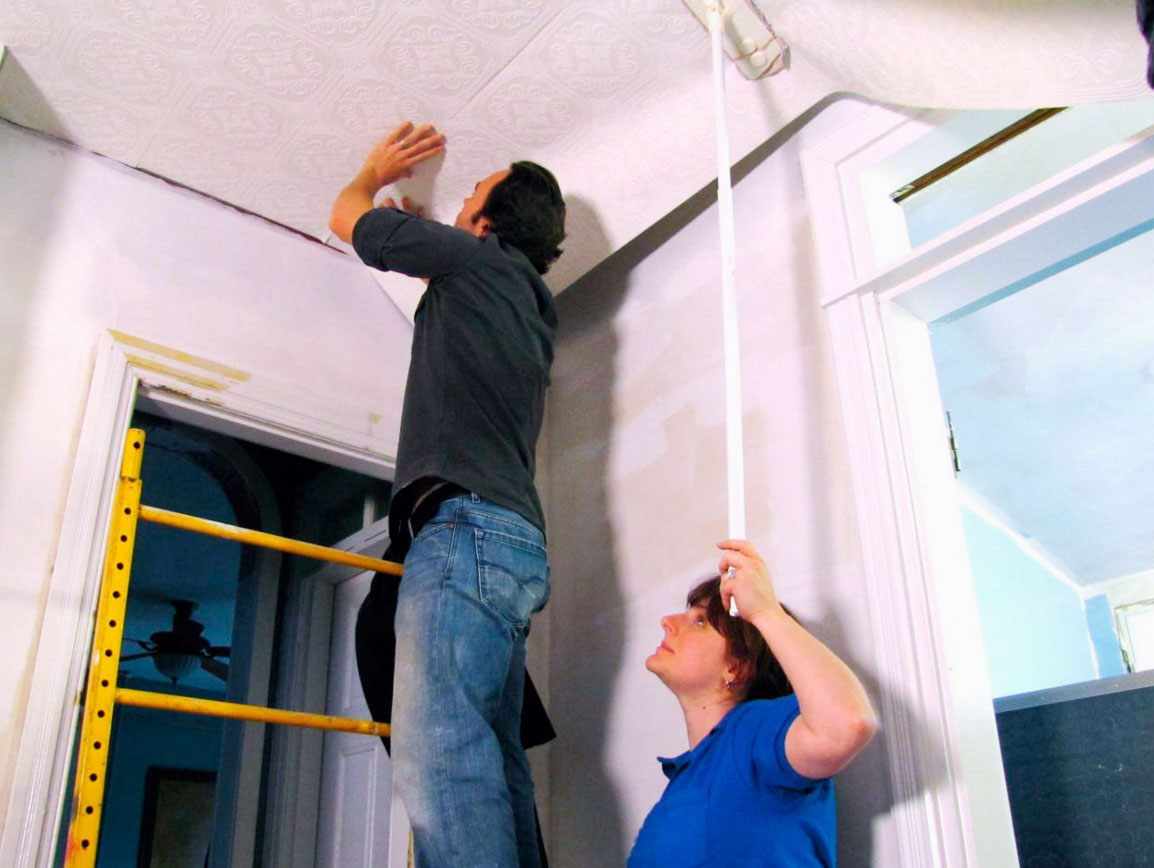
The next way to repair the ceiling in the kitchen - wallpapering. Argued, that to glue wallpaper on the ceiling difficult, because the head is thrown back a long time and hands numb from, that stretched up. But enough to know the rules, and the whole process will take place quickly and easily.
For the ceiling in the kitchen is better to choose cleaning non-woven wallpaper. They are not afraid of moisture, sleuth, do not absorb odor, and moreover close to each. If necessary, they are easy to clean. In choosing the material for the work, consider what the room height, where light falls. If the room is low, better to choose light colors wallpaper, to visually enhance its, dark colors visually will drop ceiling. Clay is better to use special, coinciding with the structure itself and good quality wallpaper, so they do not fall away.
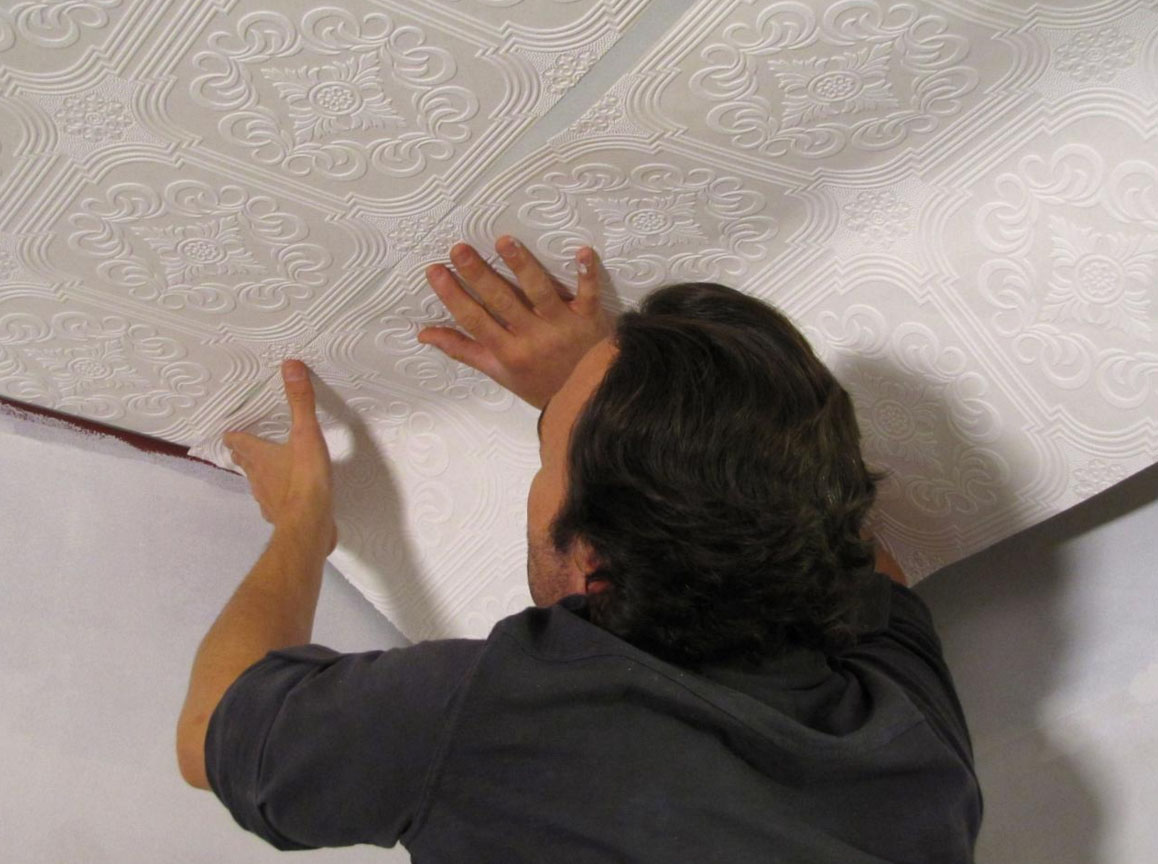
We turn to the pasting, observing the rules:
- mark out the original ceiling, This markup will serve as a reference point for further work;
- cut into strips on 10-15 cm longer than the desired size, so they went to overlap on the wall;
- adhesive is applied to the surface of the ceiling, and dry band is applied to the ceiling joint to joint;
- the web is leveled with a brush or roller in the direction from the center towards the edges, to remove air and excess glue;
- a strip in the direction away from the window to the opposite wall, that the seams were not visible;
- extra wallpaper, in places the walls and ceiling joints, after drying is cut with a knife.
After finishing the ceiling and walls, glued ceiling moldings. Better to choose the model of wider, to hide beneath it possible defects.
Gluing tiles and plastic panels
Ceiling tiles seamlessly from Styrofoam affordable way to update the ceiling. The technology is simple, so the paste over the surface of the ceiling tiles with their hands is not difficult.
Before gluing perform finishing work, level the surface.
The tile is better to choose a fine-grained structure, a distinct pattern, and without flaws. Acquire materials needed with a margin of 10-15%, in case of breakage or other cases. Glue the tiles on the ceiling is better glue special transparent rubber-based, firmly glued to quickly surface.
The work begins with the measurement. Stretch the cord diagonally, opposite corners. Place the starting point of their intersection. If the room has a chandelier, then gluing the tile is better to start with it. If the ceiling tile is glued diagonally, it is best to outline the scheme. But there is an option, in which start from the edge of one wall. In this case, better to start from the wall opposite the window, to cover gaps. You can combine the tiles of different colors.
To date, ceiling tiles seamless in the range available in the shops of building materials.
Finalizing gluing plinth, Adhesive use the same, as for the tile.
Decorative plaster - one of the best ways to the surface of the transfiguration
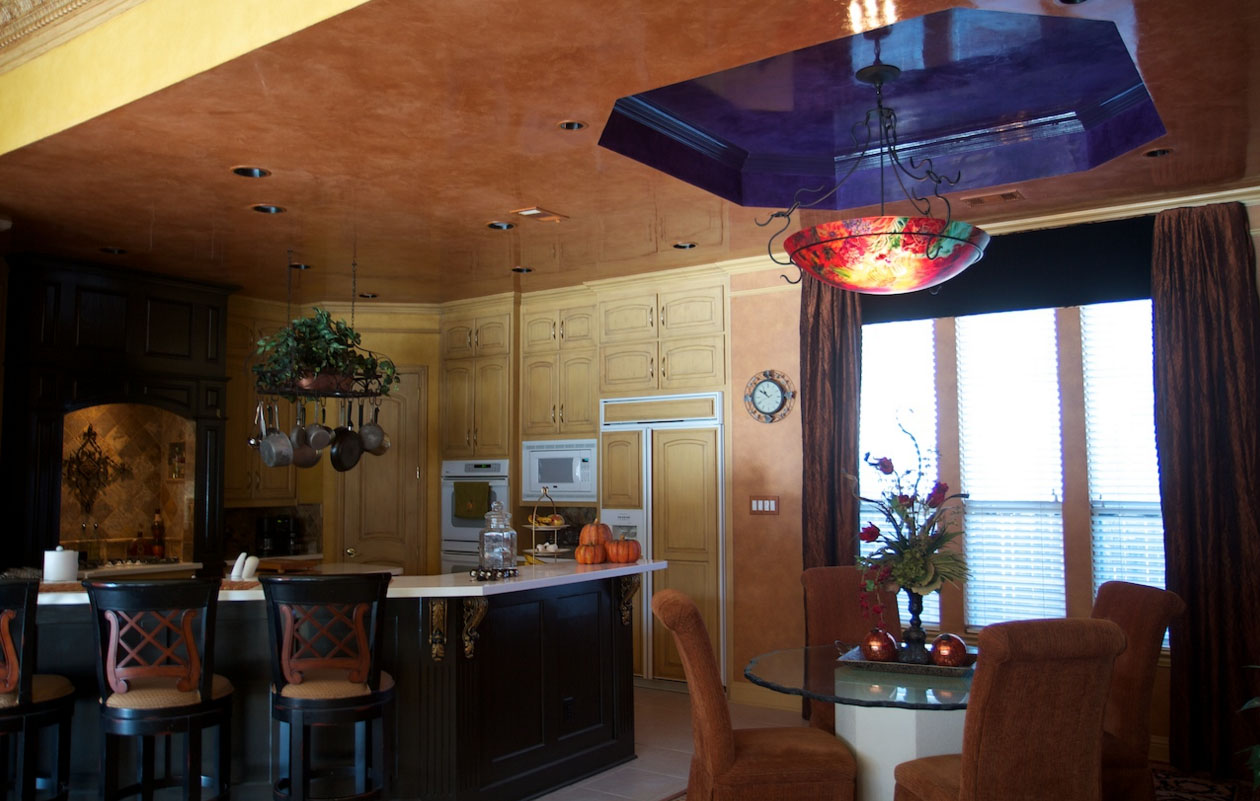
Decorative plaster in the kitchen original way designer finishes. She will decorate the interior, hide defects. Such a material is called the best, by combining efficiency, unusual appearance and simple technology. Decorative plaster of conventional fillers is perfectly combined with many finishing materials.
Depending on the composition of the following types of decorative plaster:
- stylish;
- structural;
- Venetian.
Structural plaster is a particulate solution with special additives.
Invoice - consists of mixtures of, are used to obtain the original relief surface. Much difference between these types of decorative plaster putty from the usual no.
Translucent plaster based on marble flour, lime and emulsions, imitating real marble called Venetian. On sale this decorative plaster found in paste form, ready to use.
Production technology for painting works without drywall: installation with their own hands
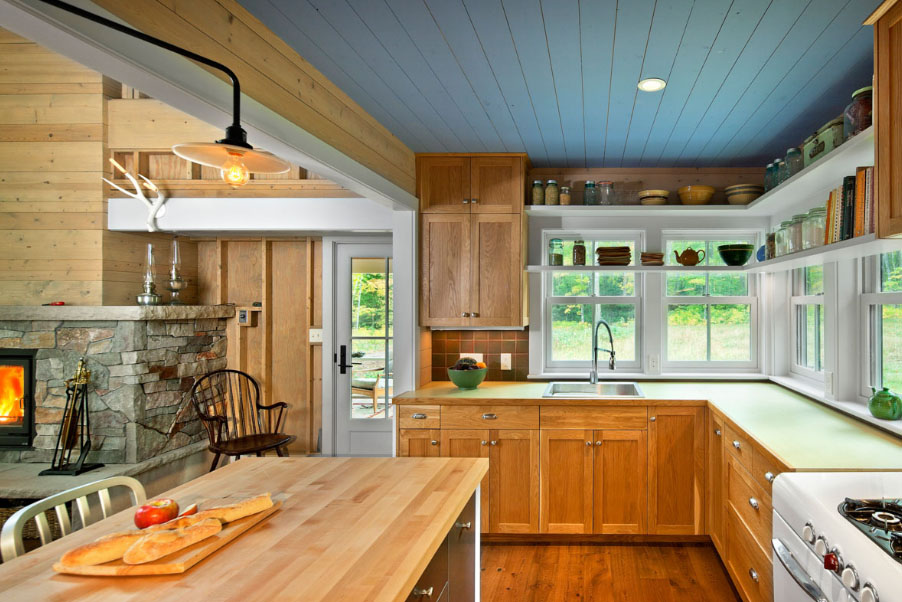
Painting the ceiling in the kitchen, as whitewashing a cheap and affordable way to repair, including performing with his own hands.
Production technology for painting works in several stages:
- Inspection ceiling cover. At this stage, you need to inspect the surface, whether there are bumps on it, cracks, defects.
- Cleaning of the ceiling from the previous layer of paint or whitewash. With a brush or spatula purified surface of swollen paint and exfoliates.
- ceiling primer.
- Elimination of defects and irregularities. Cracks and uneven shpaklyuyut, Concrete joints sized special reinforced tape and also shpaklyuyut, after drying the applied primer layer.
- alignment surfaces. A layer of filler, no more 2 mm. If required thick layer, it is best to apply 2-3 fold, wherein each layer has good dry. Dried surface treated fine sandpaper.
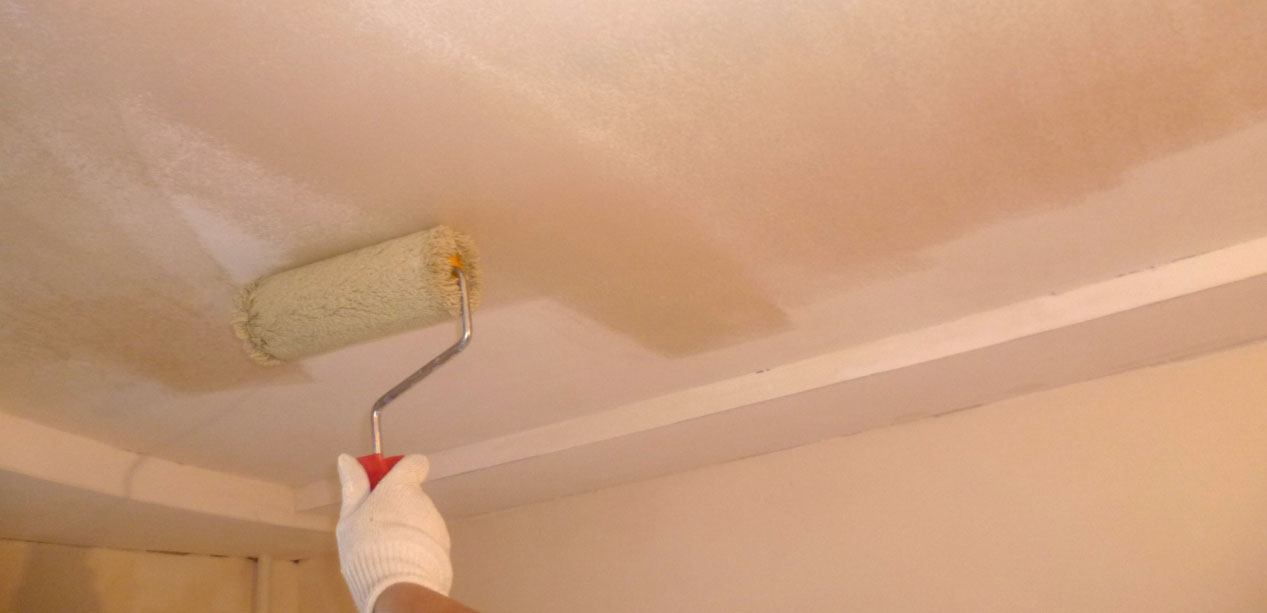
Now the surface is ready for paint finishing. The ink may be water-based or acrylic.
Composites for surfacing
Align the ceiling with his hands is not easy, It requires compliance with technology and the availability of high-quality materials.
Technology is selected based on the condition of the surface, and the material depends on the chosen technology and the thickness of the finishing layer.
If required the application layer 3-4 cm thick, then used a crude method of aligning. For deeper cracks is better to use the dry process.
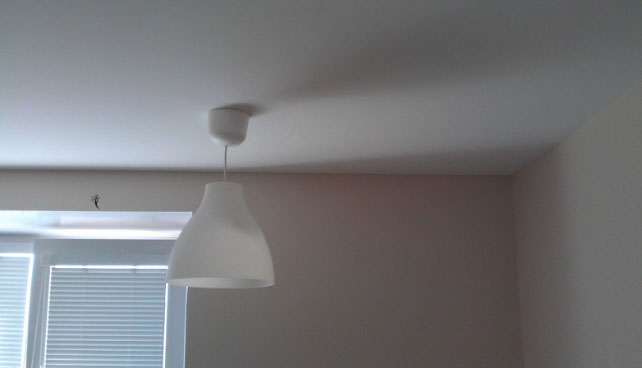
For alignment surfaces using the following materials:
- putty;
- plaster;
Building materials market has three types:
- starting putty (used for surfacing);
- putties (It is used for post-processing);
- universal.
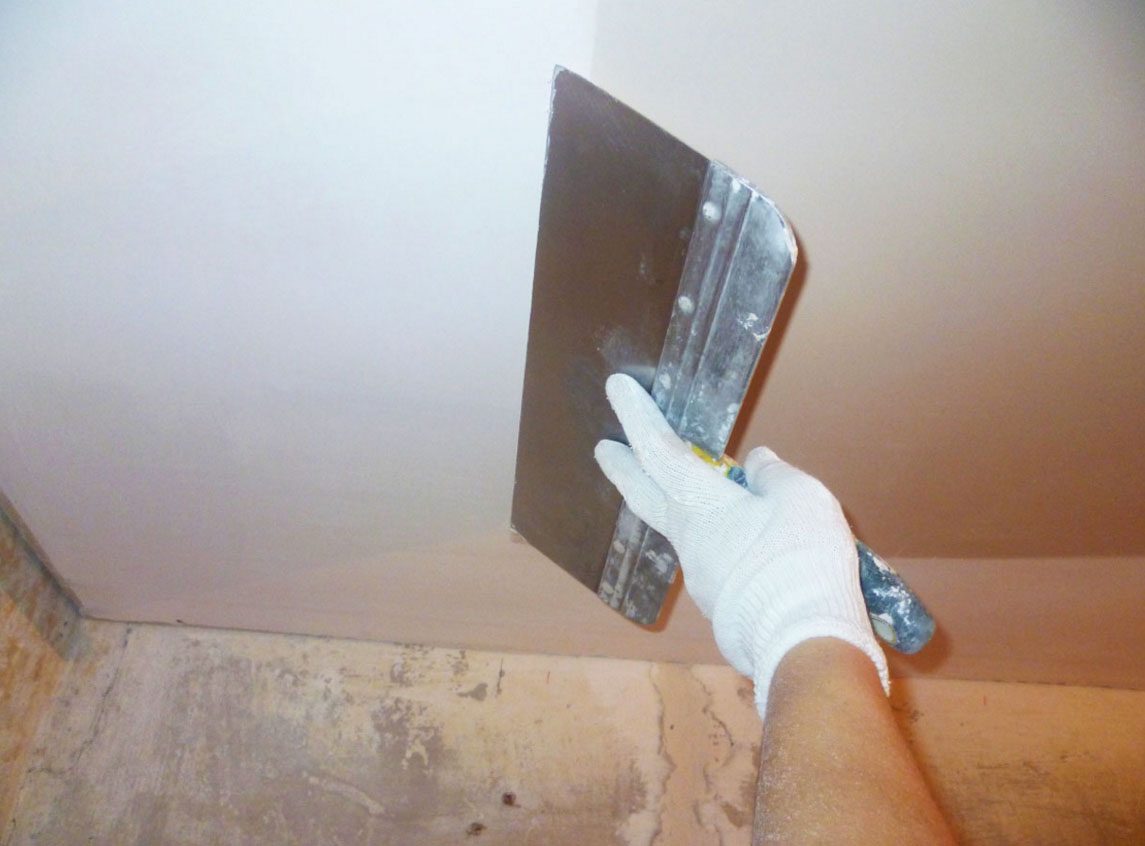
Plaster ceiling with his hands, using dry mixtures of this type of finishing material is the best solution when the alignment. When water is added, such a mixture is becoming plastic, allowing the applied layer of smooth.
Stucco is a mixture of, consisting of lime, cement, gypsum and special additives. It is pasty, It is used in the process cheese for slight irregularities in alignment. Plaster ceiling with such a mixture difficult process and smooth the surface can not be perfect, so do not use it to finish before painting.
any materials, to align, existing in the construction market, are versions of putty and plaster. They differ only by special additives, that change the characteristics and properties.
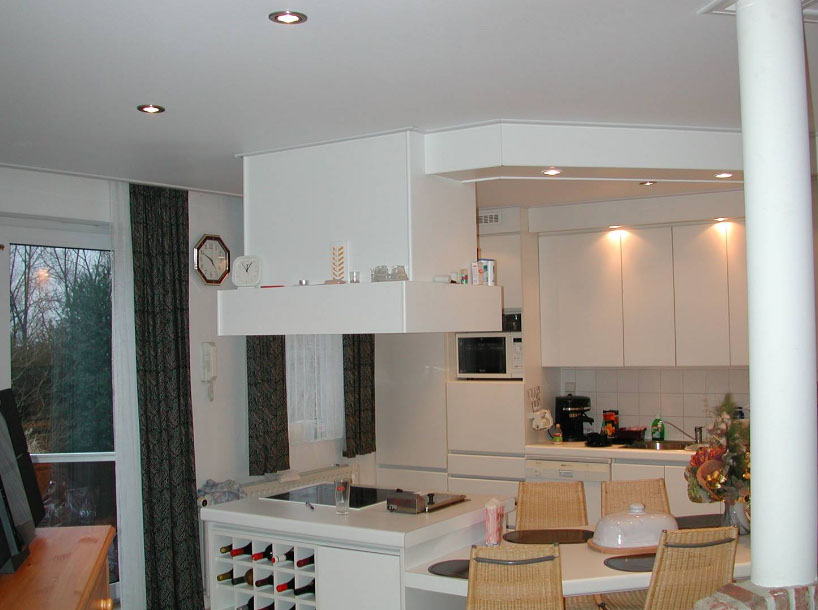
For the final coating and make the surface uniform appearance, with smooth white structure used putties. Another important quality finishing composition - improved adhesion with the lower layers, which completely eliminates the possibility of delamination. In this final coating (wallpaper or paint) They look perfectly smooth.
In order to choose the right mix you need to know the classification and characteristics of each species:
- cement putty (based on cement) with high hydrophobic properties. Applicable for rooms with high humidity levels.
- The gypsum mixture does not tolerate moisture, suitable for premises.
- The polymer coat, effortlessly applied thinly, thereby reducing the consumption of materials.
Regardless of, what kind of mix you choose, the main thing, to the main mix and the finish of one manufacturer were.
