How to put an apron in the kitchen: step by step installation and secrets correct folding
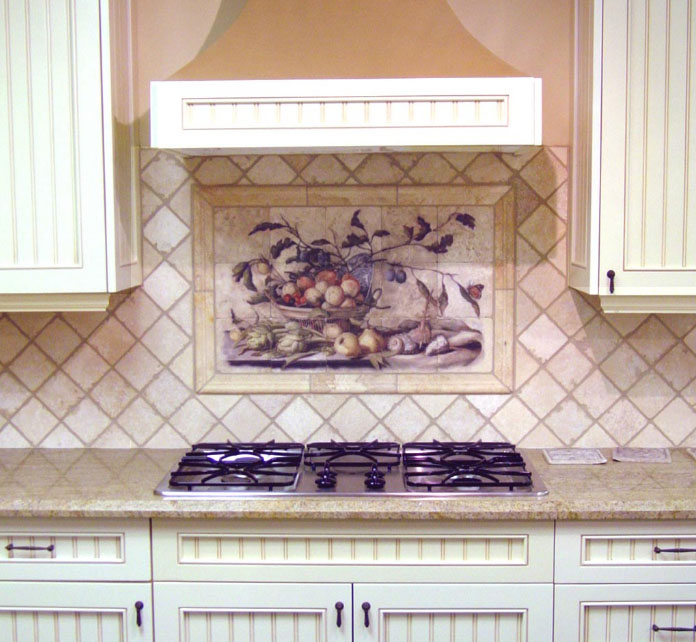
The kitchen is functional location and requires a special approach in the selection of materials and interior solutions. Proper organization and forethought in the design provides ergonomic space. Kitchen apron serves an important part of the working space, creating a reliable protection of the walls against moisture, fat splashes. But not everyone knows, like putting an apron in the kitchen. Let's deal.
Primary requirements, Supplies and Accessories prailno laying apron
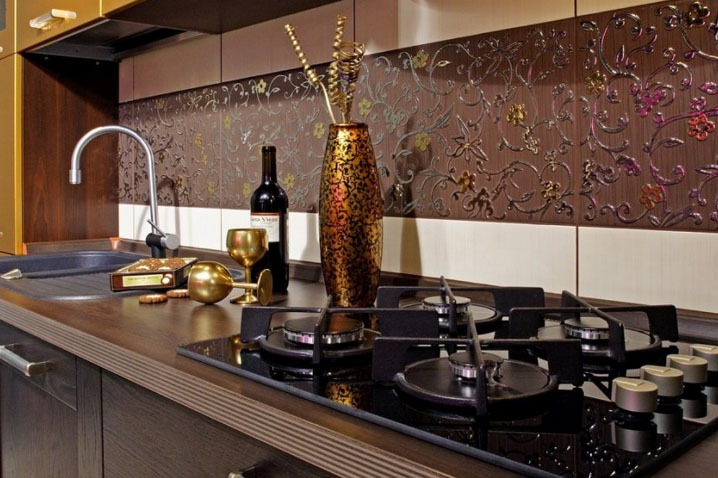
Modern materials and types of kitchen aprons combine practicality and decorative properties of the surface. Perform correct installation can apply proven tips masters. The order of installation work provides a thorough preparation of the necessary tools and materials.
The main means for setting the kitchen protrude apron:
- ceramic tile;
- solution for grouting;
- construction levels (short and long);
- tile adhesive and the container;
- tic correction seam thickness;
- spatula (rubber, narrow, toothed);
- rezynovaya mallet;
- cord;
- Tile;
- Cordless;
- sponge.
preliminary steps
originally produced preparation of surfaces of walls. Smooth base will ensure high-quality masonry. Small tile repeats wall plane. In the process, the irregularities, chipped, complicate the laying process, correct markings and patterns, so it is advisable to align the walls in the initial stages of repair.
Preparatory works include:
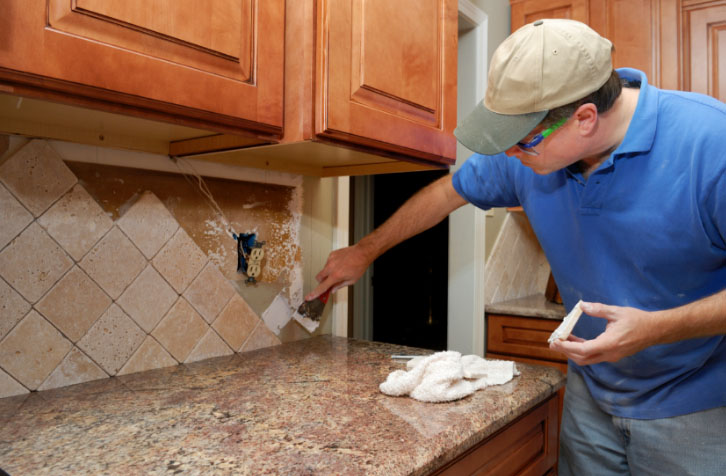
- Removing the old coating. Clear walls of tile and mortar to plaster surfaces can be by means of the punch.
- Align the wall at the stage of the plaster layer. It should eliminate the unevenness, chipped and peeling places.
- Smooth corners of walls. As a result, the transition tile apron on another wall continues the line of masonry without displacement.
![tiler]()
- Application of small incision. Creates additional space for glue solution, thereby providing a secure grip surfaces.
Kitchen space is subject to constant exposure to temperature change, high humidity. After removing the old tiles, the surface of the plaster layer sometimes infected by the fungus, or mildew. Careful treatment fungicide will help get rid of the unpleasant symptoms.
Putting tiles on the tiles only under certain conditions. The old surface must be carefully assessed, in the absence of damage, performed masonry. To stick the tiles on the tile need to destroy the glossy layer, make a notch, or treat the surface by special trains primer. It is also possible laying of tiles on plasterboard. Application of a moisture resistant material will provide a flat,, stable plane for assembly work.
Kitchen apron markings
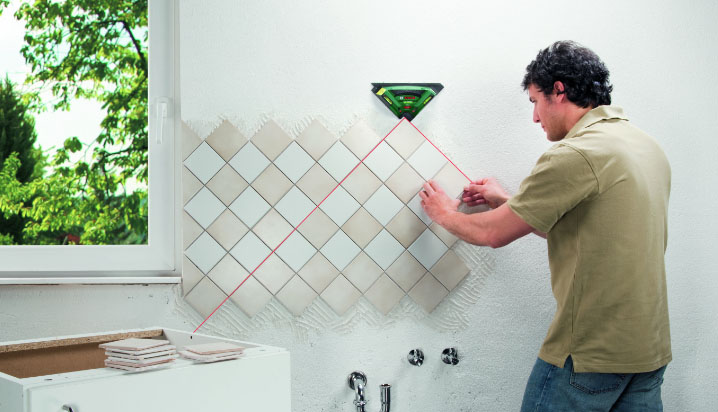
Smoothly and correctly put the tiles is not possible without the creation of pre-marking walls. At this stage it is necessary to pay attention to the accuracy of calculations. Application allows to check the level of the quality mark. Stacking height depends on the distance between the lower and upper elements of furniture. Facing should go a little bit beyond the surface countertops.
The marking and the installation process starts with the center, or end. The choice depends on the arrangement of furniture. Circumcised tile optimally positioned in the corner, rather than at the edges. It is recommended to select the size of the tiles, avoiding cutting material. Permissible slightly vary the width of the seams, focusing on the type of material. Whole surface gives aesthetic and finished appearance apron.
Properly lay tile start with the installation of a wooden beam. This part will support the laying, preventing displacement. Replace the timber can be plasterboard, or metal profile. Create a flat hierarchy to help special plummet, consisting of lace with load. After fixing the plumb line at the top of the wall, under the influence of gravity of the load, formed landmark, allowing to carry out the necessary level of vertical.
Tile adhesive for a secure fit
Securely glue the tiles can be using only qualitative composition. Should be considered, if unable to properly align the wall, glue costs will increase significantly. It is important to adhere strictly to the proportions, specified by the manufacturer. Rotary hammer with a special nozzle facilitate the kneading the mass to the desired consistency. Incorrectly prepared tile adhesive can cause the destruction of the apron.
Tile adhesive Eunice, like other formulations, It recommended to be prepared immediately before the start of installation work. The dry mixture was added to water and kneaded to eliminate lumps. The solution must stand. At the expiration of 10-15 minutes re-adhesive mass is mixed and ready for use. During laying is recommended not to save the solution, performing drawing in sufficient quantities.
Apply makeup correctly and glue material is best to use a notched trowel with grooves. It is important to distribute the glue evenly and put gentle pressure on the tile surface. The teeth provide a plane optimum amount of weight, which significantly reduces the residual surplus.
Glue the tiles should be consistent, not processing the extra space, mixture dries and loses the adhesive properties.
tiling technology hog with his own hands
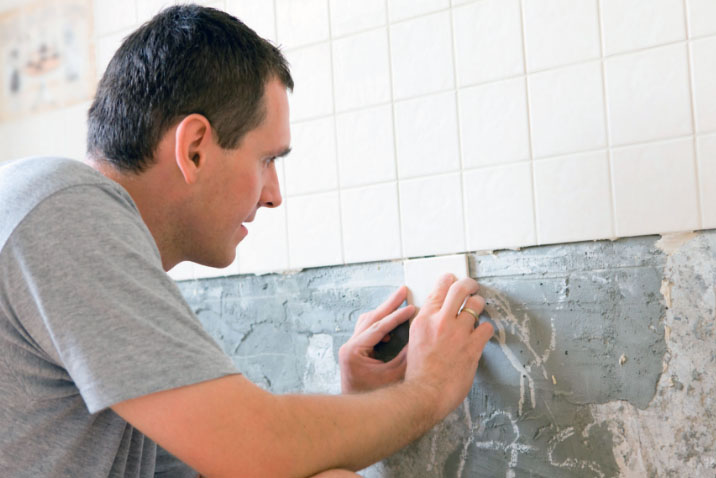
Proven ways to allow the masonry to create an original apron in the kitchen tiles with their hands. Start of operations at large scale elements is performed with the central zone. Average dimensions allow to put the tiles on the wall, starting with the installation of the far corner. Plastic crosses create equal right seams, size of the product depends on the individual preferences and design ideas. To remove these elements can only after drying adhesive.
Put an apron in the kitchen in the corner area is recommended, focusing on the shape of the working surface. The walls may have sufficient deviation, which can be corrected by means of an adhesive. The solution was gradually accumulates and forms a flat surface to perform in brickwork corner. The amount of the adhesive layer is regulated by the level.
Secrets quality surface of the tile apron: distance, Height matters
It is recommended to cut the tiles for the design of angles, using special tools. Tile will ensure a smooth edge without chipping. Proper markup allows to calculate the location of the outlets. If the items fall into the joints, enough to perform rectangular slices. Other options require the use of Tungsten filament, to carefully cut the tile and make a hole the right size.
Correctly complete masonry careful grouting. Sponge rubber spatula and allow to quickly and conveniently perform a task. Grouting composition after drying is difficult to remove from the tile surface, so it is better to remove the excess. The color of the mixture must correspond shade material, or be a tone darker.
Masters recommend to perform additional processing sealant joints, which will provide protection against browning and mildew. The original kitchen apron, made with their own hands, decorate the interior, emphasizing the individual style of the room.