Efficient modern LED Strip: quick installation with their hands in the kitchen
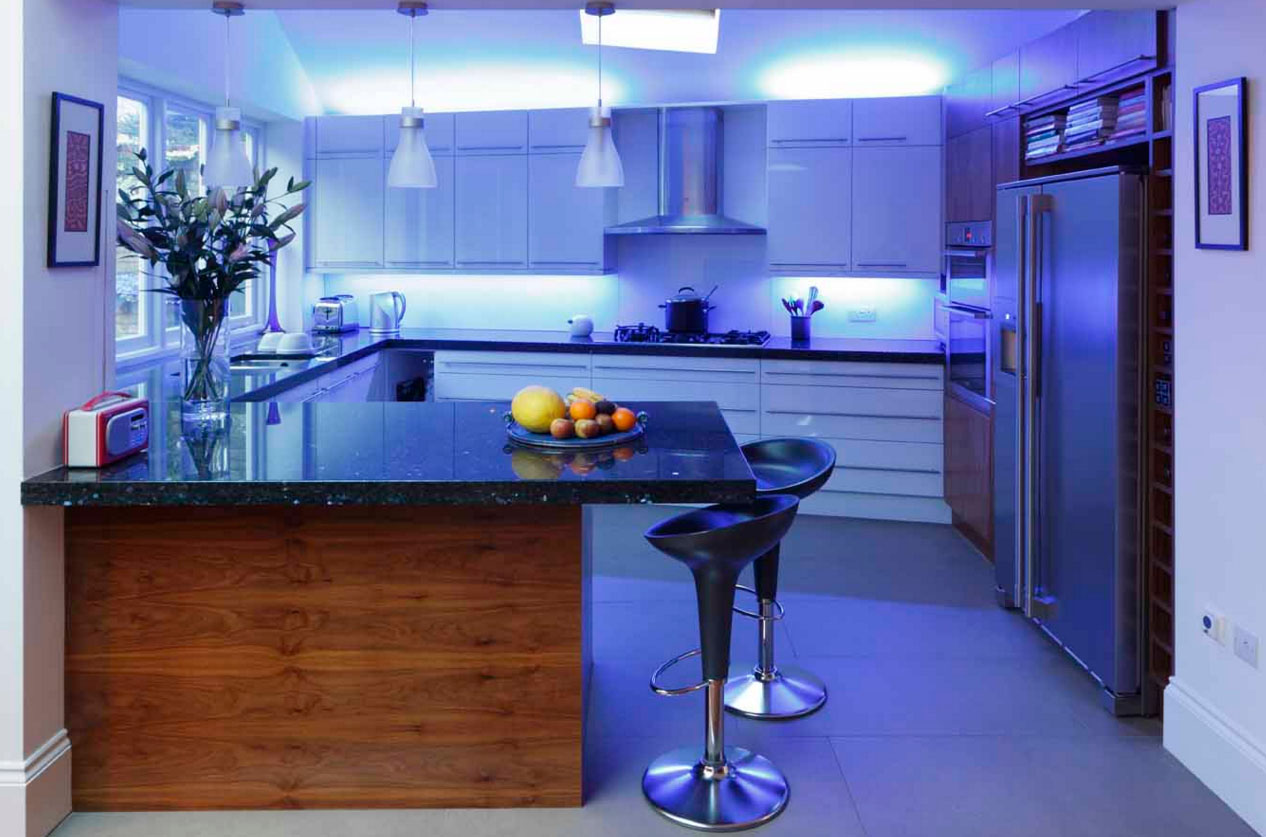
The main advantage of using LEDs is the reduced amount of electricity bills. LED Strip Light on the kitchen It helps create the necessary lighting and change the situation of the kitchen facilities. Therefore, there is a simultaneous solution of the functional and aesthetic problems.
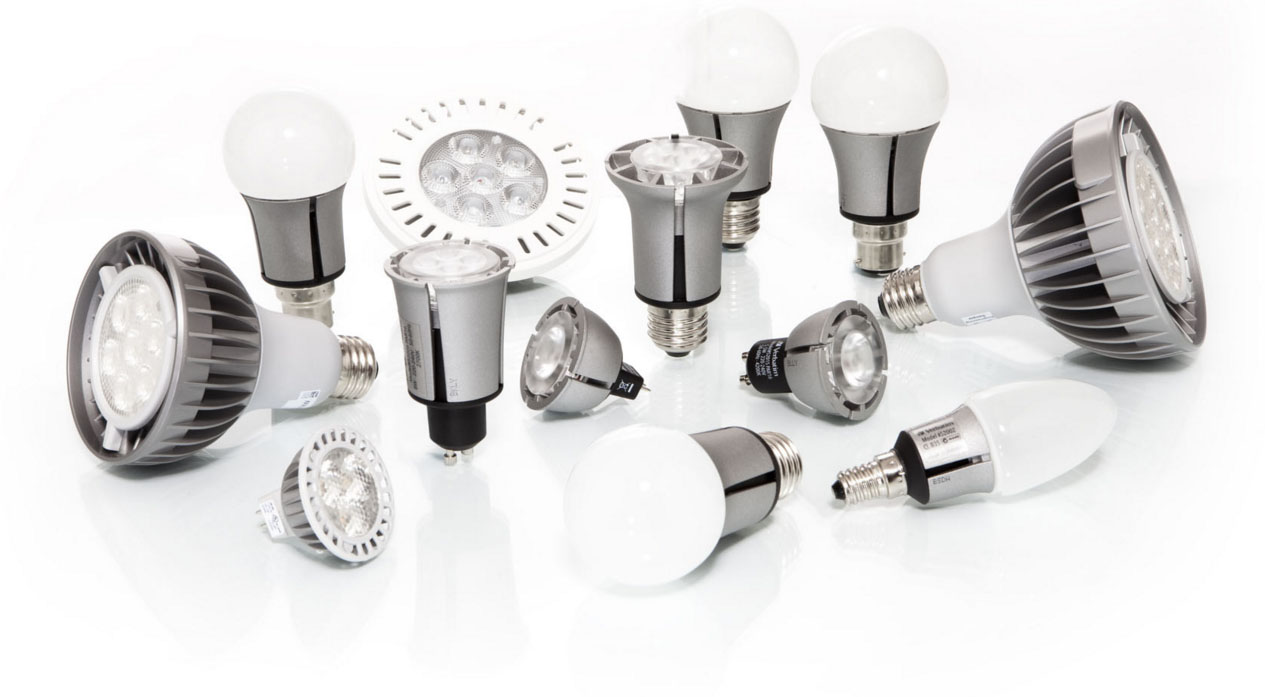
As classified diodes
LED strip for illumination of ceilings and kitchen furniture has the following advantages:
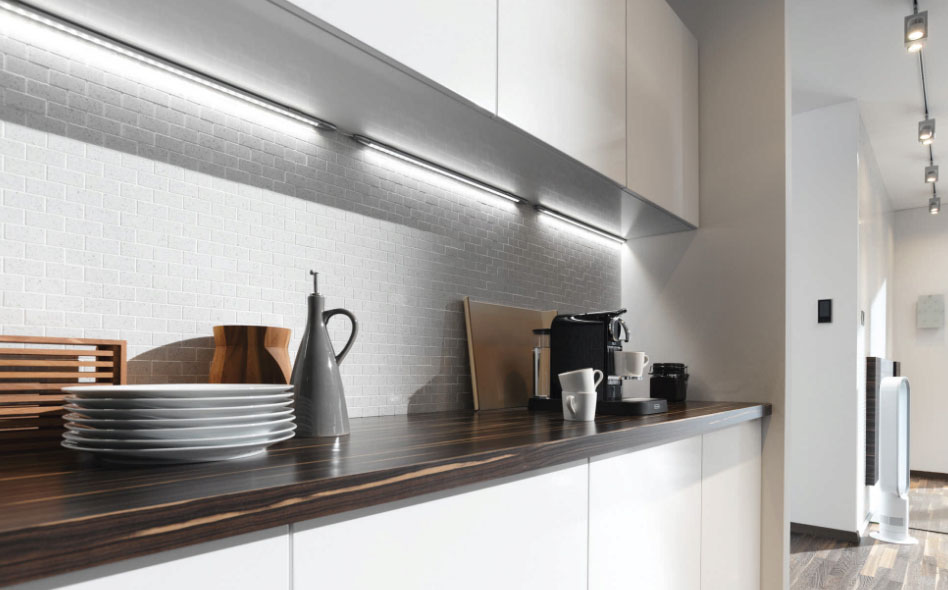
- Possibility to withstand external damage;
- Functionality for 14 years or longer in operation more 15 hours daily;
- Ability to select any shade, LEDs including ultraviolet and infrared spectrum;
- LED lamp in the kitchen provides high brightness illumination without heating lamps.
ceiling lights LED tape or decoration illumination in the working area carried out by means of any type of elements, combined in a particular combination. For right choice of schemes should be aware of the features present in the range of models. First of all, they differ in the type of diodes. Such embodiments are possible:
- Backlight LED tapes working area in the kitchen elements SMD-3528. Such diodes consist of a single crystal and a pair of pins, they are less bright, but more affordability. Their use is desirable only for decorative lighting due to the small light stream.
- The use of tape diodes SMD-5050. The elements consist of three crystals and twice the number of taps, so it obtained as a monochrome, and colored lighting. The value affects the density of the diodes and the intricacy of the design. Thanks to a sufficient amount of light effectively looks even ceiling lighting LED ribbon under the baseboard.

The presence of SMD markings on the lighting element indicates the possibility of the surface of the electronic component mounting. As a result, LED lighting cabinet lighting or in the ceiling turns subtle and compact, which is especially important for small spaces.
The differences in density
To determine the number of diodes, that must be present on the same running meter belt structure, It used this criterion, the density. That it affects the intensity and uniformity of illumination. In most situations, a combination of diodes SMD-3528 in the amount of 60 or 120 pieces per meter and elements of SMD-5050 in the amount of 30 or 60 pieces for the same area. The greatest light output is noted at a density, of equal 120 items.
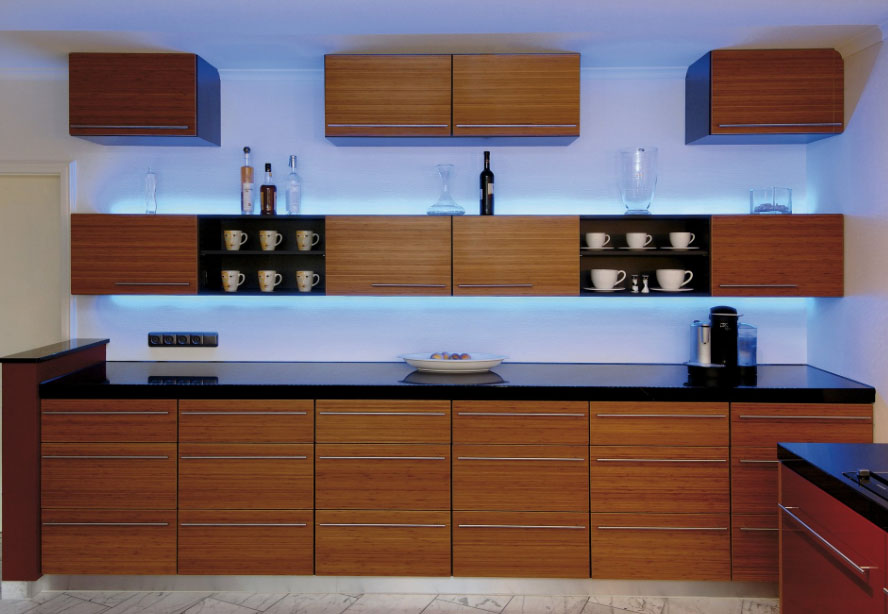
In addition to the density necessary to take into account the degree of protection, which determines the quality of the insulation of electronic components from external influences. For LED-strips provides the following protection classes:
- Unsealed open design, markiruemыe IP33, which are characterized by insecurity wirings. They can be used only in places, where there is no moisture, It can therefore be mounted such LED strip under tension in a ceiling or other overhead structures;
- IP65 can be labeled as a single-sided tape, in which sealing is provided by the arrangement of the electronic components. A feature of these solutions is to pour all of the contact elements having a silicone-based sealant or their insertion into a special enclosure;
- Can be labeled as an IP67 or IP68 double-sided tape, characterized by complete integrity. In most cases, they are released in a transparent plastic casing.
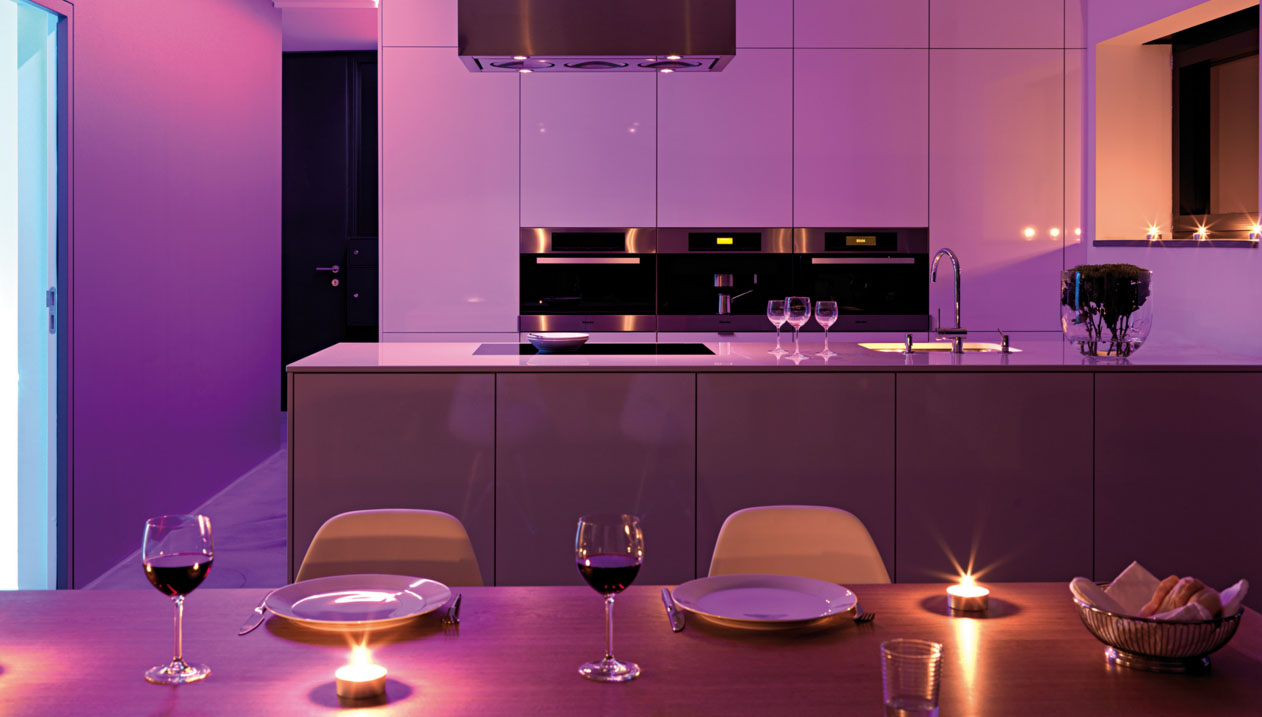
When selecting the latter embodiment mounting LED strip can be run as close to the working surfaces, and the ceiling.
The choice of power supply
Correctly connect the LED strips at home is possible only with a special power supply, whose purpose - to provide power to ensure the work due to the inability of conventional powering outlets.
The main criterion when choosing becomes a degree of moisture protection, because the kitchen is almost always there is increased humidity, which sensitive electronics can react. Also the degree of moisture protection is set to the power unit. An optimal embodiment is, which is provided with a small margin.
Calculation of the power LED strip and corresponding power supply it is held by the formula wherein the product is present backlight length (L), Power tape on its one meter (W1) and the coefficient, determining the intensity of use. Since the LED strip on the ceiling or near the working surface is only activated for a certain period of time, coefficient value is taken equal to 1,3. If you plan to use the backlight more often, should increase the figure to 1,5.
As mounted lights
To properly install the LED strip with your hands, we must proceed from its functional purpose and attachment points.
Installing the tape on the ceiling
Installing the LED strip on the ceiling with his hands in the following sequence:
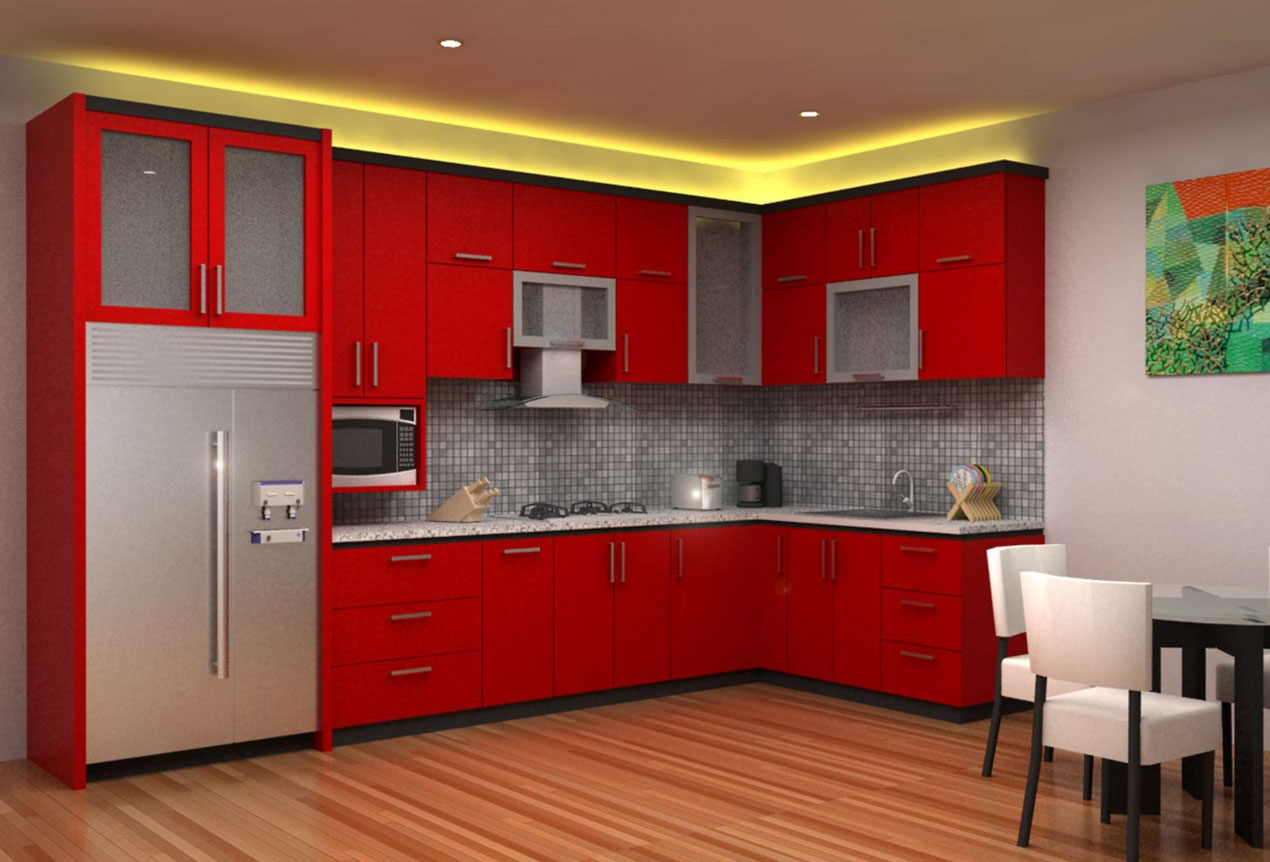
- First fastening tape is carried to the ceiling, using a special gypsum cornice. To make it, on kitchen or along the perimeter of the selected wall fastened used in drywall structures metal profile, then, departing at least 15 cm from the wall, a similar profile is fixed to the ceiling.
- Using lowerable from a ceiling profile suspensions, combined ceiling and wall foundation element for a carcass, receiving original shelf width 30 cm.
- After plasterboard construction sewings, it shpaklyuyut and color to match the ceiling. To facilitate the work sometimes instead of drywall use special plinth for LED backlight, having a sufficiently wide base (observance of this condition is necessary because of the inability to secure the top of the cell).
- To make LED lighting ceiling with his hands, resulting in the frame stack tape, fix it and go to the Power Connections.
Mount LED strip is easy enough thanks to the presence on it of the adhesive base. To reliably stick the LED strip, preferably pre degrease, removing dust and dirt.
To prevent damage to the tape during installation to exclude bends within a radius of more than 2 cm. Cut finished product can only be on a special label.
If you want to connect LED strips to each other, use the soldering method. It is important to observe the correct polarity, does not exceed the second interval and control the temperature within 260 degrees Celsius. Before performing soldering wire insulation, Using a special heat-shrinkable tape. Similar recommendations are respected, if you need to solder wires to LED strip, coming from the power supply.
Feature works with tension ceilings
Backlight LED ribbon tension ceiling from within has its own characteristic nuance:
- First, you need to assemble a framework for tensile structures, to provide the necessary hardware;
- The next stage is the fixation on the plastic base LED strip. If desired, a fully illuminated circle around the perimeter of the kitchen required docking separate pieces, which is performed by the method of brazing as described above. May be provided and selected tape, connected to the same power source;
- To the suspended ceiling with LED lighting as much as possible to please his appearance, especially need to pay attention to the lighting elements fasteners. As practice shows, sometimes sticky part of tape differs poor quality, so after a month or two they become detached from the frame. To avoid such trouble before mounting necessarily degreased surface or attached to a special adhesive tape for fixing a liquid plastic nails.
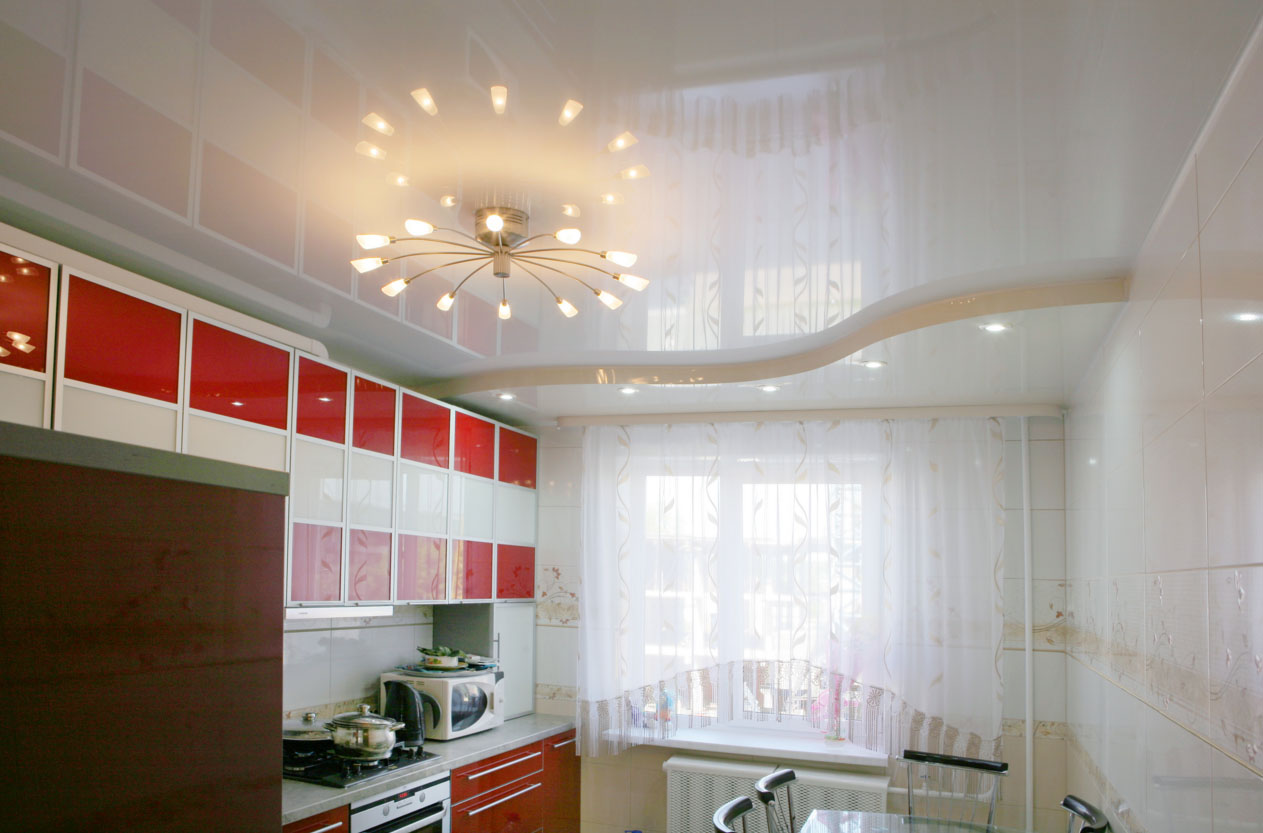
Another point: under ceilings can not be mounted too powerful LEDs because of the high probability of overheating.
Affect the amount of such a factor may ceiling surface and its cooling effectiveness. When very small gaps between the floor slabs and tensile structures, not exceeding a couple of centimeters, better to consider other options for backlighting.
Use for illumination headset
Today, LEDs are increasingly replace or supplement used to illuminate the work area integrated lamp. This is due to ease of installation and minimum sizes, which is extremely important for the kitchen space.
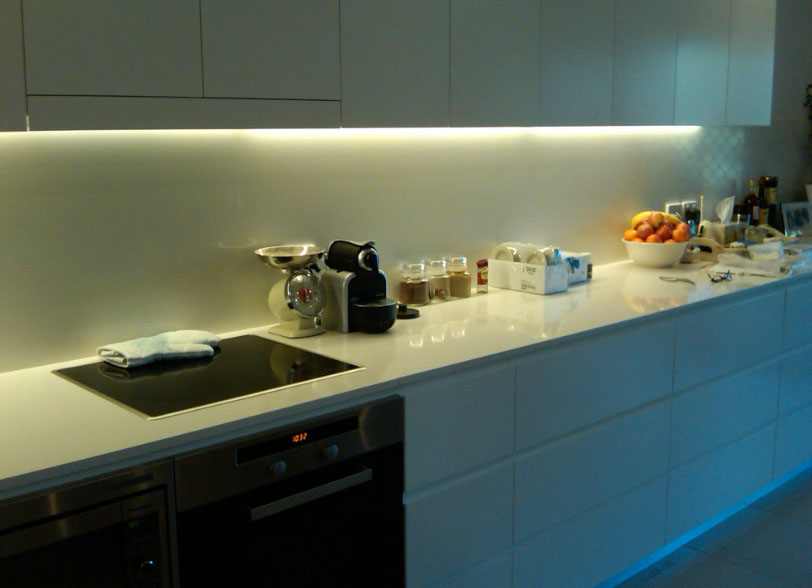
Illumination in the closet with his hands or the installation tape is performed on the following items under the overhead structures:
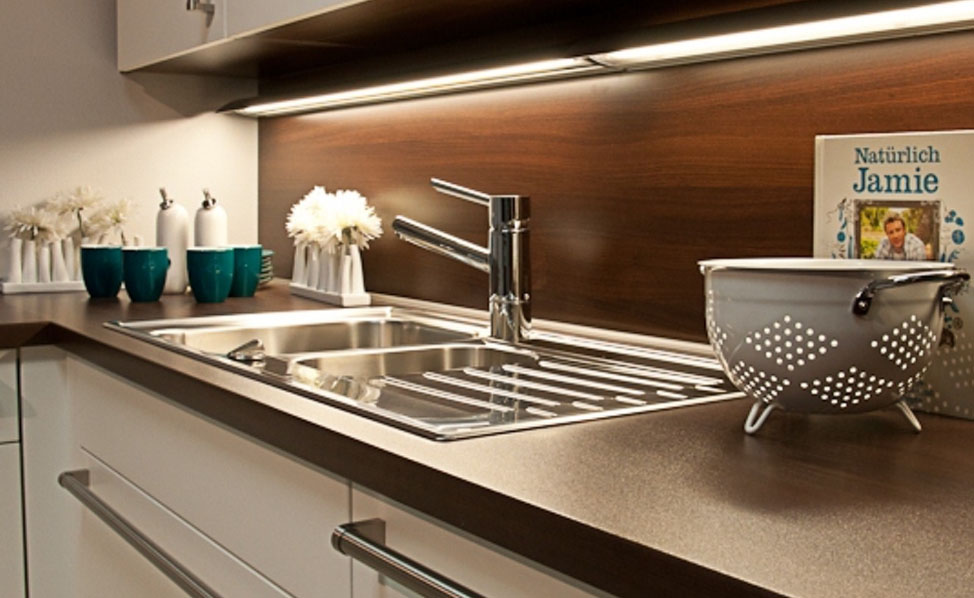
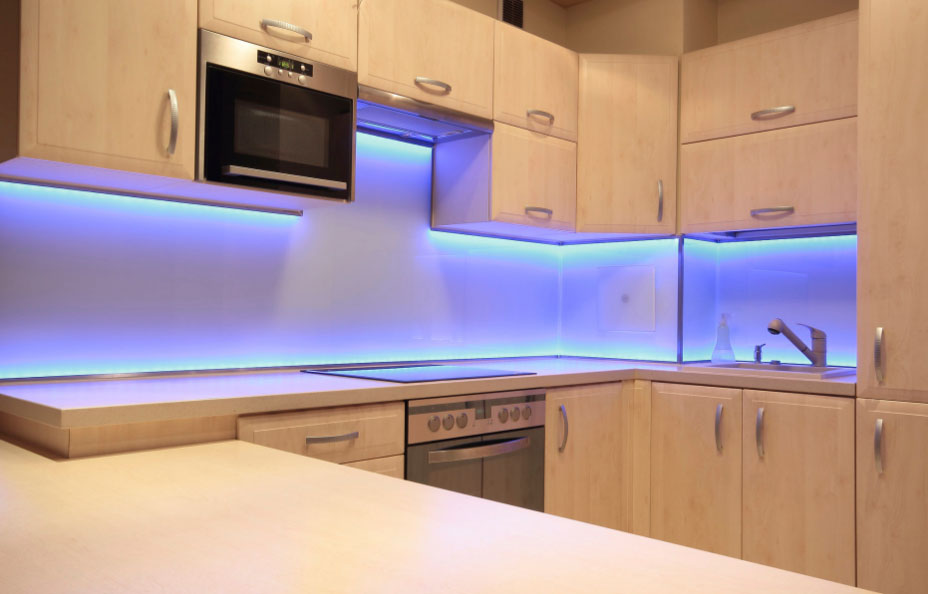
- Primarily determined illumination purpose. If it is used as an element of decor, it is mounted on the inner surface of the hinged elements of furniture set. When planning the organization of the lighting of the working area, LED lights for kitchen cabinets becomes a most appropriate one for.
- This is followed by the length of the kitchen units and the obtained value to measure the number of LEDs required in the stream, cutting it on a specially marked area.
- Place the cut is closed connector. You can solder the wires and taking into account their polarity.
- To install the switch with illumination for LED lamps, kitchen cabinets previously degreased and attached tape, removing the protection of the adhesive layer. If desired, the fastening means additionally amplify special profile. Power supply itself is placed within one of the cabinets. To connect the wires to the bottom or wall of the furniture item drilled holes, after which the connection is performed with the correct polarity.
- After the installation of LED power supply is connected to the outlet. Indicator properly conducted connection becomes the absence of blinking and scintillation.
Thanks to LED lighting kitchen without radical changes will appear in a new light, as the situation changes in the afternoon and evening, setting up after a hard day of relaxation and leisure.
