Design Ideas Kitchen apron: tile drill and put the working area
In order for the surface of the kitchen walls are not settled moisture, oil and condensate, It requires a special finish. The name "apron" is due to the closure of only a portion of the enclosing structure. A material is chosen for manufacturing ceramic tiles, wall, preventing pollution and increase the aesthetic characteristics of cuisine.

Tiled apron in the kitchen
Before you arrange an apron of tile, define the basic parameters - the size, material, place and circuit. It is important to take into account even the plane, in which you are styling. Choice apron features depends on the interior walls and the quality.
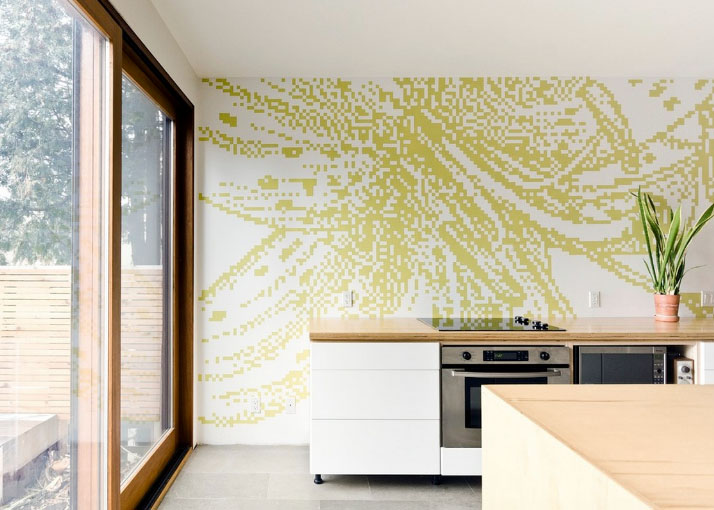
The dimensions of the apron: tile 10 on 10
Apparatus plan apron, starting from the bottom - level, which begins kitchen tiles. height receive in size Headset. Standard horizontal size of 80-90 cm floor cabinets causes the same distance from the floor to the bottom of the skirt. This saves material and do not drill for tile outlets under the built-in appliances.
Question, how high stack apron for kitchen tiles depends on the location of wall cabinets. Typically, the distance between 500-550 mm, but the vertical trim size makes the walls fold 300 mm (one tile), i.e 600 mm. for drawing, set at 70 cm above the oven is raised to a height of more 300 mm.
Length, which has an apron on the kitchen tiles, determined dimensions countertop. But, If the headset is divided into two parts, The walls are lined up to the kitchen window with one hand, and up to the door - the other. In areas without furniture apron is lowered to the floor.
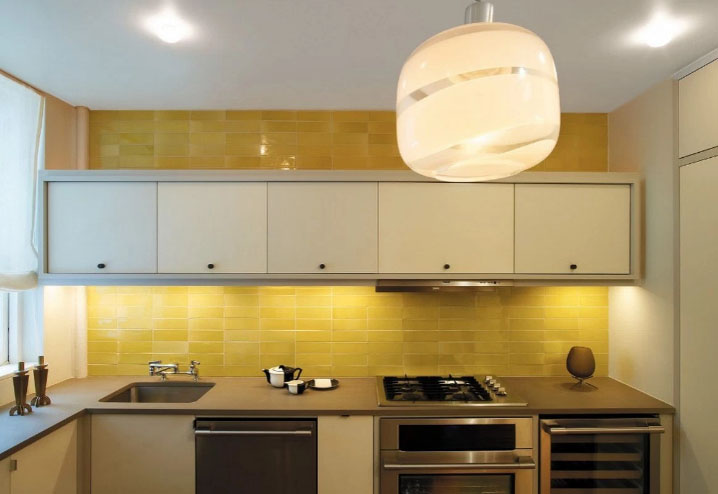
The plane and the width of the laying
The final stage of planning - plane selection, which fits
tile Kitchen tiles. Used two ways - directly on the wall, a projection relative to the rest of the structure, or flush with the surface. The second option increases the work, but looks more attractive apron, It does not collect dust and does not interfere with the installation of furniture. Variants of the planar walls are also two:
-
Part design knocked, tiles fit into the resulting gap;
-
Tiles in the kitchen for the apron rests on top of the wall, then the remaining part to the ceiling and the floor leveled plasterboard.
The choice of material: how to choose ceramic, tile
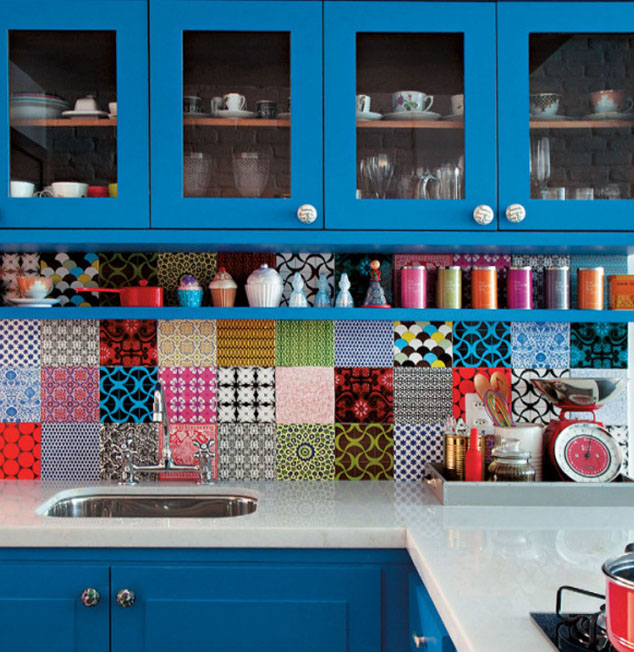
When choosing tiles for kitchen apron often stop on clinker and glazed ceramic tiles. This is due to the material and good resistance, and easy care, and operating time. Besides, tile for kitchen on an apron allows the creation of design, suitable for furniture and the respective holder tastes.
Color for the successful design: White and other
Apron of tile - element, serving to protect the walls and playing a significant role in kitchen design. Therefore, the selection of colors is very important when buying tiles. Do it correctly, combining colors with other elements of the kitchen - the wall, table, appliances or wallpaper.
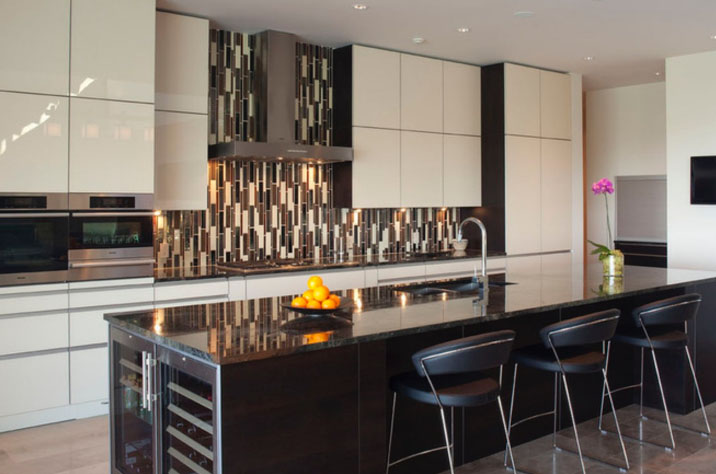
popular colors, which perform kitchen apron of tile, think:
-
white, beneficial in terms of the combination with the majority of subjects, from furniture to refrigerator. color uniformity is reduced, using decorative stickers, easily replaceable and moved to a new location to change the style;
-
type neutral beige, pastel or gray. The colors do not attract attention and visually expand the space, combined with any interior;
-
another variant, creating a contrast with the kitchen furnishings. contrast
tile for kitchen apron in the kitchen looks spectacular. It is important to avoid too abrupt transitions, eventually bored and require rework.
decor types: mosaic, pylon, large patterned
One of the variants of laying - mosaic, by means of which concealed the uneven sections of the wall. Its use makes it possible to decorate a room without hanging on the walls of decorative elements (paintings, panel, compositions), as the drill hole in the tile harder, than the wall. Mosaic made matte, glossy, and even mirror sets produced.
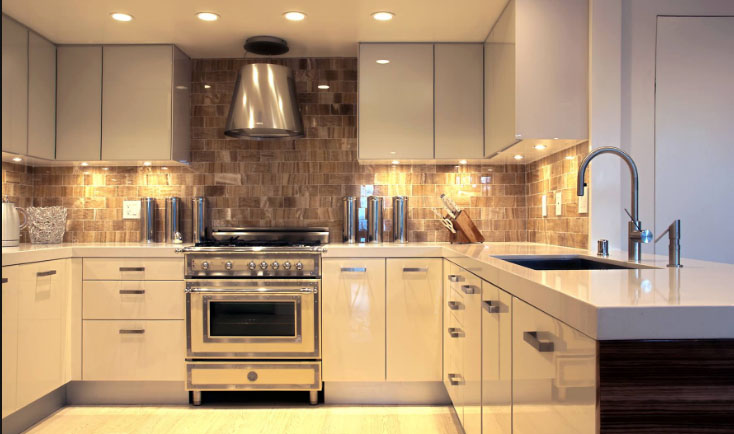
Stages apron device
Perform folding apron can be independently or, referring to the master. If you choose to manufacture their own hands, prepare the necessary tools and materials.
Under construction will have to use:
-
by tiles (take with a reserve area 10-15%);
-
glue ("Tserezitom" or being part of);
-
grouting;
-
spatulas (rubber and gear);
-
building level;
-
Tile;
-
drill, to drill tile.
Quickly process and not to spoil tile flooring can help you choose supplies. These include a drill for tile (hastate, carbide or diamond crown).
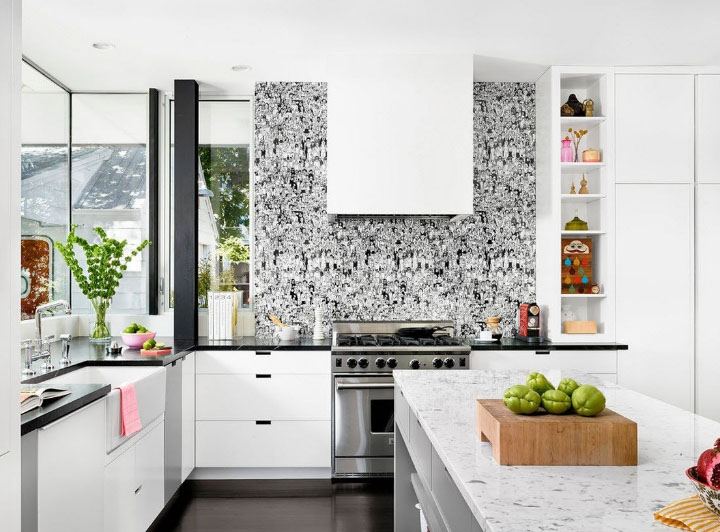
Preparing walls
Choosing to create the simplest version of the apron, stacking rows, should properly prepare the walls. First remove the old tiles and other building materials, align and plastered walls. Next, run the wiring and scheduled location for outlets.
bottom line layout for stacking is performed taking into account the distance to the floor 75-80 cm. up note 2 a number (600 mm), and for the cooking surface - more 30 cm. At locations for a tile applied primer. By the level of the bottom line fastened metal profile for drywall, check the horizontal level.
How to lay tile Kerama Marazzi own hands
starts laying tiles with the preparation of glue on the enclosed instructions. Then, an adhesive solution is applied directly to the wall 2-3 tiles. Notched trowel make furrows on the glue.
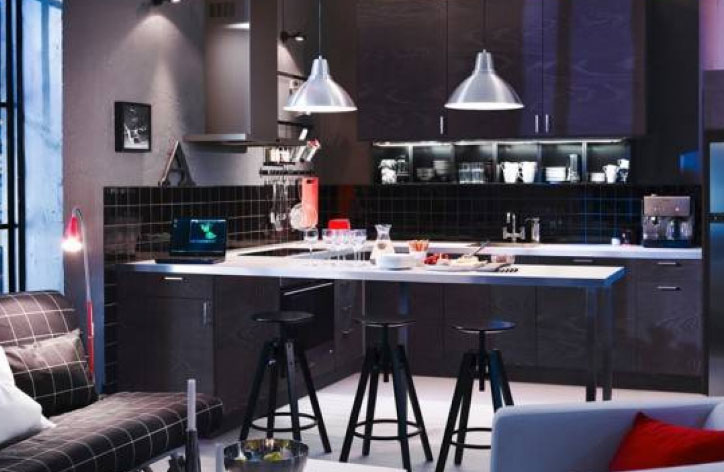
Now spread the ranks, checking the correct level. For installation in the corner of a tile cut a special device. Tile is made with his own hands from the Bulgarian and countertops, locking disc so, to the projecting edge length was not more than half the material thickness. Parallel to the saw blade is placed corner metal, Moving along which the device, achieve a quality cut.
AT site installation sockets We have to drill tile. To do this, make a hole in the tile and applied to the enclosing structure. Now drill the ceramic surface and secure, and then install the outlet.

When you are finished, wipe apron. After one day, you have to clean the joints between the tiles and apply grout. After drying, the tiles are washed again.
findings
Realize the apron of tile - a time consuming process and requires time. Special, If drilling a tile on a wall and leveling the surface. But, selecting the option to self-stacking, you save money, gaining knowledge and experience.
