Stylish kitchen plasterboard with their hands: 4 material advantages
Finishing drywall premises firmly established in the tradition remonta- alignment of walls, device arches and ceilings. However, few people know, that of the GCR design kitchen furniture, which in their qualities will compete with headset. plasterboard structures their own hands intended for artists with imagination, not wishing to hold stereotypical housing. Kitchen made of plasterboard with their hands as a place to be. Let's learn more about this.
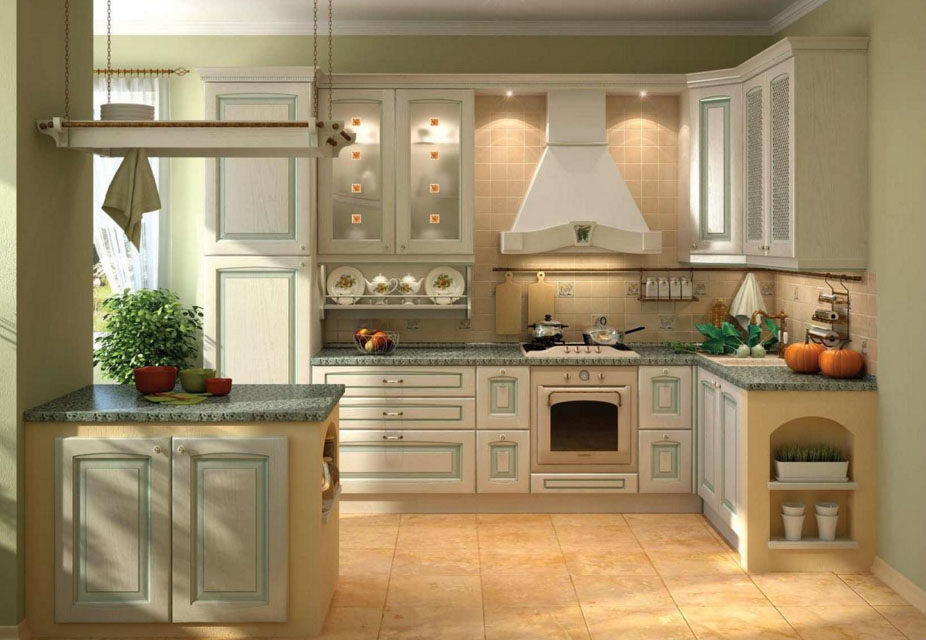
Options for the kitchen designs of plasterboard
This is the traditional furniture - cabinets, table, cupboards. Niche plasterboard under the TV, arch with light and so on - a lot of variants. Advantage of any structures made of plasterboard - low cost material, its availability.
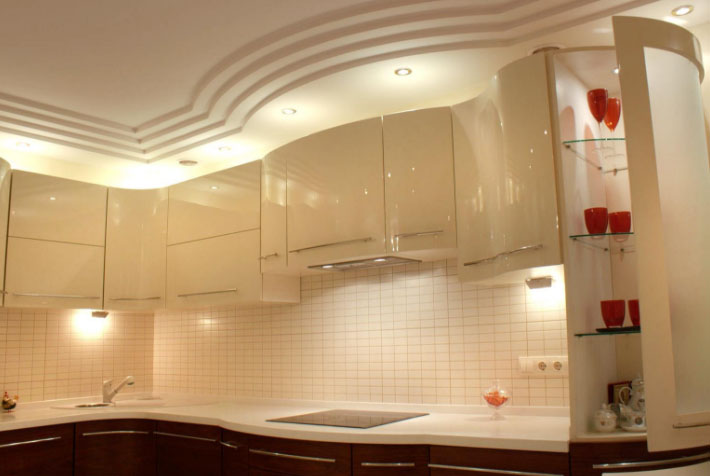
Besides:
- Easy installation. Sheets are taking any fasteners, even glue. It is only important to calculate the load. Mounted design options are easy and do not carry the load on the wall - for example, it is important for private homes.
- Ease finish. Sheets themselves modestly, but, they successfully paint, trim tiles, okleivayut, apply their own fantasies in practice. In case of damage or repair, element in the design of the drywall just replace.
- Kitchen furniture is absolutely harmless to the room - no odor, does not burn, It does not melt in places of installation of electrical outlets.
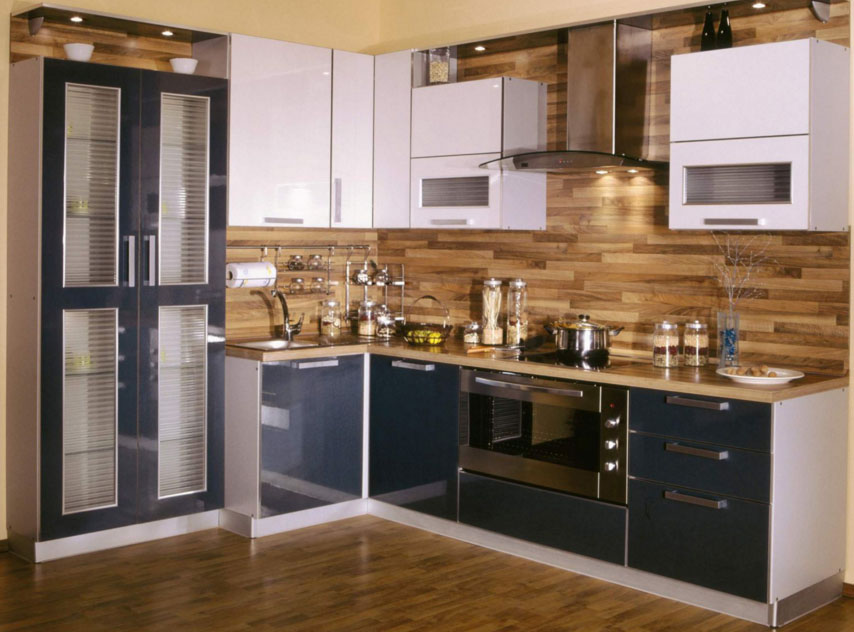
In some moment, construction of the drywall in the interior dismantled and installed in their place new models. It is worth considering and disadvantages:
- Ease of constructed models. Of course, these shelves, cabinets or niche in the wall is calculated under a certain load, which should not be increased.
- Shelf life is limited to drywall in areas with aggressive environment. Even if you use water-resistant types, they necessarily provide additional protection, otherwise maceration constant condensate unavoidably.
Deficiencies have virtually no drywall. It is only important to correctly choose the raw materials for a particular piece of furniture and the right to conduct installation of plasterboard with their hands. Then the complaints will not happen.
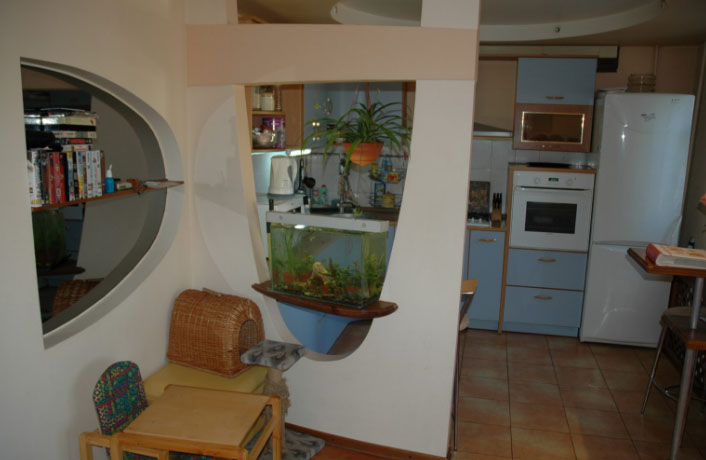
Selection of plasterboard and tiles
Kitchen - high humidity. but, It does not always require a material with moisture barrier layer. Why:
- Modern kitchen units are equipped with hoods, why steam or condensate does not have time to get to the material.
- Plasterboard never leave without finishing - paint, tile, film, waterproof wallpaper. Through them, the moisture gets to the board - the amount is too small.
With regard to thickness, here take into account the function of the shelf. If it is intended for storing crockery crystal, cast iron pans or pans, it is natural to significant thickness - from 10 mm + metal carcass. for canisters, plasma TVs and design inserts - suitable and less.
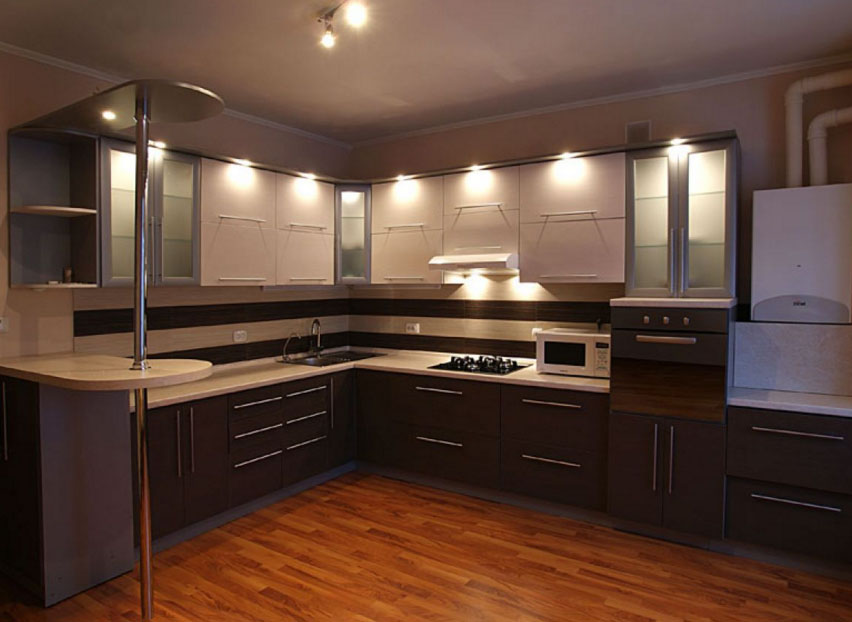
How to make kitchen furniture with their hands Plasterboard: step-by-step instruction
What should be considered as furniture for the creation of the FCL? Firstly, it should be a functional item - shelves of plasterboard, lockers. in the second, should see the possibility of combining with the load-bearing walls - arches, racking, bar counters. so:
Preparing walls and ceiling calculation
None of the furniture will not stand, as it should be, and the more plaster, If dishes are plane wave. Prior to joining, should make the wall of the drywall - lead brick or concrete surfaces in perfect condition by using the same raw materials.
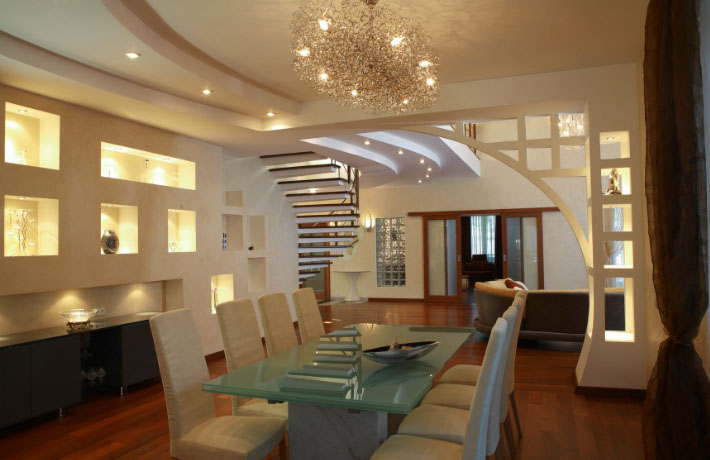
How to do it:
- Calculate the difference of the plane and the measurements projected onto the floor and ceiling. If the difference is small - up to 1 cm, the drywall can be fastened to the wall without profiles. In other cases, they are required.
- Metal profile is fixed on the planned lines. Between them stronger webs.
- The resulting frame of metal profiles for gypsum board can insulate or conduct in improvised electrical wiring boxes. Hidden under raw materials and pipework - all the needs required to determine in advance.
- Drywall is attached to the walls with his own hands - with screws cut off pieces of the frame sheathe, taking care, the sheets were abutted against each other. Self-tapping screws are screwed into the surface at 1 mm.
It remains the last - the wall plasterboard with their hands is in presentable condition. Seams rubbing putty solution, surface painted with latex paint, wallpaper, decorated film or other means. Proceed to the design of furniture.
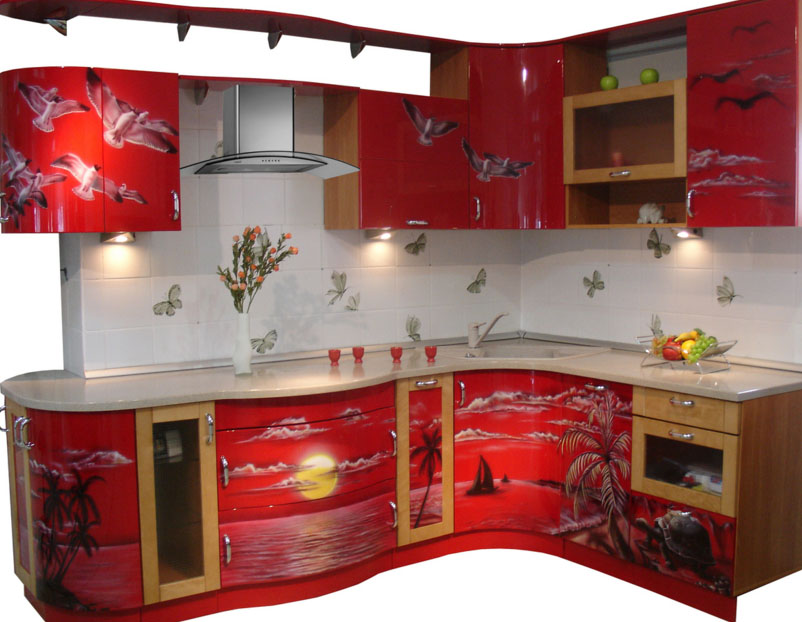
Cupboard with shelves, rack and place under the hood
Consider a simple square design option closet with several shelves. For work you need the following tools and materials (henceforth they will need for other pieces of furniture):
- Aluminum profile to create a frame.
- Plasterboard 12 mm. Moisture resistant or not, should decide, depending on the installation site: work area (washing, plate) - gypsum plasterboard, the opposite wall - FCL.
- fretsaw, circular saw - the convenient and quality drywall cut. drill, Cordless, screws.
- measuring instruments and level of compliance - gon, nivelir, plumb, rule.
- protective equipment - gloves, respirator, spectacles.
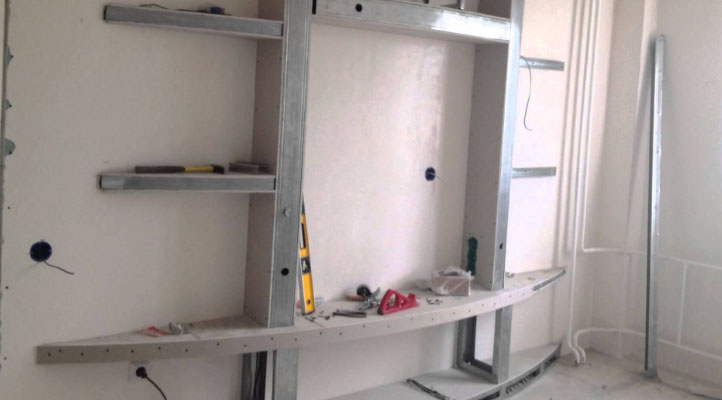
Thumbs have future drawing object so furniture-, the speed will be faster, size is not required calibrate each time, workpiece make advance. installation:
- Arrange the rack frame. To do this, first fix the vertical profiles on the wall, then to the ceiling and the floor, pre-strengthened aluminum damper strip - it will play the role of absorbing vibration and prevent the rack for fine. If you decide not to make a big rack height, then dispense one floor profiles and upper strapping. Construction component parts bonded aluminum frame and receive a box.
- To enhance the carrying capacity of all the planes are fitted with metal bridges - lengths Profile length 50 cm. They are located there, Where, According to the owners of, will be shelves of plasterboard with their hands.
- Immediately mark the places for the insertion of fixtures. To do this, double frame made at the appropriate places, where holes are cut for the output wires and cartridges.
- It remains to sew the resulting model. Chunks of drywall cut at the exact dimensions, taking care, to edge of the sheet falls on the middle profile. fasten with screws.
If you want arranged door. To do this, is preparing a wooden frame, between which strips clamped section of drywall. Ready Rack first shpaklyuyut, then decorate - color, okleivayut.
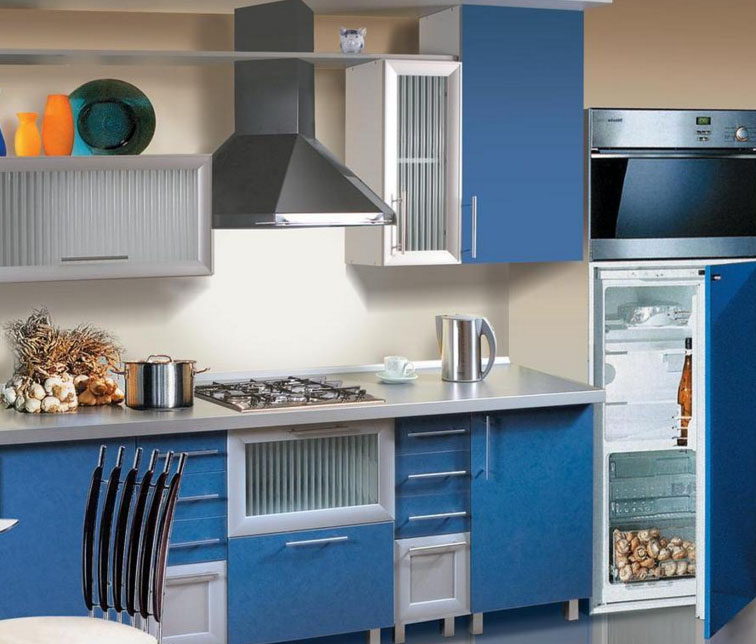
bar counter
complex, as it seems at first - no. The only feature rack - curved surface. Make her plasterboard - just. so:
- Drawn wall for shelving. Rack permitted finishing plasterboard walls without frame and profile - the design is low profile and reinforcing the role will not play.
- Further, bend the guide profiles to repeat the frame desired shape is easy. They are bolted to the floor and put rack plating and jumpers.
- Metal does not respond to the deformation, moves well reshaping. but, Drywall necessarily break. For this use the following method - spiked roller, periodically dipping it in water, pass the entire surface of the cut strip. So, moisturize plasterboard with their hands, then he gets elasticity, and bend his will in all directions. The strip was allowed to absorb moisture on the 20 minutes, installing it in special holders - a few bars fixed on the floor. between them, located strip with a radius of curvature well take the form of. Then the workpiece is screwed to the profiles.
- It remains to establish the table top and the last step will be plastered and finishing.
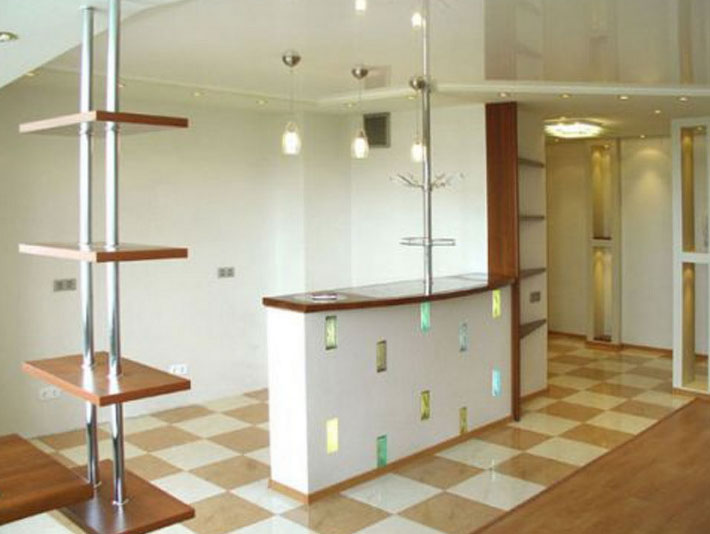
Pravda li, no big deal? The bar equipped with sliding doors. To do this, use plastic rails, fortified in the sexual profile and the wheels - they can do with their hands from the children's designer.
Kitchen arch-rack
You have nowhere to place utensils or houseplants? Not enough space for cookbooks or spices cans? There is a solution - kitchen arch-rack will play a huge role not only in the interior, but also quite functional for any inquiries. The bottom line is simple - the arches and walls of plasterboard with shelves.
First of all, should evaluate the size of the opening. If the inside of the apartment kitchen opening set yet and shelves, the freewheel is not. Therefore, proceed as follows with small dimensions - endure racks on the wall, for the width of the opening, mounting the body of it.
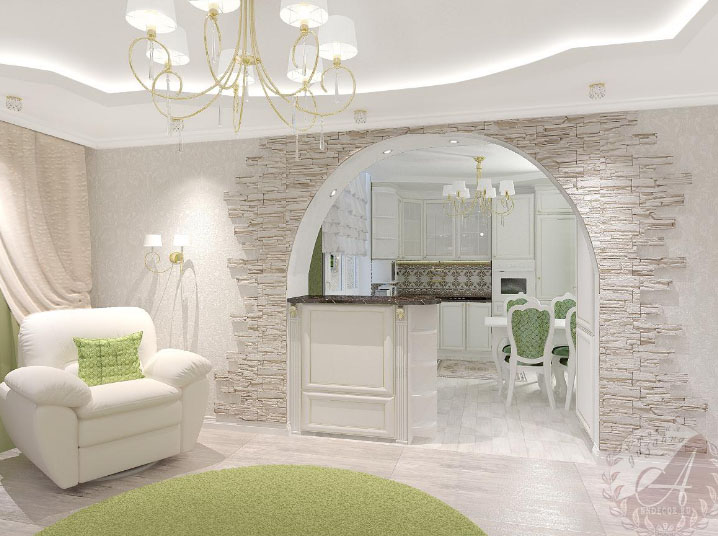
If the arch is made in house under construction, which necessarily will finish the walls of plasterboard, the maneuver for greater creativity: This and round arches with double radius, between which a bridge for vertical shelves. And portals with large planes, where the fit is not only a tub with a flower, but TV, niche and of plasterboard. And so on, And so on, And so on…
so, Arch with shelves on the walls of the kitchen opening:
- First start leveling plasterboard walls without frames - additional width will affect the size of the kitchen as a whole.
- Then constructed the arch in the doorway. This will require to bend drywall and fix it on the screws. As - disclosed above. Gaps sutured pieces after cutting circle. They lay or leave blank.
- Further, fixed profiles, the wall curving to the desired radius. Exposed vertical and horizontal rack. Shelves can be done their own hands by traditional or established in radius arches.
- Finished design sewn sheets GCR and decorate.
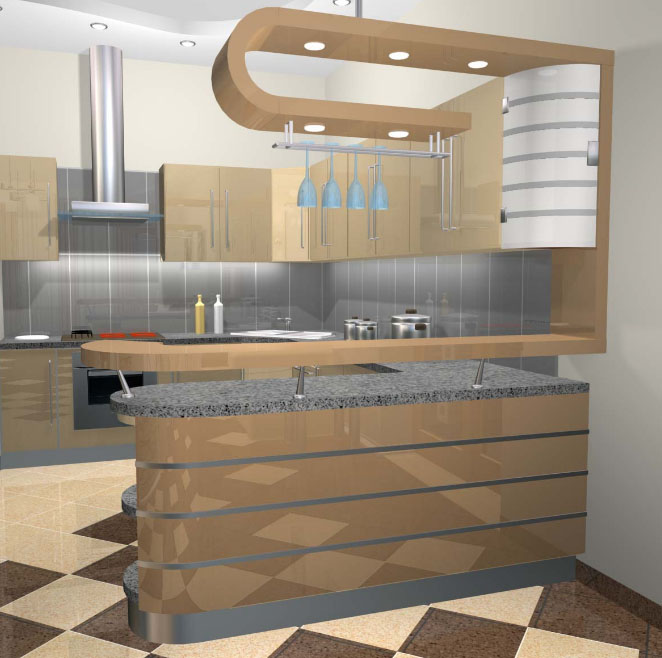
any construction, as well as finishing gypsum board walls with his own hands - a simple process. Making things headset or other household models, It speaks not only about the thrift owners, but also the creative vision of their own homes.
