The bar counter in your home: do their own
Looking through Western movies, you, probably, not once noticed unusual for the Russian interior bar counter. Flying over the ocean, the idea of organizing their mini bar at home with this stand firmly established in the world of Russian design. Well, Nothing specific for this element is not necessary, and today we think, how to make the bar on their own.
The beginning of time: choose style
What are the associations on a combination of bar houses? have? - not necessary. This element of the decor already entered and in private, and in the apartment, too. noisy company, spiritual conversations, expensive alcohol and cloudless mood - that's what brings this thing home.
why buy, when there is a direct hand - right? Homegrown handyman agree with you and will be in the right. Make the bar with your hands is not so difficult, only need to clearly define the size and location. Installation element usually takes place in the kitchen.
Options and forms of racks - Sea, but how to find, that unique, which would suit you design? Think about it, pay attention to the room, where you place it. She is, as an element of the interior, It should succinctly fit into the style of the room, and the main thing - do not interfere with freedom of movement in the room. pay attention, that made bar with their hands Plasterboard nenadezhna- CC is not the best material for such furniture.
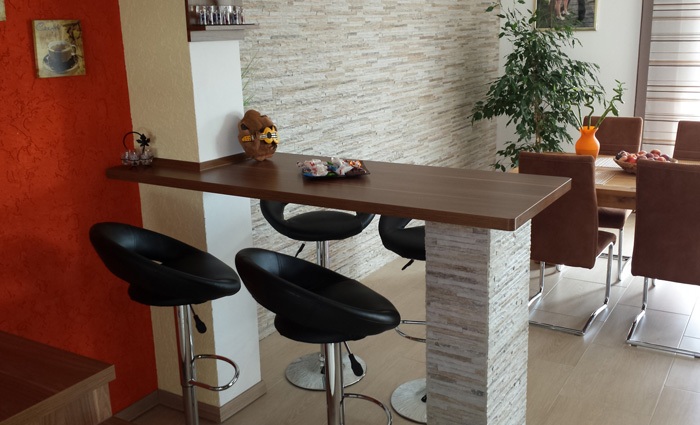
The spacious rooms apply classical variant: semicircular design, placed in the center of the room. At-malomerki kitchen corner option worth considering, which is used as a work area. With any area can dream, and this article will help you to look at the bars for the kitchen with his hands on the technical side.
And why do we need?
If you are constantly on their feet, the The bar for the house will become a convenient help - the perfect solution for quick snacks and you do not need to constantly sit down to the table. Yes, and relax with friends, sipping whiskey and discussing the next match, much easier and more enjoyable it has.
Speaking of tables. If you are lucky enough to own a couple of restless kids, the table is placed in the kitchen necessarily. Children simply uncomfortable to sit at the high table, but always with the legs hanging chair is not the most useful thing. Considering this, note, that you can combine it with a table. so, why you should not find it unnecessary bourgeois trinket:
- In small apartments, and in particular in the studio apartments, Front used as zoning member. And since the upper part - is usually a typical worktop, it and work area
- The final price varies widely. Self-preparation does not require major expenses, if you do not choose expensive material, while the production of bar counters expensive pleasure
- This element of the decor creates an atmosphere of ease. Add the spotlight and any bars illuminated with all its softness fit into the kitchen decor
so, consider budget option, refusing to purchase, and think, How to make the bar. Everything, that we need - materials for the bar, patience and a plan.
Plan-task
- We find in the Internet the desired type of drawings or the hell do
- Choose and buy everything you need
- Putting the frame
- Mount the base and lower the table top
- Mount the top and sheathes
- engaged decor
Now the bar with his hands Kitchen begins its life!
We determine the layout
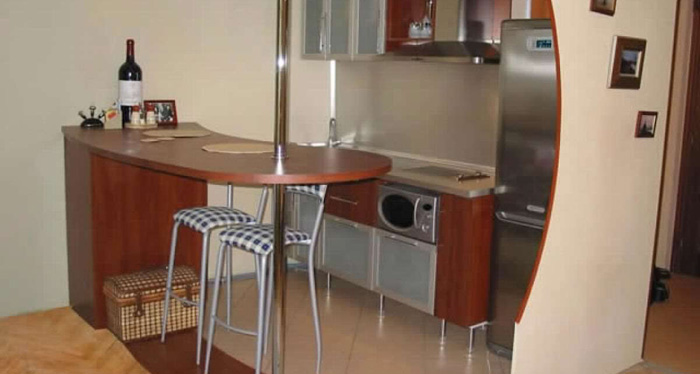
Select it, taking into account the kitchen area, as well as the overall style. for example, semicircular bars of wood is not in written in hi-tech style. If you choose a hybrid drain, where on one side there is a normal table, locate the required table or accurate drawing.
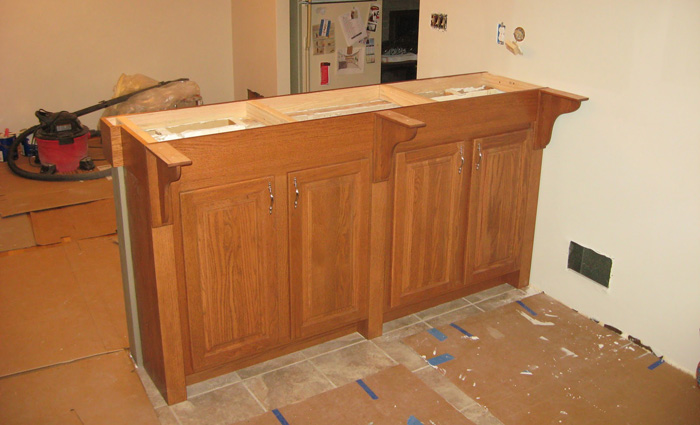
Here, the assembly model classic whole form. This option is not the most difficult and quite common, that is why the choice fell on him.
Having defined the design now need to prepare an accurate sketch. It reflects all dimensions in three dimensions, optional, an indication of the materials. Hold the classical height 1,1 meter.
Shopping: buy materials
We have chosen a bar counter in the kitchen with his hands need the following materials:
- Sheet plywood and particleboard
- Wooden beam 50 × 100 mm
- Eaves 25 × 100 mm
- Plinth for decorating
- Screws and nails are different
- Lacquer on wood
- Morilka
Prepare frame
Here, we need lumber and nails no more than 80mm. Of timber cut from drawings bearing construction elements and connect them with nails. Two things are important: different parts must fit tightly as possible to each other and at the same level. No curvature is unacceptable.
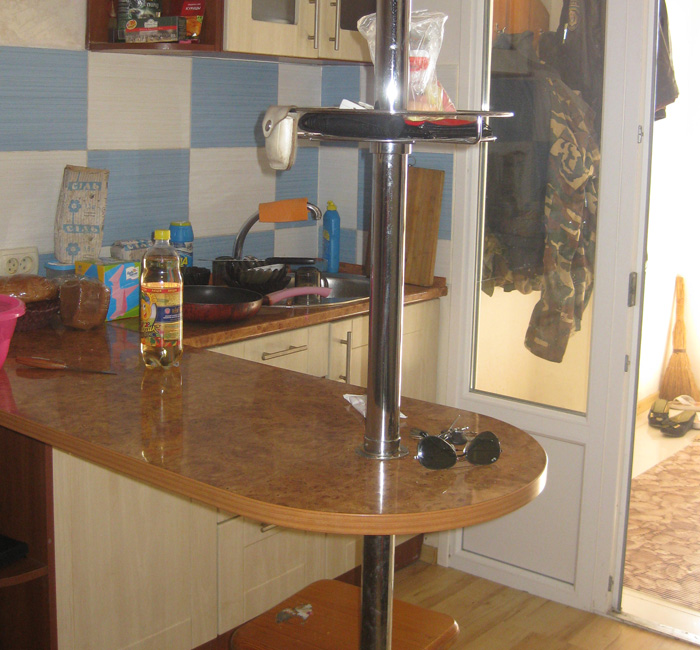
To get the bars add guides. We do them purchased from boards. We have a guiding vertically, align them to the size of. Make mistakes at this stage, you run the risk of "bend vertebrae" of the future stand. It is not necessary to do everything by eye, use level, if possible - laser.
Impose first countertop
After carcass proceed to create flooring. To do this, use sheets of plywood, which neatly nailed to the base - do not overdo it, so as not to break the plywood.
Then, MDF prepare lower countertop. by the way, this step is simplified, if the bar is made from the countertop, which was purchased earlier. Thereafter, connect the frame and the lower part of the table top by means of small screws. Inside the structure we divide the space into several separate recesses using veneers.

The upper worktop and the cladding
Our bar counter in the kitchen with his hands almost completed. The first step is preparing the upper part of the table top from the same fiberboard. It is important to follow the maximum tight fastening between the parts. When she is ready, stand sheathed with plywood sheets.
Now in the case are a plinth and finishing nails. For reference: finishing nails - they vagonochnye - it nails with a barely perceptible head the required colors. so, with these nails fasten decorative plinth and bar made of wood with their hands almost ready. Where you can be creative, obsheyte main angles. Basically, bar of the countertop with his hands, too, a decent solution.
Create a designer decor
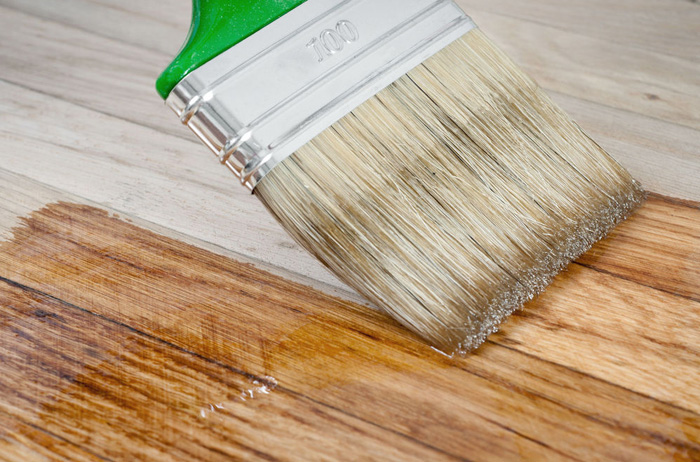
Now light, but a protracted stage. Cover rack stain, carefully each element, not missing a single millimeter. After drying, apply varnish. Cover the rack in two or three layers, complete drying takes about 2 hours. In this way, you need about 10 hours, to finish completely with this. This is done everything to protect it from moisture and air. At this stage should be very careful!
At the finish line
Consuming an array of works completed, but this does not mean, that the bar itself is ready for use. That our work is not "drowned" in the kitchen, we focus our stand.
Remember, what else it is an essential attribute of the bar? That's right - this is a special light. Above the bar is always a dot placed lighting elements. Specifically, you can buy them, but it is not necessary - it is necessary to think about holding power, as it is done before, like any furniture will be in the room. Use halogen lamps and extension cords (they are easy to hide), to highlight the rack.
If possible, then hang on the rack mounted lamps, like the green, that hang in every billiard. And instead of a conventional switch using dimmers, which will allow you to pick up any light at any situation. And generally it is better to place the bar next to the outlets, that there were no problems with electricity.
Through energy bridge independently and specifically for rack, not necessarily break down the walls. If the kitchen has an open output wiring system, then use a flexible tube camouflage, to hold the cords to the rack.
finish the job
stand ready, It remains to add the necessary equipment. Let's start with high chairs. Wooden bars combined with chairs without backs with the effect of rubbing.
Nearby is the home appliances, but for fans - traditional beer tap.
On top, place the Rail for glasses or mount shelf for a variety of bar accessories. And after this bar with his hands completely ready - enjoy! Now we hope you know, that the bar for the kitchen with his hands very real achievement.