kitchen renovation 6 squares: interesting guide for quality design
any repairs, as we know it is very troublesome and costly. apartments, built in the last century, with an area of up to 100 sq.m., are small in size kitchen. Decorating a kitchen a very difficult task. It will take a lot of effort, especially mental, to make it tasteful and functional. Some owners prefer to professionals, that will prepare sketches, even to repair turnkey. But in this case,, when finance full order. If extra money is not, then you need to look for other ways to solve. Optimization of a small space will make the budget repair the kitchen.
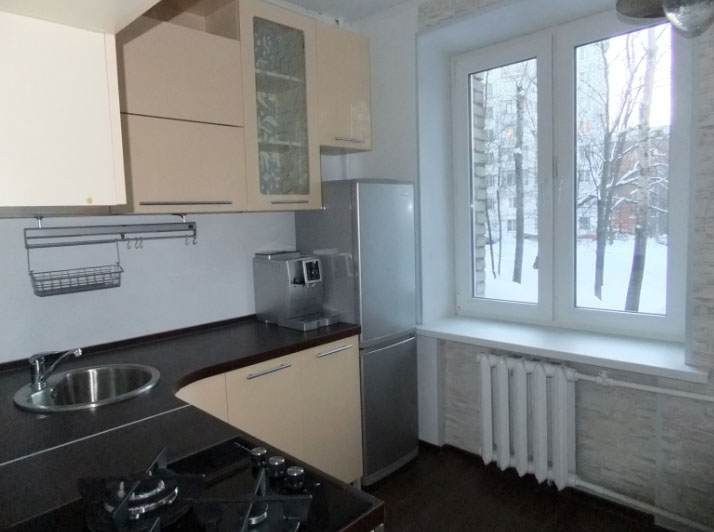
How to make rational use of the kitchen space 6 sq m hruschevke
In order to achieve sustainable use of the area follow the rules. To see examples of the beginning kitchen repairs and interior decoration. Measure to the nearest millimeter, how m. total floor area. But do not forget, that not all design ideas are suitable for a small kitchen.
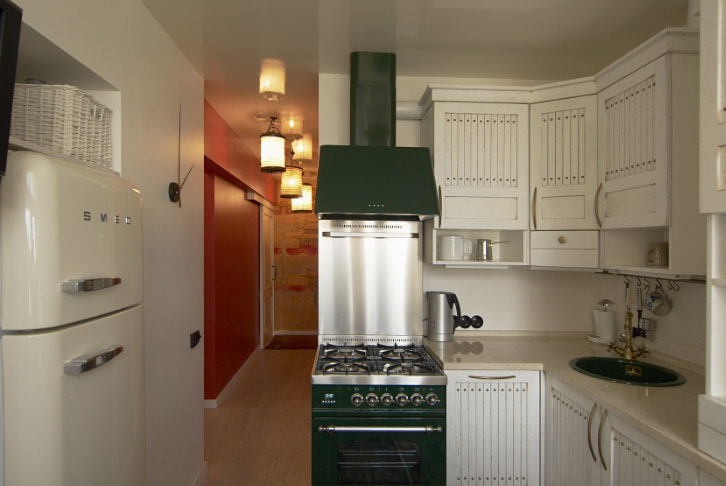
If the creative and rational approach to the creation of the project, it is possible to effectively use all the space, each square meter. The basic rules of placement of furniture and household appliances in a small kitchen:
- All surfaces should have rounded edges.
- Should abandon the deaf wall cabinets, to visually reduce the space is not. Better to use cabinets with frosted or clear glass.
- Transfer the washing machine to another location. For a family of several people wiser to abandon the dishwasher.
- Replace bulky chairs at folding or sliding.
- Think accommodations hinged shelves for storing bulk products.
- Pay special attention to the cabinet doors. It is better to choose the option with opening up doors.
- Kitchen surfaces located in a common plane.
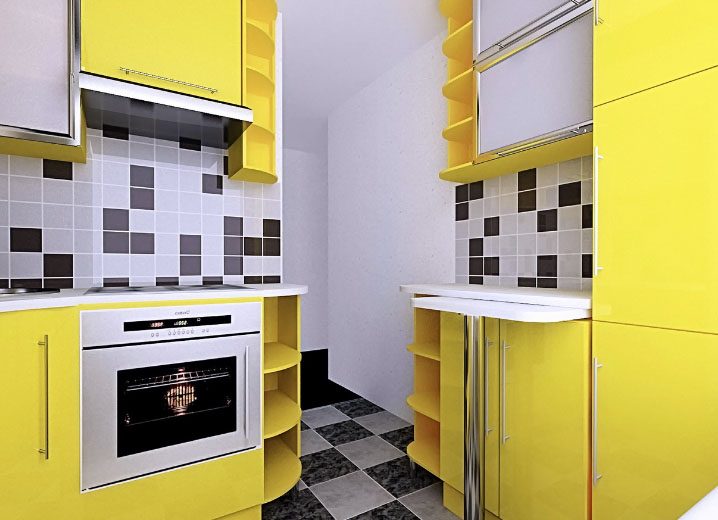
You can remove and install a window sill cleaning, or extend it the other way around, to use, as a table. And beneath them provide cupboard for bottles. Another option - instead of the usual bar table, also it allows to save a little space.
Electrical appliances and household appliances is better to use small-sized. And under the ceiling make the shelves, that place is, that is rarely used by you.
Materials for finishing small kitchen: everything for a perfect repair
The next step after creating the project purchase of materials. It includes the following steps::
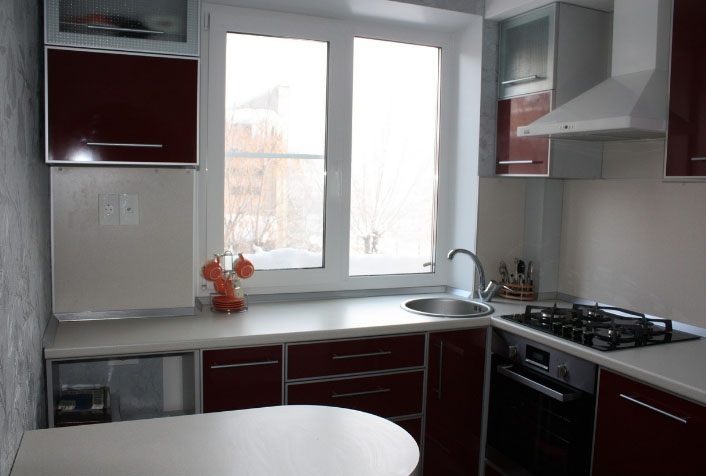
- decide, who will carry out finishing work. If the construction company, it will make the renovated kitchen with materials. But if you plan to repair the economy, you can do it yourself, or only part of the work.
- An important stage in the valuation of
repairs. Require detailed budget, which include all materials, quantity and value.
Let us dwell on materials, used for finishing the kitchen.
Finishing the ceiling with his hands: We are making small-sized room with estimates of all calculations
Finishing the ceiling starts with the removal of old materials, overhaul and elimination of defects. Then proceed to alignment surface. To do this, use the drywall or plaster. This operation is performed regardless of the material, selected for the final finish. Plasterboard used waterproof, fixed to the adhesive or special solution. The seams between the plates is sized special reinforced tape, and then placing a layer of filler. After drying the ceiling surface ground. The surface is ready for finishing.
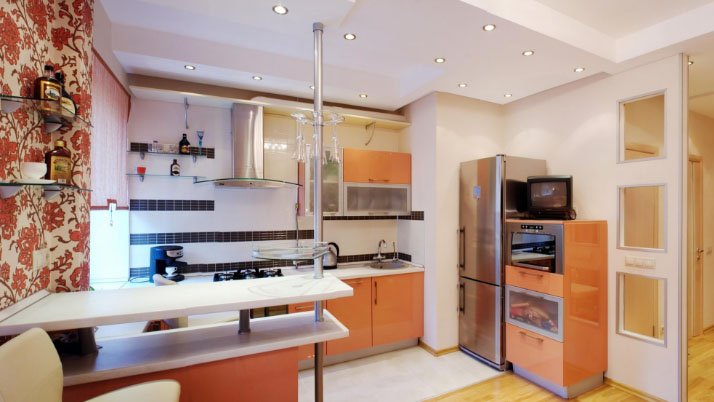
When equipping a small kitchen with taste, better to install suspended ceilings. They are easy to maintain. Light or mirrored ceilings will enable visually expand the space of the room.
Decorating the walls: ideas and options
Decorating the walls start with the same operations, that ceiling. Remove old materials, inspect for defects, eliminate them. Now we proceed to the finish.
The kitchen is divided into two functional areas. The wall surfaces in the work area does not require alignment, This is done during the installation of the tiles.
But the walls of the dining area requires a quality alignment. For them, the finishing can be different - painting, pasting wallpaper, plastic panels.
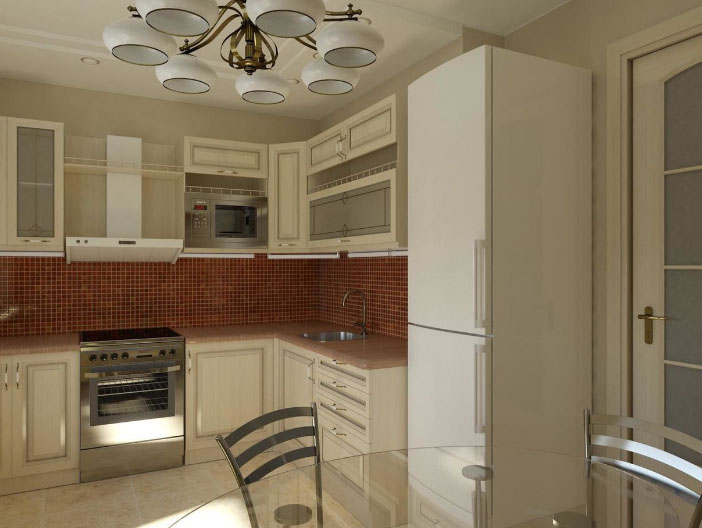
Use plastic panels in a small kitchen is not necessary. They require a cage, which further reduce the kitchen area.
To align the walls apply primer and putty. After the elimination of defects in the walls primed and allowed to 4-6 hours to complete drying. Thereafter, a layer of putty, which eliminates the plane swings, however in some places a layer may be thicker, need time (1-2 day), so that it can dry well. Then, re-primed, and a new layer of putty is applied. Decided walls wallpapered, then finish the procedure is now complete. For painting the walls treated with sandpaper to the maximum smoothness, and the last time primed.
Finishing the floor and columns: design in the first place
Decorating the walls completed, you can proceed to the floor. floor finish in the kitchen is no different complexity. It is enough to perform a cement (concrete) screed and the surface leveled. Puts coating. Kitchen floor tiles fit (ceramic or PVC), linoleum, 3D self-leveling floor.
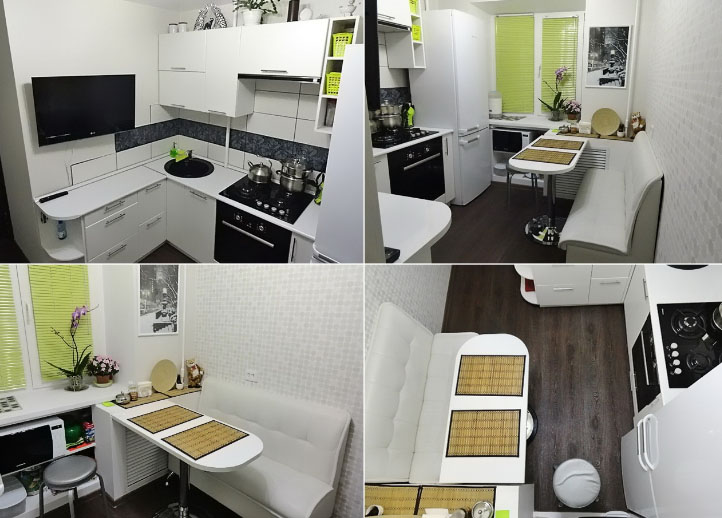
Builders are recommended to lay on the kitchen floor tiles. It is the most rugged and durable material. As shown by an estimate of repair application tiles economically justified. A little lower costs can be replaced with ceramic tiles, PVC. This modern material, which has several advantages.
The most budget option covering - linoleum. Linear meter of linoleum is inexpensive and available to everyone. He does not let moisture and easy to clean, it can lay yourself, unassisted.
In recent years become popular with self-leveling floor 3D effect. It is durable and reliable coverage, satisfying all the requirements, imposed on the kitchen floor.
It is undesirable to use the kitchen laminate, because over time it formed scratches and abrasions from mechanical influences.
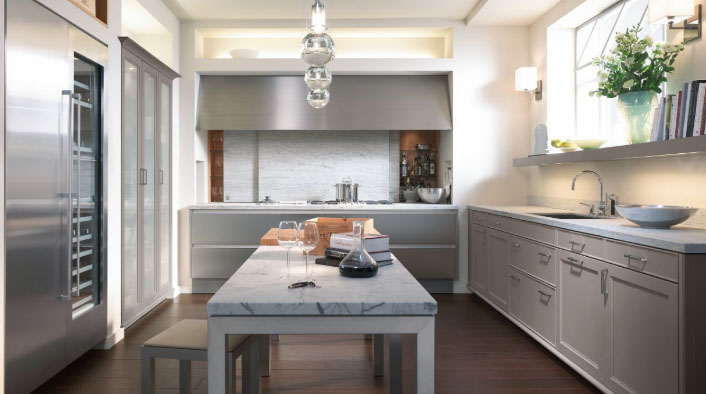
Kitchen renovation is complete, there is only one last look at the results of their own work.
