We install electrical wiring in the kitchen by yourself: 5 the main stages of work
Repair not do without laying wiring, especially if you have to kitchen modernization. Statistics say, what house wiring scheme includes half of all home electronics is in the kitchen, It hosts laid carefully. Each wire must be powered from an electrical appliance, Consider the design of electrical power and take stock of the future, If you decide to replace appliances with new, more powerful.
So if you started a repair be sure to enjoy a wiring, since those wires, that were laid 10-20 years ago, are not designed for advanced electronics. Today, we will understand how to make a calculation, see, step by step how to make wiring on the kitchen their own hands.
Preparatory stage

Like other elements of the repair wiring laying begins with, that carried out the wiring for the calculation of power and other preparations:
- First of all, decide on, any wiring harness is already present in the apartment. If it will be a single-phase, it is bad, and if three-phase, the power you will be a decent stock;
- After that, proceed to the calculation of the total power of electrical appliances. By performing this calculation, consider, wiring formed as a wiring, where the sockets and switches. To do the calculation correctly you will have overlaid the documentation for each device in the home, to deduct the nominal power of household kitchen items;
- Generally speaking, the wiring diagram should go to 15 kW, seldom, when the calculated power exceeds this value. Yes, This huge number shows the total power provided, that includes all appliances at once, although this is rare. But just in case the fire is better to have a reserve;
- Then look to the table and web pick up based on the calculated data section wires for lighting and to sockets. Most common among other cable sections 6 mm, calculated on 10 kW power. If you have a design power went beyond these limits, do not despair - you will prompt in the hardware store suitable wires.
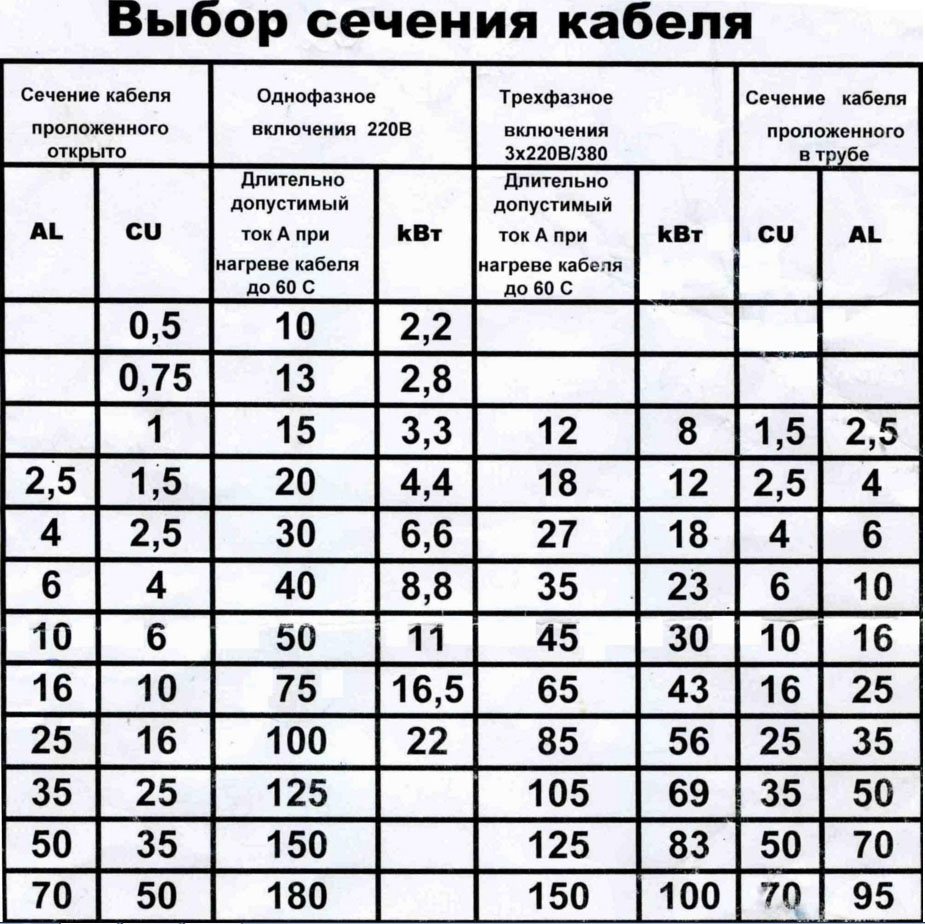
As an indication, consider the, if your apartment was standing electric oven, it is likely that you have a three-phase network. Even before, how to start the repair, it is desirable to consult with ZhEKom, to find out whether the ground and held other important events. From this it depends will be wiring your own hands, because every cable is used without grounding.
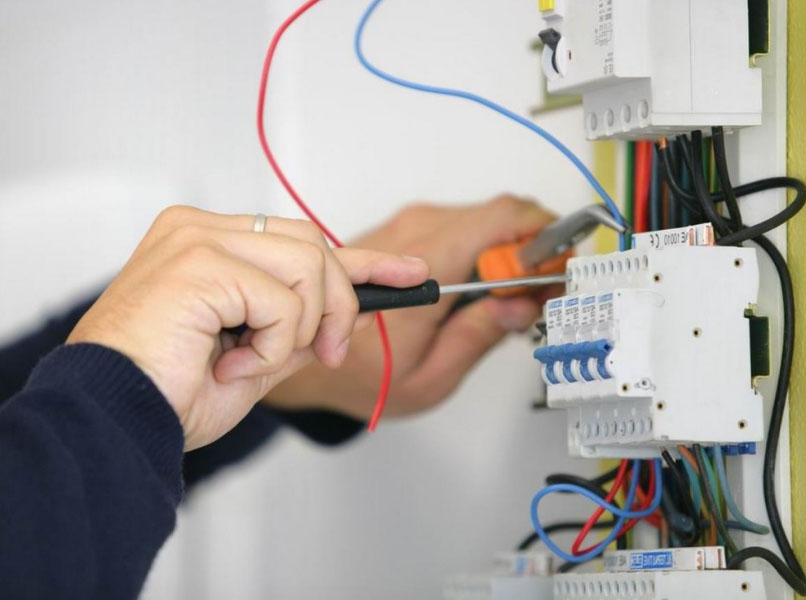
installation of a switch
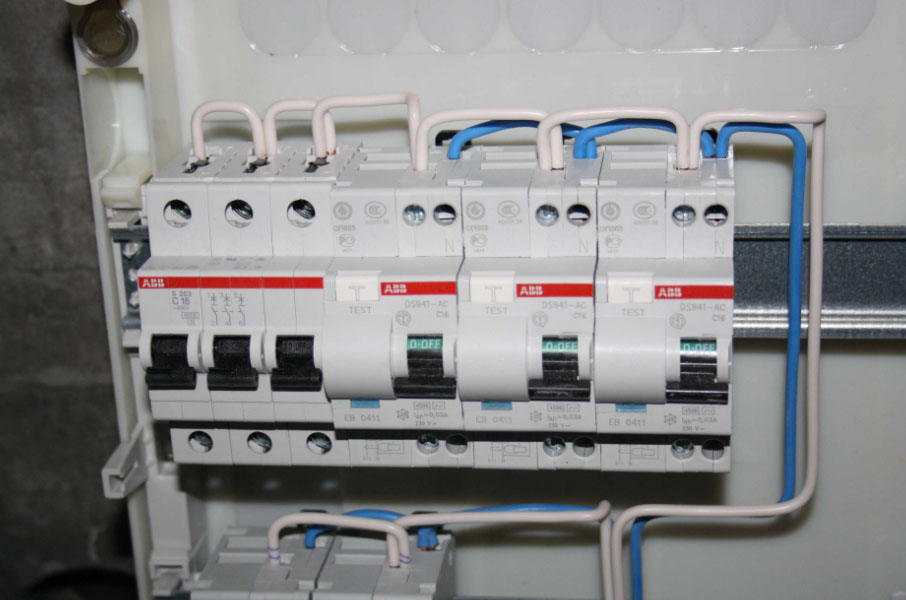
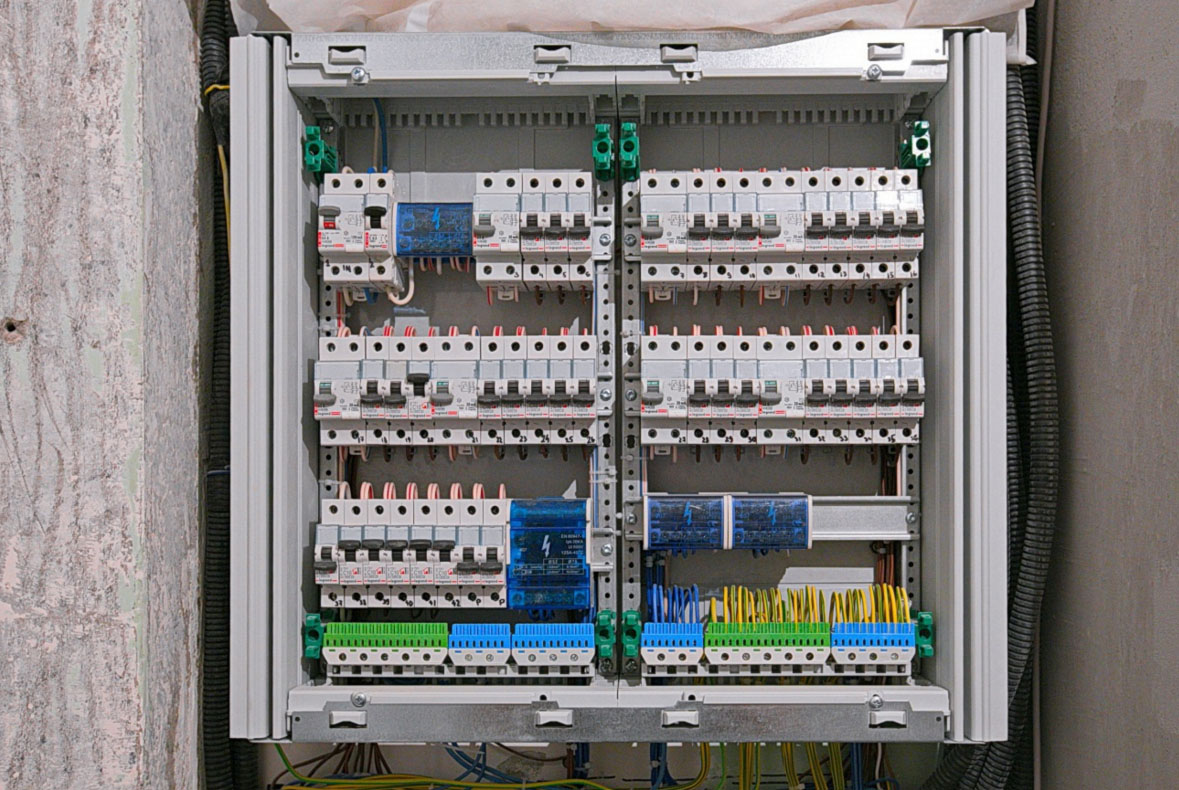
In order to properly carry out the wiring in the apartment and then safely use the appliances in the kitchen to make important switchboard, who put together the classical junction box. In front of him mounted circuit breaker or voltage regulator, Power is chosen above each energy consumers in the flat. There also conducted connection sockets, important to choose the right cable to connect. Lighting connect through automatic parallel, to enable or disable the apartment immediately, rather than individually each bulb.
If desired, each appliance can be connected to separate protective devices. Usually, so connected refrigerators, which are sensitive to voltage drops and may burn from it. Mounting the electricity with their own hands and do not forget about the fact, that constant high humidity level is maintained in the kitchen and bathroom and there is a wall with wiring sealed.
Choosing sockets and switches
When will the wiring diagram of the apartment deserve special attention and switched outlets. These electrical devices must have the proper level of security, to use them effectively:
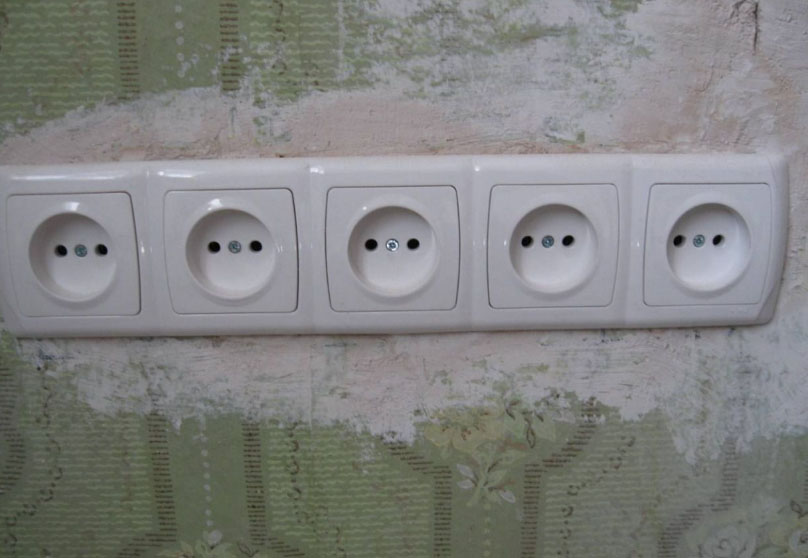
- For mounting in a classic apartments are ideal for sockets and switches, which are calculated on the current in 15 Ampere. A suitable in terms of durability outlet, mounted on ceramic plates. Positive moment of such a device is, that the ceramics do not melt and is not lit.;
![sockets]()
- Kitchen desirable choose the switch maximally flat: to him and the wiring in the house with his own hands fed easier and cleaned of dirt and grease, such a device easier. Useful as a small light bulb in the breakers, they will help in the dark to find the button;
- By today's standards, sockets do not far from the floor, no more than half. The switch put a little higher, at the level of the lowered arm, that is, the meter from the floor. But for kitchen an exception to this rule, it is desirable to put the socket above the table, so that the water in them did not get. And do not forget, that prior to installation Escutcheon are installing a brick wall;
- Under the background light switch takes a place near the front door, next to the jamb. Some placed the electrical system in the corridor, to entering into the kitchen where the light has burned;
- Mounting wiring diagram apartments may further include local illumination of work areas in the kitchen.
To understand the places where you need to appear outlet Estimate in advance where you will put any electrical appliances. Already starting from this it will be seen, where in the supply socket is more convenient, and where it is desirable not to place. So, under the refrigerator can make a separate outlet, and which will not be visible. But for the kitchen a suspended TV is desirable to allocate a separate power source next to him.
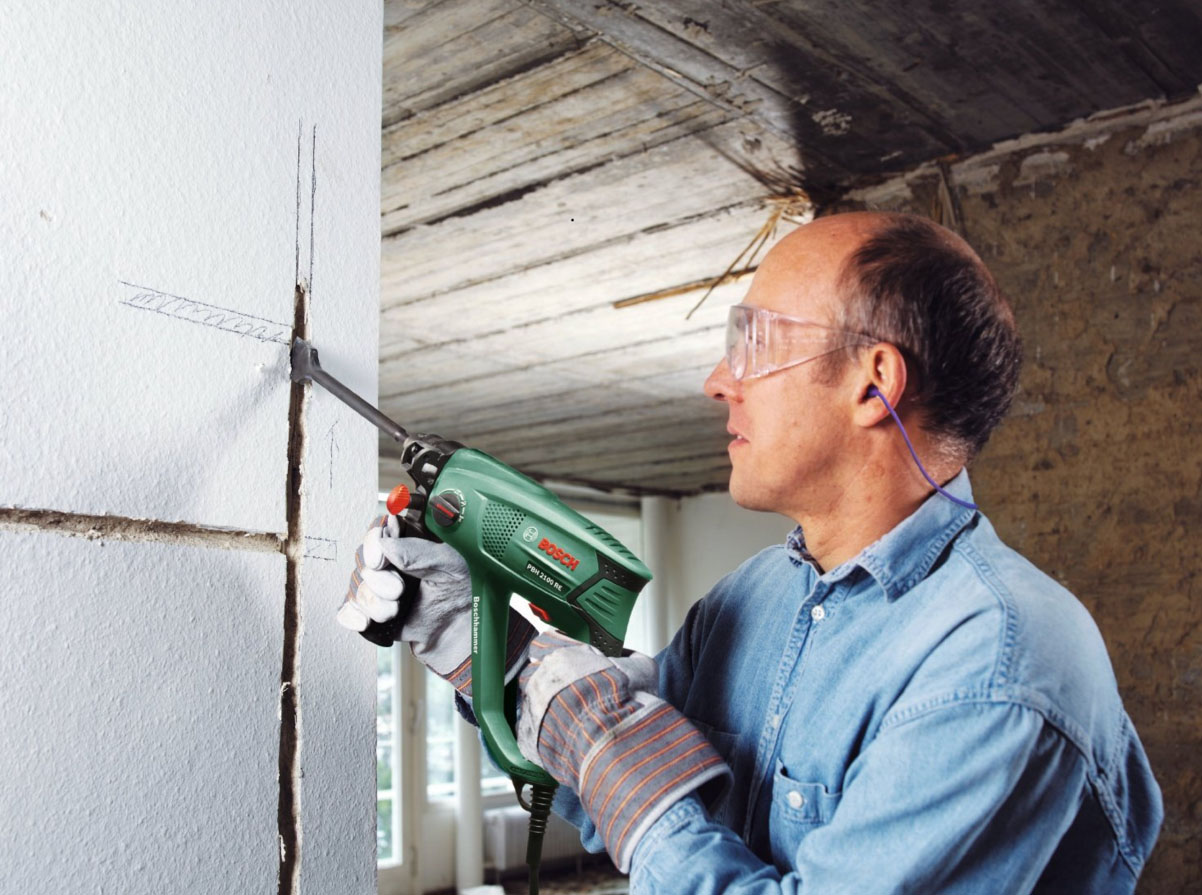
Stroebe walls
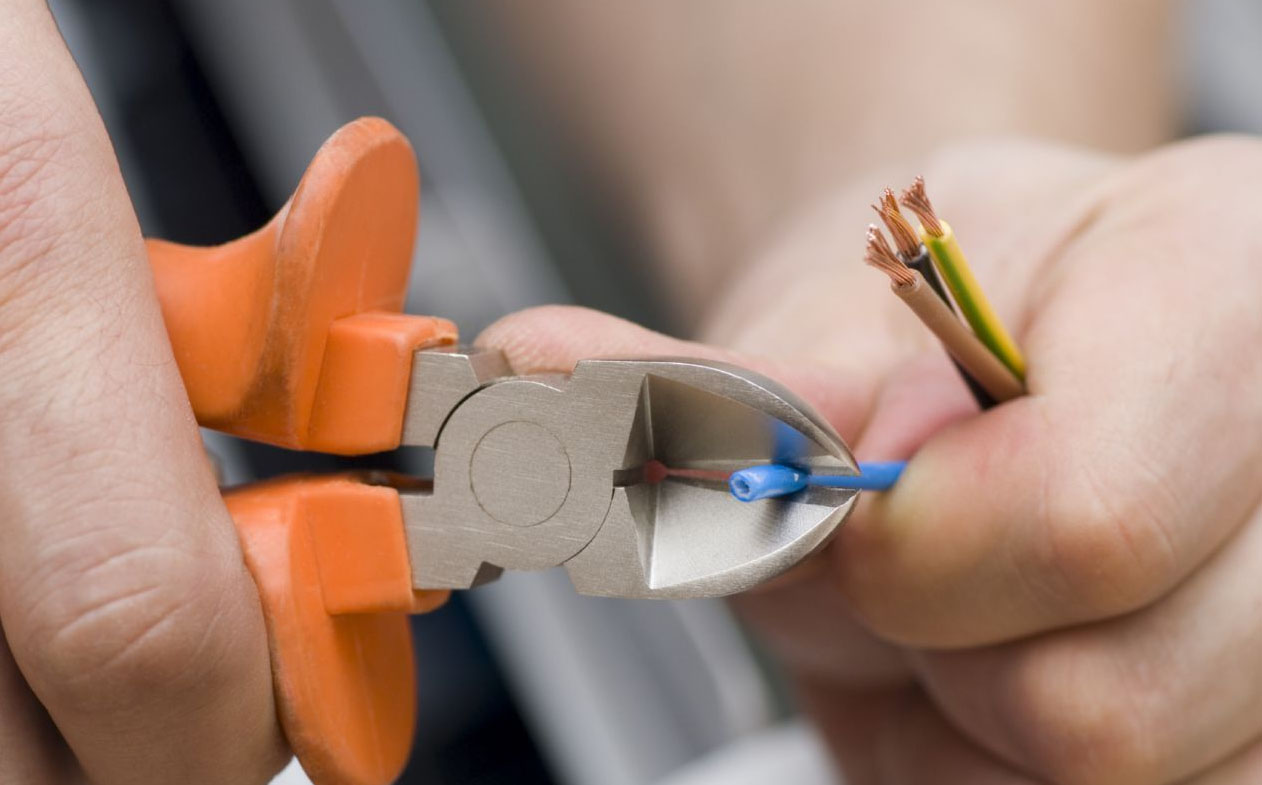
After that, both in the planning stage is over, cable, sockets and other items purchased is to begin to lay the wires in the kitchen. It is easy to do yourself and are quite capable, the main thing, for breaching Stroebe to have found the right perforator. In the classical kitchen conductors are installed in the walls of a hidden manner, and then they are covered with finishing. Those same channels for wiring, called Stroebe, laid puncher with a special nozzle.
In carrying out these activities need to take into account such factors:
- Breaching the walls of cutting grooves for wiring procedure, difficult and takes a lot of time. Specialists have to do is present the so-called wall chaser, but for the everyday citizen suit and hammer;
- Before, how to start making a channel on the walls bear the wiring harness circuit. At the same time do it the, to spend a minimum of cables and Stroebe do small length;
- It is desirable to lay exactly Stroebe, with parallel lines and turns in 90 degrees. This option is aesthetic, and besides, you just remember where you wire, when you want to hang on a wall shelf for books or picture. After all, if get into the cable drill, the short circuit is provided to you;
- Grooves perform strictly according to the selected layout, to avoid confusion in the future, and not to lay something again. The same punch is allocated, for placement of outlets and switches.
If the punch you already have, and buying a bit extra money is not, the cable management approach and a classic drill with reinforced tip.
To work so you will last longer, but save money. Do not forget about personal protective equipment - goggles and a respirator necessarily wear.
Put the cable into the wall
Now we have to observing electrical circuits in the house with his own hands to put the cables in Stroebe, and finish the installation.

For laying developed an algorithm:
- After each two feet in channel cavity drill hole centimeter;
- Pre-drawn wire braid is pulled into the corrugated tube and laid in the wall structure in accordance with the advance circuit composed;
- The drilled holes trying to drive a special bracket, which fix the pipe to the cables in the wall.
If you can not find the brackets, and the house has a classic installation dowels, the suit and they, strapped to him a short section of the wire, to fix the pipe.
final event
At the final stage in each designated area prepared inserted switch or button, them immediately connected and wires. Before the socket is inserted and flush, are fixed there using fresh solution and remain firmly. Place fixing plaster is desirable advance, before, how to finish the installation of sockets and switches.
Connecting the interior of switches and sockets to put plastic parts, it is desirable after the completion of the final finishing works. If you do the opposite, then in the process of completion of the work you will have time to smear beautiful rosette in wallpaper glue, putty, concrete mortar and another pile only.