The main rules for installing a kitchen sink: professional secrets
After washing finally acquired, comes the moment of its placement on the work surface. And then the question arises, how to properly install the sink, to further operation does not cause problems. No less often home owners interested in installing the sink in the kitchen with his hands. It is indeed possible, but before, you begin the installation should read some of the rules and nuances of the installation.
types of sinks
Depending on the type of installation are several types of shells:
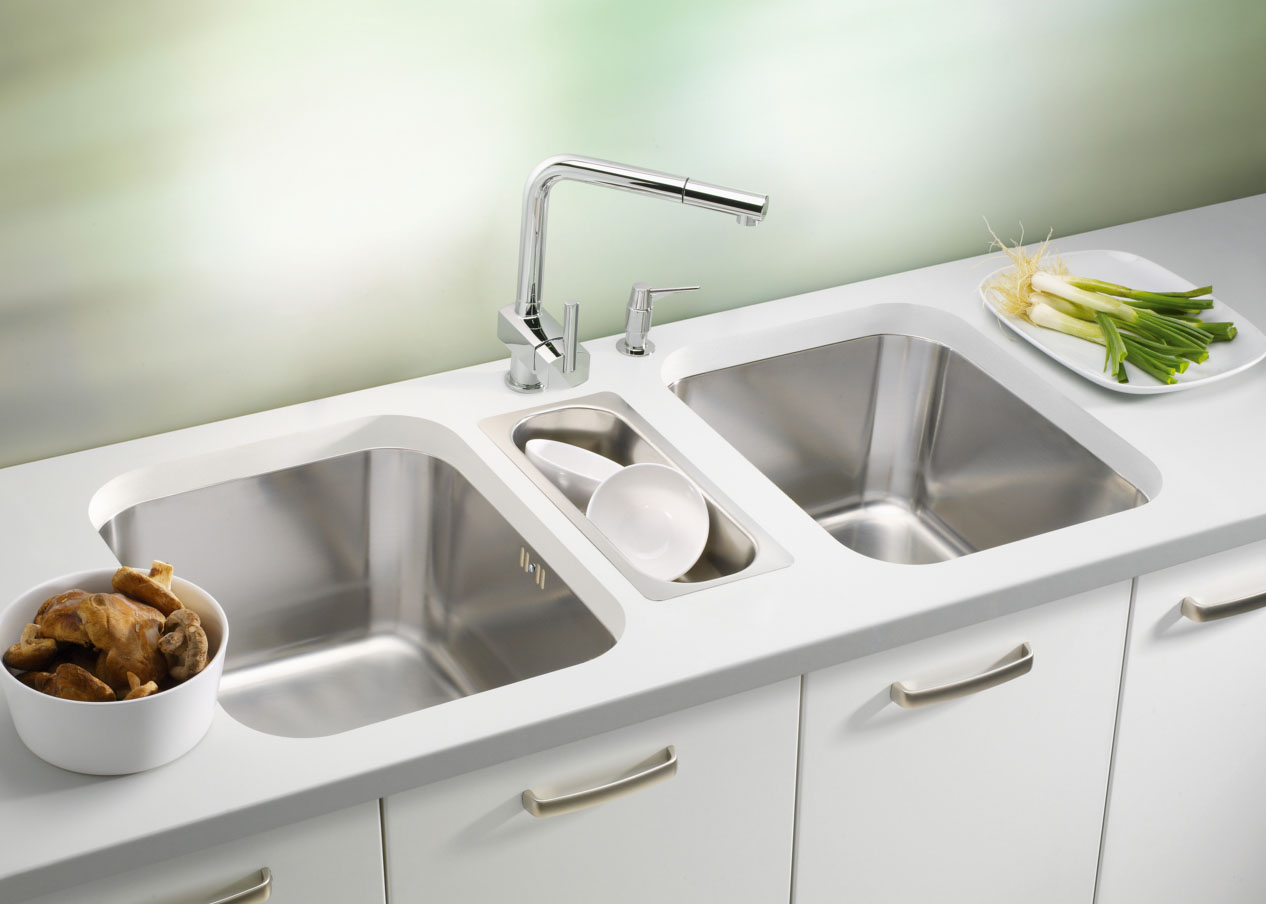
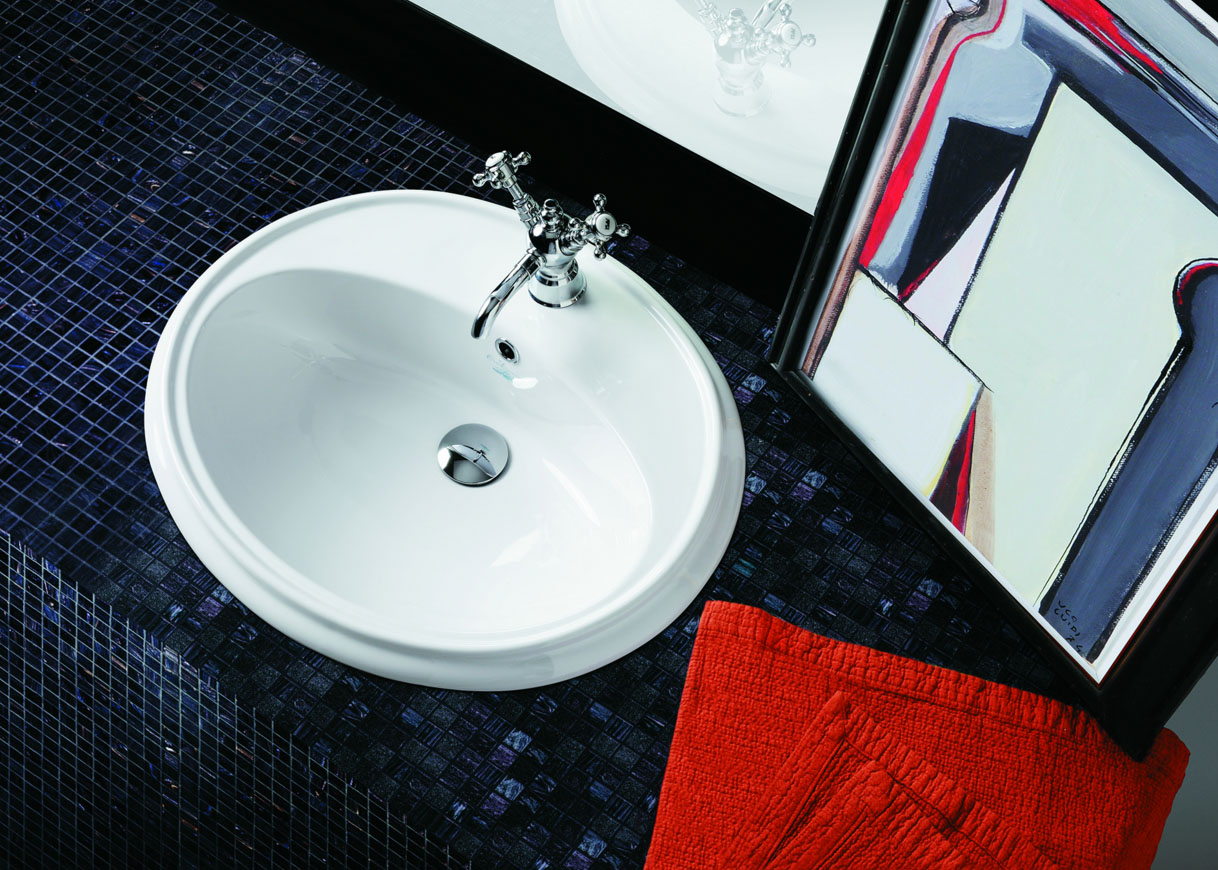
- Inset sinks are installed in a specially carved a hole in the countertop. Such an embodiment provides ergonomic and stylish.
- Waybill sink is characterized by the installation of a separate cabinet. Since its installation, is able to cope and nonprofessional. Besides, Overhead sinks are in the budget price range. This is one of the reasons for the popularity of such products.
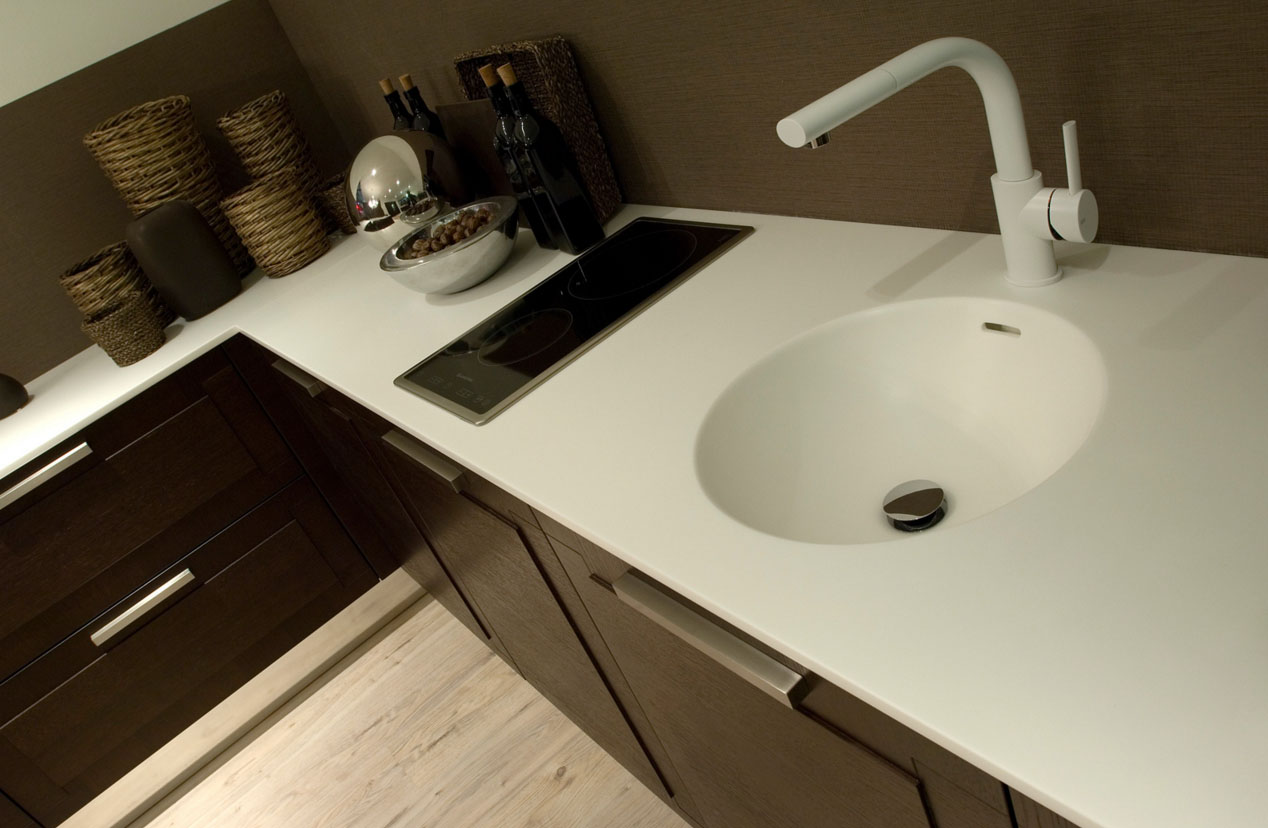
- integrated washing mounted flush with top or below it. This option requires the installation of additional knowledge and skills, therefore it is necessary to entrust its professionals.

With any setup, cleaning the kitchen should be guided by the following rules:
- Desirably washing location within the cooking zone. This will ensure ease of use.
- But have the sink in the vicinity of the cooker is not necessary. droplets of water, scattering when washing dishes, zatushat fire.
This does not mean, that set the washer need only in the place, where it was originally installed. If desired, you can be transferred in the kitchen sink to the window or work area insular. It is important to properly organize its connection to the sewerage system.
Installation Mortise sink
Mortise sink is made of different materials: of stainless steel, pottery, composite material. tabletop, in which the product is installed, too, can be different: wood, made of chipboard or stone. If the first two options allow you to install the sink in the kitchen with his hands, the third requires professional help, because the right tools can be handy.
When installing the sink in the fiberboard required toolset:
- jigsaws;
- electric drill and set of drill bits for wood;
- Screwdriver suitable diameter;
- passatiži;
- silicone sealant;
- masking tape;
- fasteners.

To fix the sink in the kitchen by a mortise, should start to draw the outlines of the openings on the worktop surface. This is done as follows:.
Template, attached to most sinks, placed on the table. In case complete with a sink is not granted, make it yourself easy: on a sheet of cardboard encircled shell contour, then cut.
The stencil is secured on the table using adhesive tape, then encircled contour pencil.
I want to draw attention to this point: When choosing a place under the sink should definitely leave at least 5 cm to the wall and a few cm to the edges of the cabinet.
After application of the primary circuit inside it in the region 1,5 refer to features of the second, which should be the opening cut.
To cut a hole, we use jigsaws, however, in order to facilitate the task pre-drilled drill hole to the diameter of the drill 10 mm.
Another point, requires focusing. Before you begin to work on cutting out holes, you need to paste over the perimeter of masking tape to the width 10-12 cm. This helps to avoid possible mechanical surface damage.
After cutting the holes, are stripped edge saw cut with sandpaper. After this edge of the hole is processed sealant wash on the kitchen. After drying the following examples include if the sink in the cut-out and how well adjacent its edges to the table. At the same time it is desirable to check how convenient set mixer and the other communication.
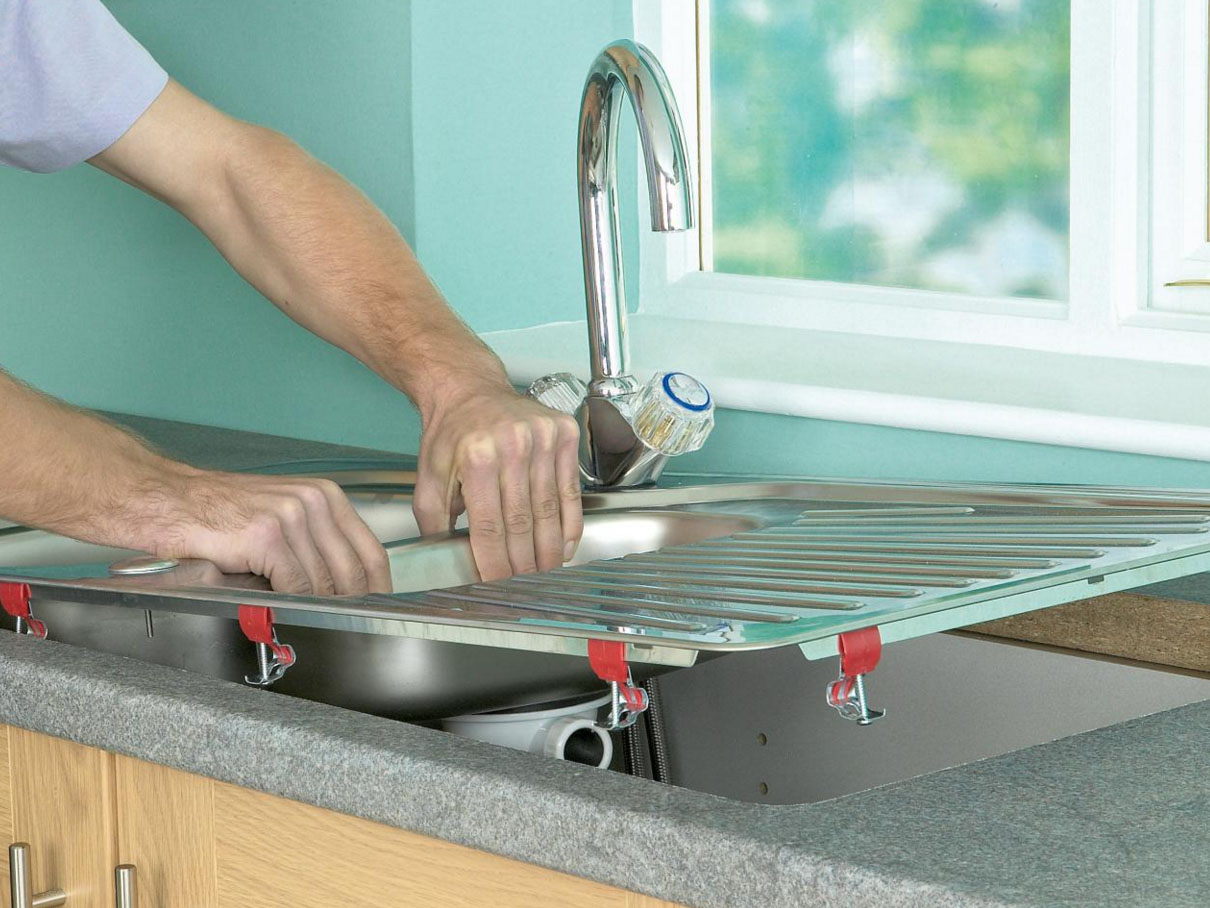
It remains to establish the sink in the kitchen and connect it to the sewer. To this end, the front surface of the countertop near the hole is sized double-sided tape or a coat with sealant, after which the shell is inserted into the opening. From inside the washing is fixed by means of special fasteners, bundled. The sequence is as follows: first attracted Shell corners, then the middle.
Move to the drain in the sink. First mounted mixer and the water supply hoses connected. After that is collected and attached siphon. Further, it connects to a sewer hole by means of a corrugated tube.
After the system check for leaks, washing considered established.
Fitting shear sink
Installing the bill in the kitchen cleaning is done on a separate module kitchen furniture, therefore, the process of installation easier, than that of an analogue mortise.

to install invoice sink on the kitchen, you need to buy or choose from existing kitchen cupboard suitable size. Waybill sink worn on the locker instead countertops, and then connected to the water supply and sanitation.
Attach an invoice to the sink cabinet in two ways:
- Silicone sealant is applied to the ends of the locker. Placed on top of the sink, and then pressed to a pedestal for a minute before bonding with adhesive.
- The second way to fix the sink invoice is to use brackets. From inside the locker fasteners baits on screws. tighten up the screws, sink is mounted on a stand, after which the fastening element is displaced, until the screw will not appear in the recess. When the shell tightly to lie down cabinet, screws are tightened to the end. Installation of sink with pedestal completed, It remains connected water and sewer.
Transfer to the seashell window
In the process of repair is often the question arises, whether it is possible to move the sink in the kitchen. This version is indeed possible, but we must bear in mind certain features of.
First of all, the transfer of the kitchen sink, in some cases agreed with the district housing inspection. This is required, if the shell is moved to the center of the room. If the sink is moving along the wall or to the window, take permission is not needed, however, take into account the nuances of the following.
When carrying the kitchen sink to the window to stretch it to the pipe cold and hot water, and sewerage. If you plan to connect the sink in the kitchen at a distance of one meter from the intended placement, possible to use corrugated pipe and flexible hose for water. If the transfer distance exceeds meter, you should use plastic pipes. Keep in mind, when moving the kitchen sink at one meter from the standard placement, bias sewer pipe must be increased by 2-3 cm. Besides, in the case where the window is located far away from the sewage, You have to use a pump for forced canalization.
Follow the steps listed, set wash, move it to another place and collect the sink in the kitchen will turn out without the help of experts. You need just a little care and patience. Now you know, like installing the sink in the kitchen.
