We understand how to fix Mortise sink in the kitchen: plumbing tips
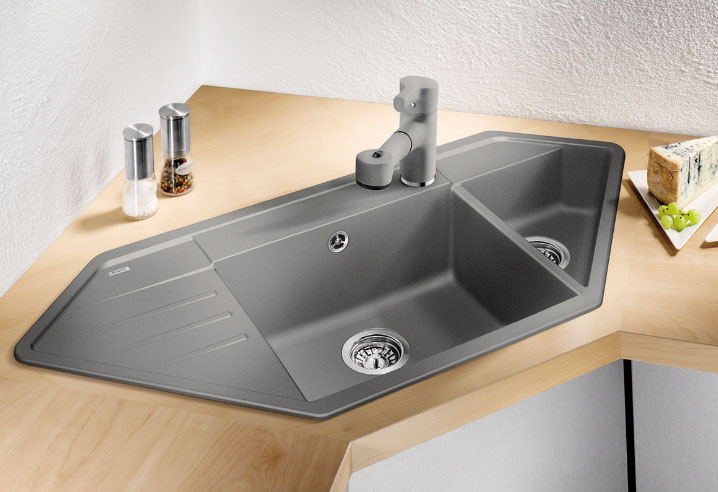
Nowadays Mortice sinks gained a high level of popularity and are no longer the classic version. Going into the appropriate store buyer is able to choose the option, suitable for each parameter. The stores offer a variety of shapes and sizes, in each apartment now get to pick wash, enough to remove the correct measurements and seek assistance from the sellers of consultants in the store. selecting good sink hostess significantly improve the interior of the room, so do not neglect such a convenient way.

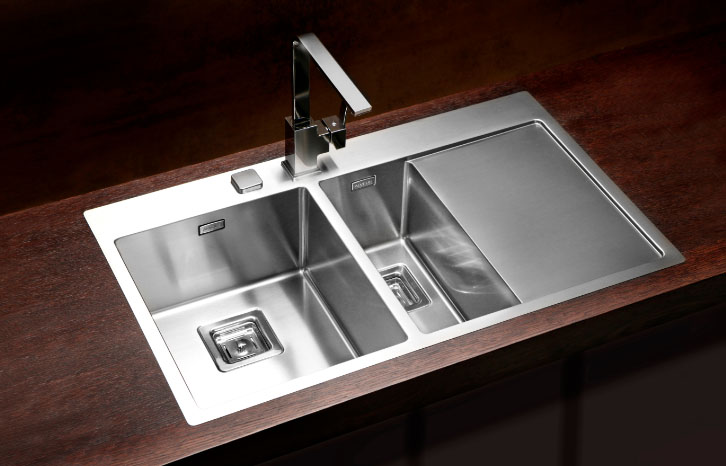
Mortise sink stainless steel, artificial stone, become
Flush kitchen sink of cheap price segment is made of stainless steel, so that material can afford to anyone interested. Make and ceramic and plastic options, but here the difficulty is, they are not suitable for household cooking needs, better to abandon them because of the impracticality and the brevity of life.
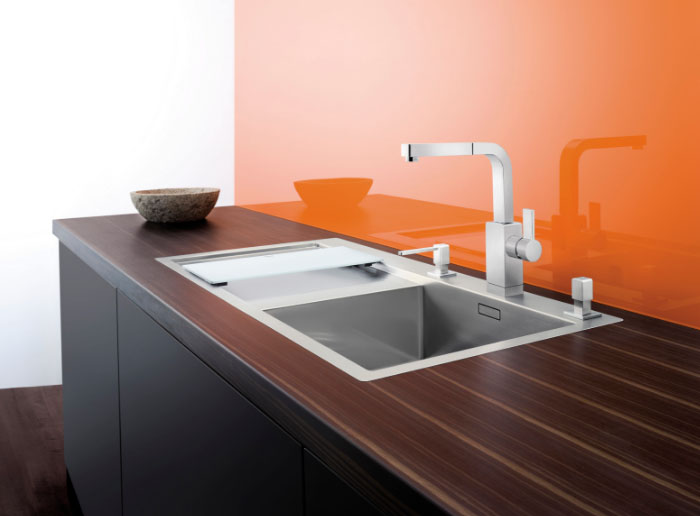
As known, inset sink held in the countertop, which is made from pressed wood and plastic-coated to improve barrier properties. This arrangement of materials is used more frequently than others in mind reliability and durability. If the tabletop in your specific case is made of some other material, here the question becomes another. Before, how to begin to embed a look in the technical documentation to the table, the manufacturer must specify how to adjust the countertop by the sink.
We begin to embed sink: Before you install
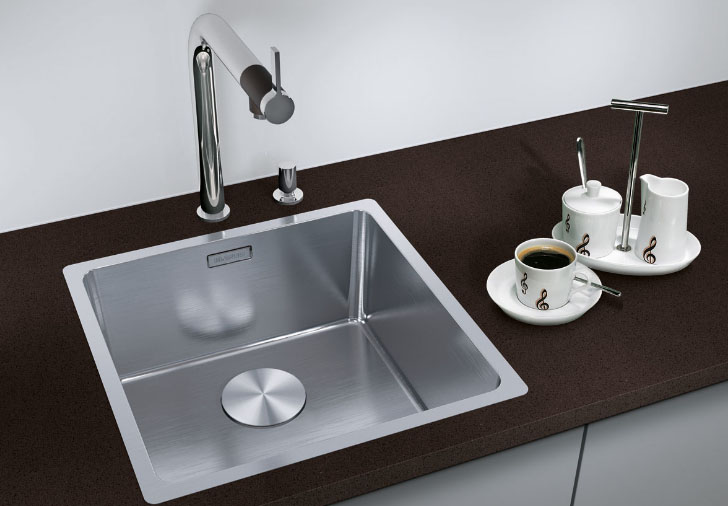
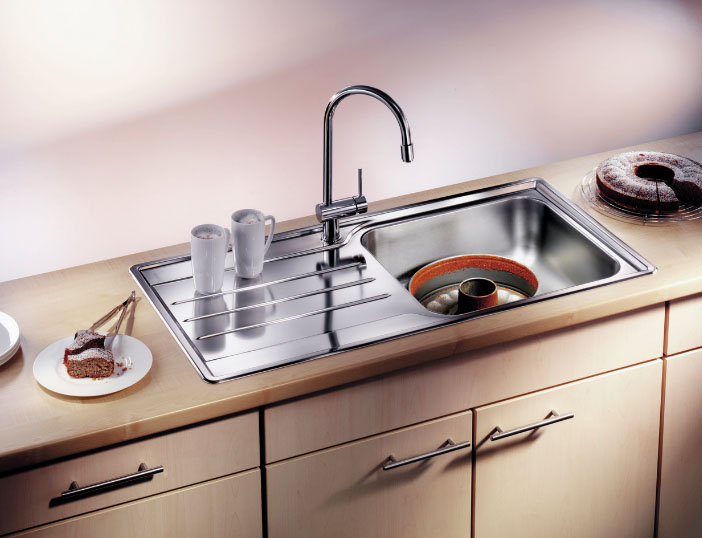
Flush stainless steel kitchen sink requires special tools for mounting. The list includes such elements:
-
tap, tape measure and pencil to measure and mark;
-
Set of screwdrivers, knives and corners;
-
electric jigsaw. If this is not at hand, it is necessary to use toolbox;
-
Drill, to make a mount for the sink and prepare for installation;
-
Screws in the amount of ten pieces;
-
Sealant colorless type, to lubricate the joints and cracks.
Mark up the surface
Note, that set the mortise sink in the countertop you need the first time, second chances do not introduce constipation and countertop have to re-buy a table and cut a hole. To the first time to install the sink first spend quality marking. First, decide on the place, where flush to the kitchen sink and will decide on the countertop axis, perpendicular to the floor. If the countertop is large and you do not where to put the sink in principle, then consider the various options. When markup note, that the indentation from the front edge is at least five centimeters, and with two rear. These figures are not binding, therefore select the optimal option in the circumstances and tabletop size.

To Flush stainless steel sink for the kitchen has become a normal layout starts with drawing two lines, perpendicular. The Center drafted segments to become the center of a circle or an oval shell of the future. The location in this case is not critical, fastening to the table top for washing used identical and in this case, it depends only on the presence fantasy. After that, How do I draw put washing on the table, sink up. Drain hole at the center of, therefore place the sink so, to drain overlap with the intersection point of the marked lines. After that, as the center is found at the edge of the sink stroke the inner surface of the shell. At this hole opening over markup, will cut.
After that sink under the table top flips and encircles the outer edge of the pencil on the perimeter. By doing this, note, to center coincides with drain, as in past times.
Flush sink requires attention to completeness, expensive and high-quality versions from the factory equipped with fasteners for further mounting in the tabletop. Fasteners for cleaning metal or plastic serves type, It depends on the sink rates. Metal embodiment safer and better, so if the bundle includes a plastic version, replace with metal possible. Mount sink to countertop is simple: they sink snap clips.
After carrying out these operations is prepared sink, and drawing and layout ready - contour imposed directly on top countertops. Start taking conventionally cut away from the inner diameter, to plunge the sink into place without effort. If you can draw an additional line and stick. Allow extra space for fasteners, so you do not do it. Note, that the final fixing washing is carried out on the sealant, otherwise leaking water zatechet under the sink and drain under the table. Because of this wood swells and comes into disrepair.
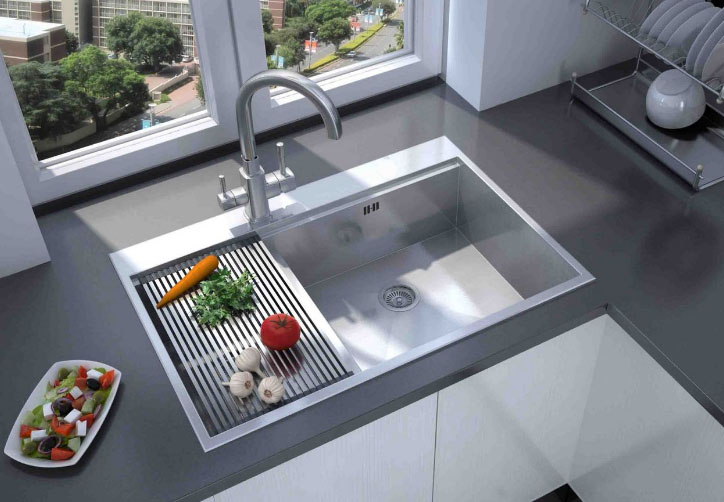
Cut a place to sink under the table top size: 50na50, 40, 50 cm
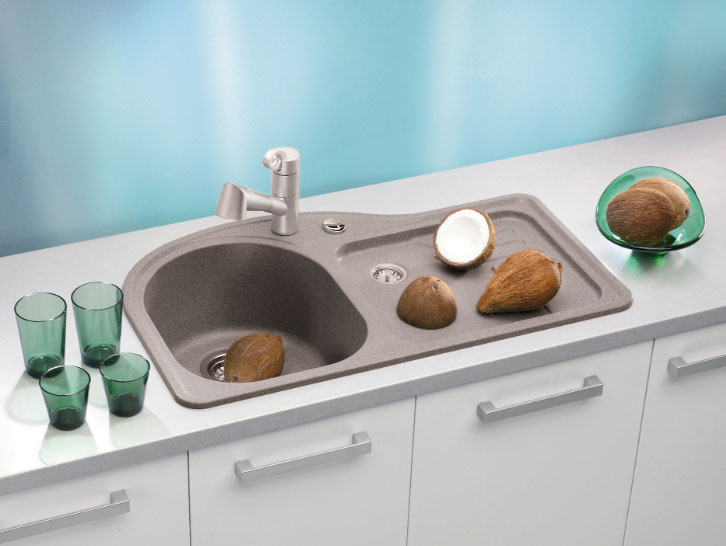
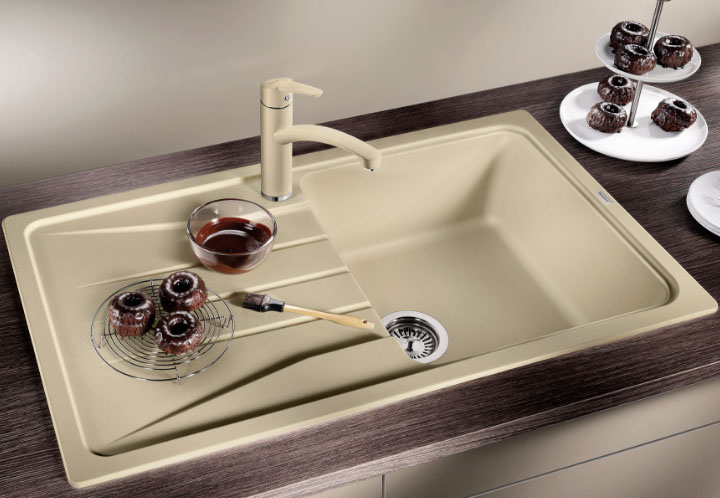
Inset sink for kitchen primarily classified according to form, she meets:
- rounded;
- rectangular.
If it is round, then drill drill one hole, if the square, in two. Drill hole drill large diameter so, that it turned out to be close to the cut, but it does not touch the line. If you have a large jigsaw or you Mortise sink for the kitchen made of artificial stone, the need auxiliary holes, climbed to the blade. When the note, that drilling should start from the front side, and not vice versa. By execution of these operations is obtained wide opening, in which prolazit knife jigsaw.
After that, as a hole is made begins installing kitchen sink. Arm jigsaw and drawn by the line proceed to carving, traced to retreat from the process is not necessary. When finished will insert the sink and check, what happened in the end. It turns out, that mount to sink below the tabletop is performed with free inlet and outlet openings of the obtained. Inserting no efforts should be made, otherwise it will burst eventually. Shape the piece do not throw, She's part of the countertop is made of wood and.
Before, how to fix the sink to countertop do not forget to lubricate the tree silicone sealant. In order not to mess with your hands, use a spatula or solid fanerku.
Such measures are needed, the tree then does not absorb moisture and does not swell. If you purchased a plastic sink, the visual chips and scratches promazhte sealant, It suffers from it will not be. Not overly zealous, wash silicone sealant put a thick layer is not so easy, as it seems.
If you used the seal and from the left edge of the stick, or width was greater tree, before installing neatly trim the edges sharpened knife. If you do not, then sink to the countertop is not tightly pressed against, and water, though a little bit, but will leak into the table. To stick metal to metal seal with the help of technology, use the following: preparing seal via lowered into gasoline or acetone cloth, Wipe the surface degreasing. Thereafter, the hands take the sealant and a thin layer on the end face seal. sealant strip narrow place, otherwise when gluing it climb out.
Often people try to save money and try to fix the shell to the table top without the use of sealant or gasket. But to make the installation of the correct use of these funds, otherwise the tree for a long time such a crude use will not survive - the space between the sink and the tree must be sealed. And applying sealant suitable for this purpose as well as possible.
anchoring shell
Final stage, after which there is only carried out in the tie-water pressure with your hands, and the connection to the water - it is safe fixing. This is the most interesting stage among others. Before, you begin, insert the sink firmly in the hole and check exactly does it become, Do not deviate from the height and layout. Further, take not just one-screw mounting at the same distance on the perimeter of the shell. During the process of screwing do not forget to monitor the installation reliability and uniformity of the contact surface to the table top. If you do not follow, the shell will move down to one side and get ugly. If you have a square sink and edges are sharp corners, the first grind off a file each, so you do not cut.

tEST rESULTS
The first result is checked visually, contours must match. In addition, if you put a little more sealer, than you should, then on got out from under the edge of the sealant will become clear as the shell lay the table. In this case, be sure to immediately wipe the sink from the surplus of material. In this work on the installation finished washing, It has to wait, when the sealant is dry and ready to use. After drying, sprinkle water on the edges and see if it will pour into the table. Thus it will be seen whether the fine was the sink or pour a bit of sealant. Note, that even a small over time the gap will cause the joining countertop disrepair, and iron shell may start to rust.
Summarizing recall, that the installation of the shell in the space provided is simple enough, but with some specific nuances.
If you just realized, that any step for objective reasons, to perform not turn out, then immediately ask for help from the master. Otherwise inaccurate actions ruin the countertop and have to order a new.